Hey All!
Have you heard? Cricut is going to release a GOLD EDITION Cricut Explore Air. You read that right! It’s GOLDDDD!!!! I love gold and I just can’t, I’m so happy! A gold and white Cricut Explore Air is just as perfect together as ice cream and sprinkles in my book! Half my house is decorated in gold and white, so I am beyond excited. I need one of these in my life stat! Cricut is throwing a huge virtual party to celebrate the launch on HSN on October 7th, complete with MANY awesome giveaways! You can even enter to win a GOLD Cricut machine for yourself, just by RSVP’ing HERE!
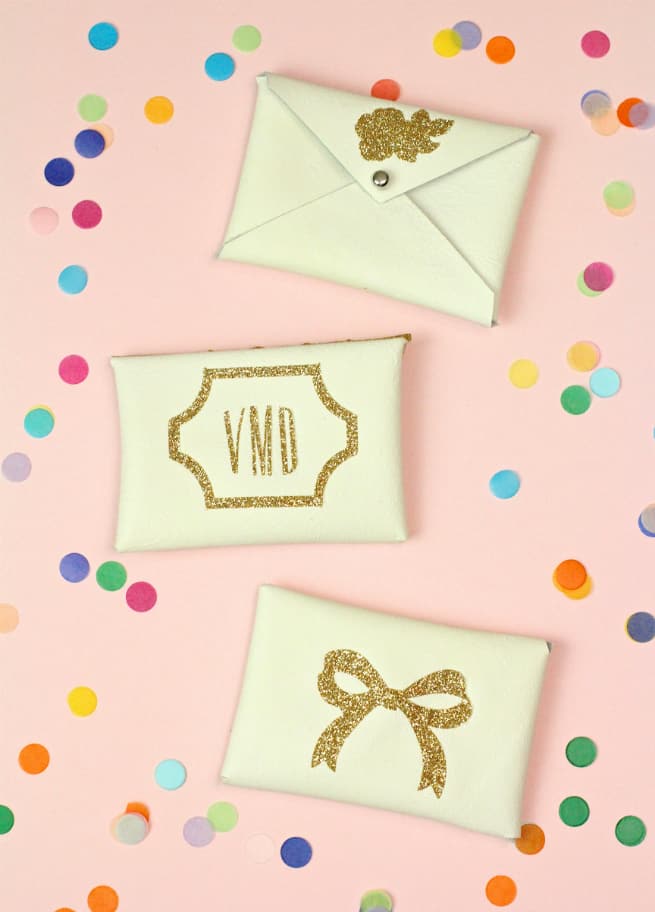
To celebrate right here on the blog, I decided to make a fun little DIY that I’ve been wanting to try and make for some time. I’ve never crafted with leather and I’ve been dying to try it out. I decided to make some gold and white DIY Gold Glitter Monogram Business Card Holders! How fun are those? I also made variations with some Anna Griffen designs that have an adorable bow and gold flowers on them. These can be mainly used to store your business cards, but they could also be used to store make up, change, or you could even put some confetti inside! They are very versatile and fashionable, which make them the perfect DIY accessory.
To Make These You’ll Need:
- A Cricut Explore or Cricut Explore Air. Or you could wait to do this DIY and snag yourself the GOLD EDITION Cricut Explore Air!
- A Roll of Gold Glitter Cricut Iron Transfer Adhesive.
- White leather at least 12×12 in size. Each piece will make at least two holders. (I got my white leather HERE.)
- Scissors
- Button Studs
- This Free Printable Template, Which I Found On MarthaStewart.com. (Yes the template is from Martha and all her fabulousness to make the shape for this holder, but Martha doesn’t make hers like I’m going to show you how to make this one. She doesn’t use Glitter Gold Iron On Adhesive to cover hers in gold glitter monograms, bows, and flowers! Just an FYI)
- Iron
- Leather Hole Puncher
First you use the template to cut out your leather shape. You can actually set your Cricut to cut the leather shape for you in Cricut Design space. You simply upload the image of the template and cut your leather. Yes, the Cricut Explore can cut leather! It’s awesome!
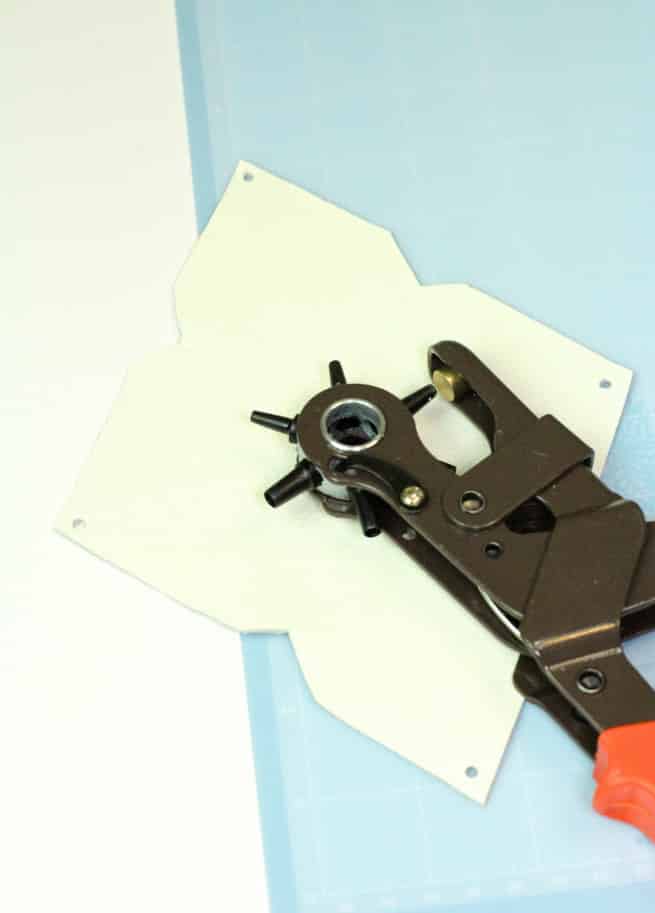
Once you have all your pieces of leather cut, you then use your leather hole punch to punch out holes at each point of the triangle shaped sides of the leather pieces. When you decide which point will be the flap that opens and closes your holder, you make that hole slightly larger so it fits over the button stud closer. I used the sizes 3 and 4.5 on my leather whole puncher for your reference.
Once that is done you move on to creating your design for the Gold Glitter Cricut Iron Transfer Adhesive. You place your adhesive flat on your Cricut Cutting Board. For those of you who have never used a Cricut, this has a sticky surface to hold what ever you’re cutting in place.
You can then go into Cricut Design space and pick out some fun Anna Griffen designs.
I used the Decorative Frame #M1BB789 and the V, M, and D Monograms for my initials. They are part of Anna’s Decorative Monograms. I also used the Rose Decorative Element #M1E31E7, and the Bow Label #M3EC58.
You upload your designs,set your Cricut Explore to cut your Iron On Adhesive. It cuts out the design for you and you’ve got yourself a fabulous design to iron on to your leather.
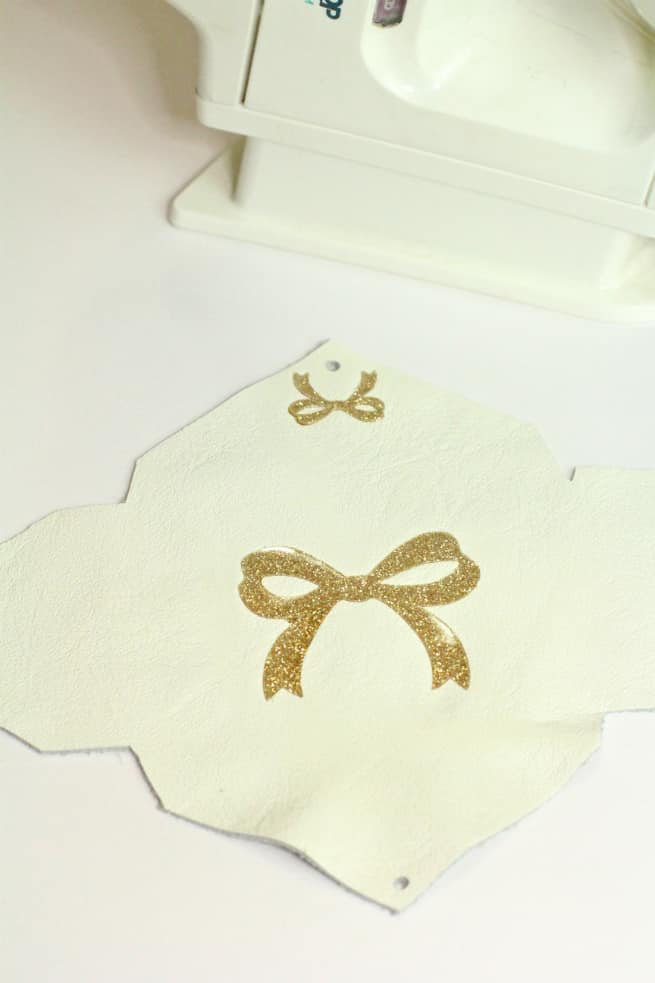
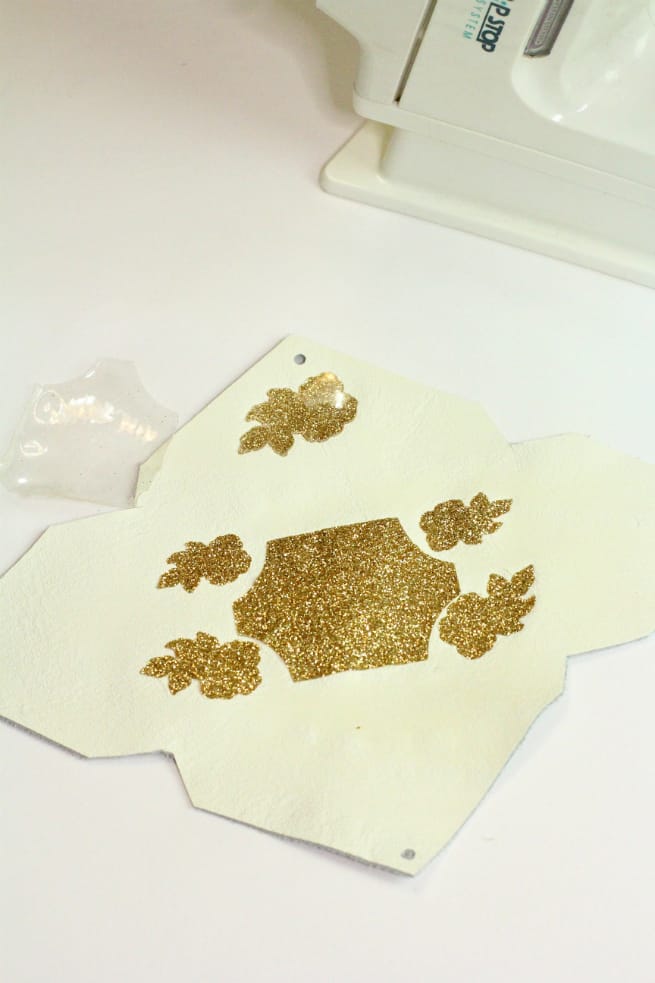
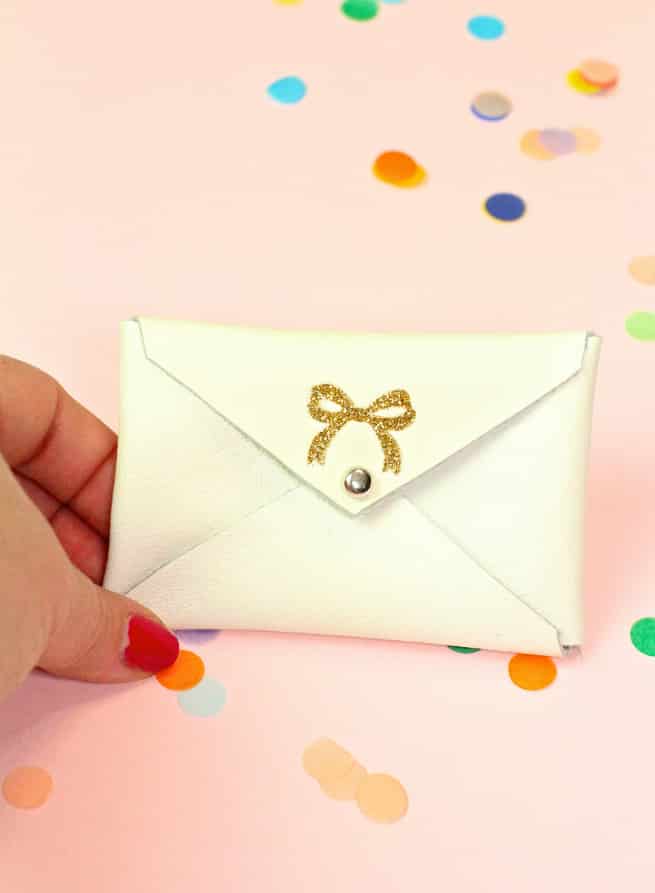
You then position your designs where you’d like them on your leather. For one of the designs, I placed a big bow I cut out on the back of one of the business card holder. I also placed a small bow on the flap that would open and close my holder.
I thought this would be a cute and simple look for a business card holder. You then proceed to use your iron to iron on each decorative piece on to your leather. Make sure your iron is at it’s highest setting so the gold glitter iron on adhesive will fuse to your leather.
The plastic film from the iron on will just peal off with the heat from the iron. Once you’re done ironing on all your designs on to your leather, you can begin building your holders. And yes folks you can iron on leather. It doesn’t ruin it if you’re just doing a quick design like this.
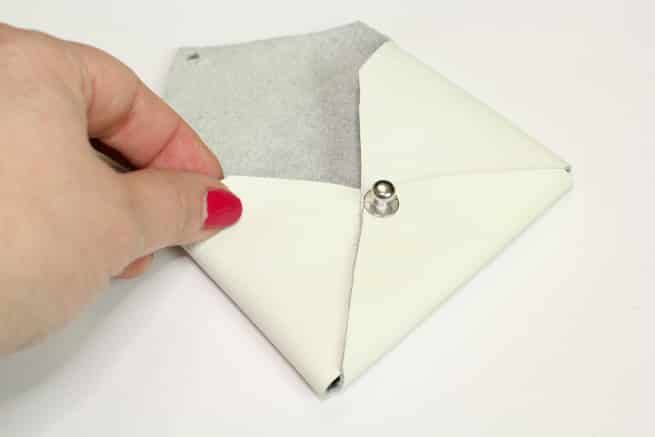
To build your holder, you fold over the sides and bottom half of your leather with the smaller holes punched into them. You then place the screw back of your button studs through the holes of the leather.
You then screw the button stud onto the leather and back. It holds all the pieces of leather together and it acts as the closure for your business card holder.
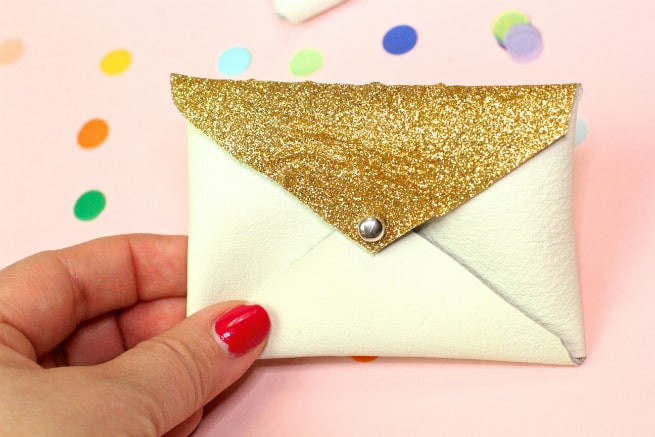
That’s it! You’re done and you’re left with some adorable business card holders that look like what you see below.
I put some of the Gold Glitter on the front closure flap of my monogrammed business card holder.
The back looks like this with the monogram. How cute is that? Amazing! I’m so proud of how good these came out since this is the first time I’m using leather for a DIY.
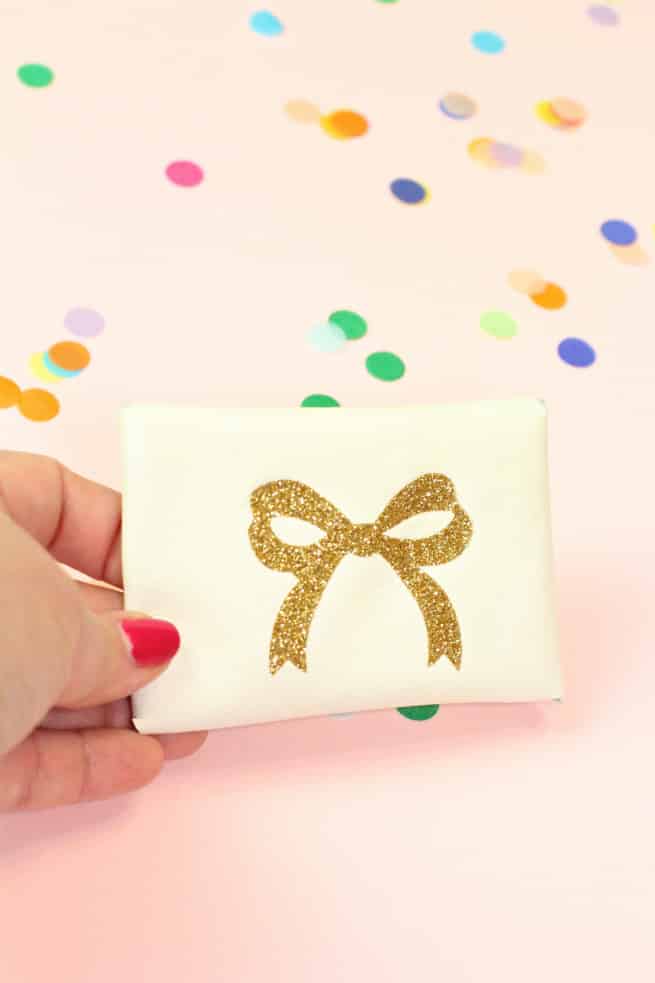
The bow design business card holder also came out looking adorable.
With the big bow on the back and the small bow on the front, it would make a great gift idea for the holidays for that special bestie you may have in your life.
The rose design also looks great on this business card holder.
This is such a fun accessory to make! It’s the perfect way to store your business cards or to organize your make up in your purse.
What ever way you decide to use this Gold Glitter Business Card Holder, I hope you enjoy it as much as we do!
And don’t forget to join me at the virtual party to celebrate the launch on HSN on October 7th! Once again you can even enter to win a GOLD Cricut machine for yourself, just by RSVP’ing HERE! I’m going to be there showing off these fun Gold Glitter Business Card Holders I made to celebrate!
I hope to see you there! A Gold Cricut is something to celebrate so come and join me, and let’s get our party on!
This is a sponsored post brought to you in collaboration with Cricut!
Thanks for supporting the brands that make this site possible.
For more information on all the amazing crafting products Cricut makes, visit their website Cricut.com.























Comments
This is amazing! The creativity never ends!!!