Hey All!
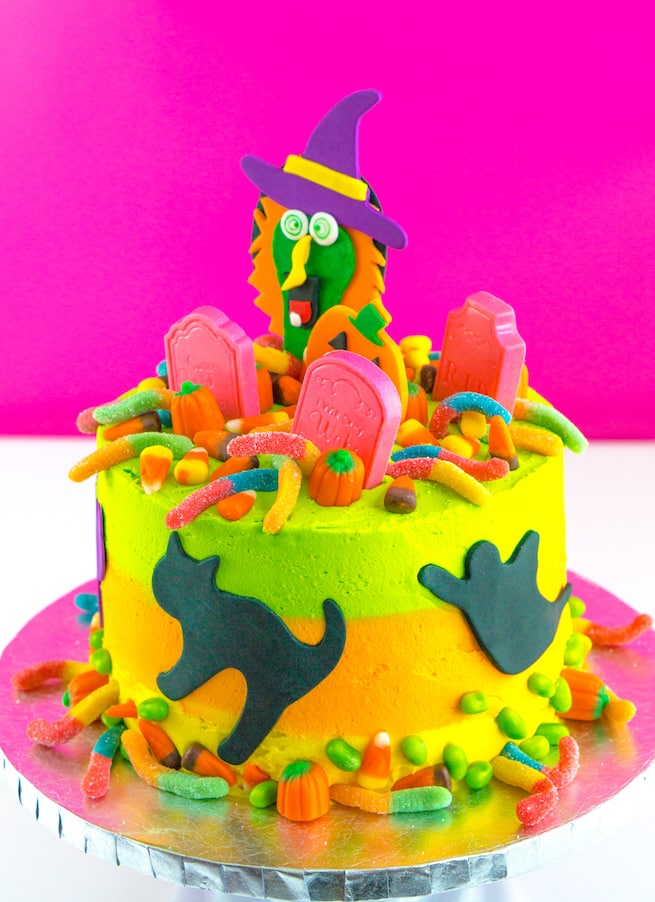
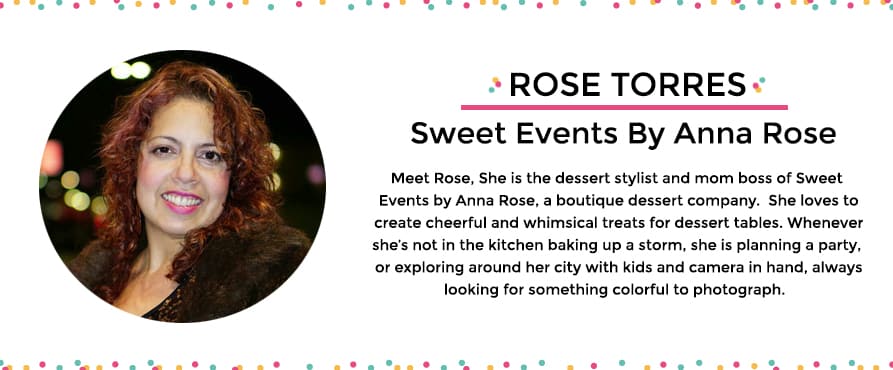
Today I’m going to blow your mind! Hold on folks, for this is the best cake ever! I asked my fellow queen of tasty treat contributor Rose (0f Sweet Events by Anna Rose) to make me a DIY Lisa Frank Inspired Neon Halloween Cake and boy did she deliver! I’m legit obsessed with this cake and could not wait to share it with you all. It’s truly the best Halloween cake ever! It’s a Lisa Frank retro Halloween over here on Brite & Bubbly, in case you didn’t know. I’ve been pulling out all my old school Lisa Frank Halloween products to get some inspiration and I sent them over to Rose to inspire her as well.
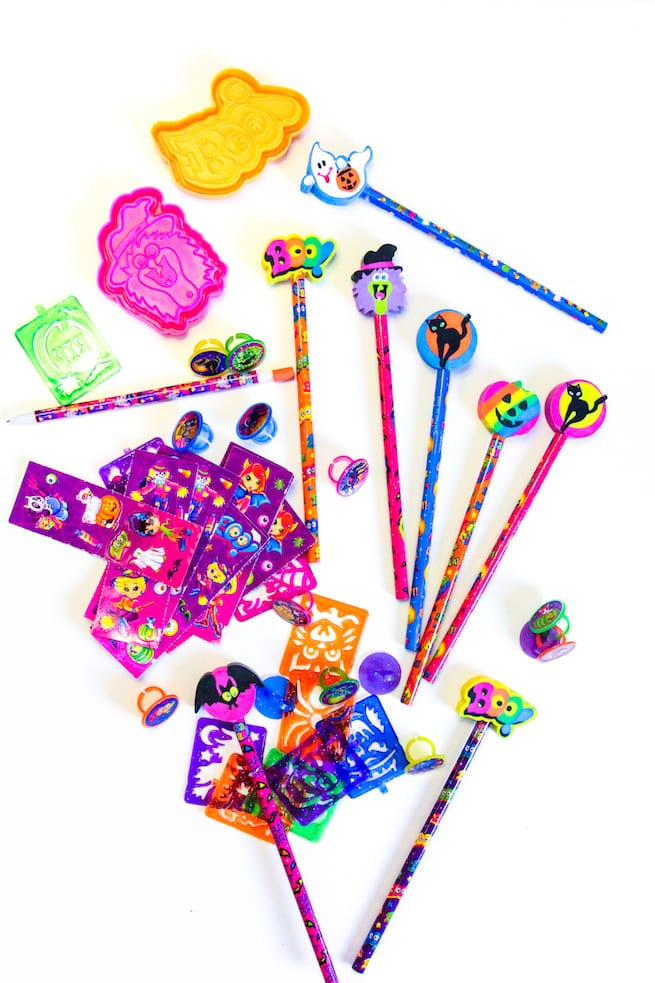
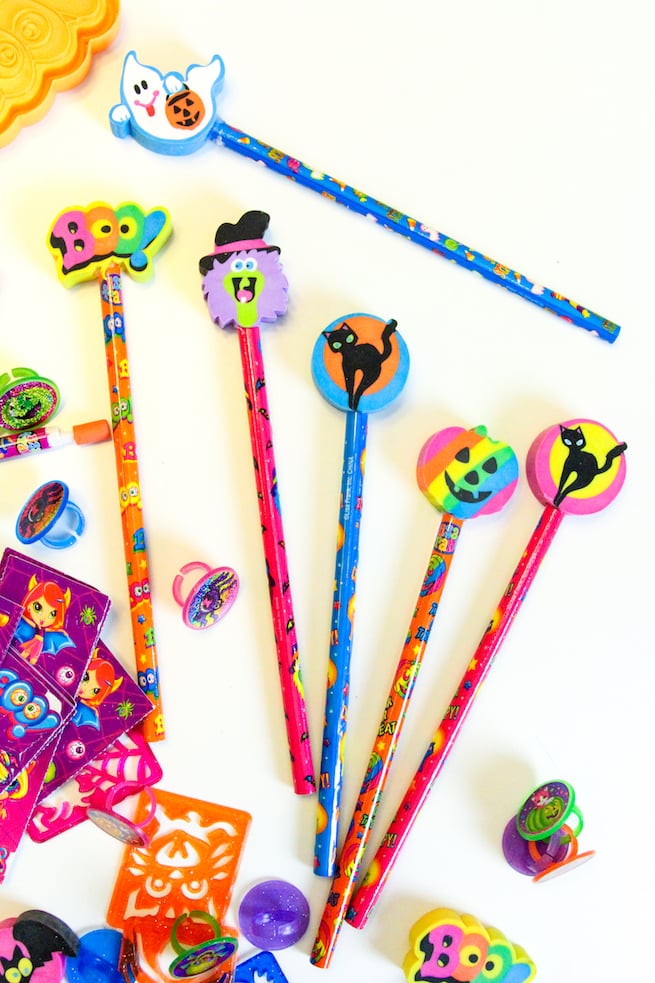
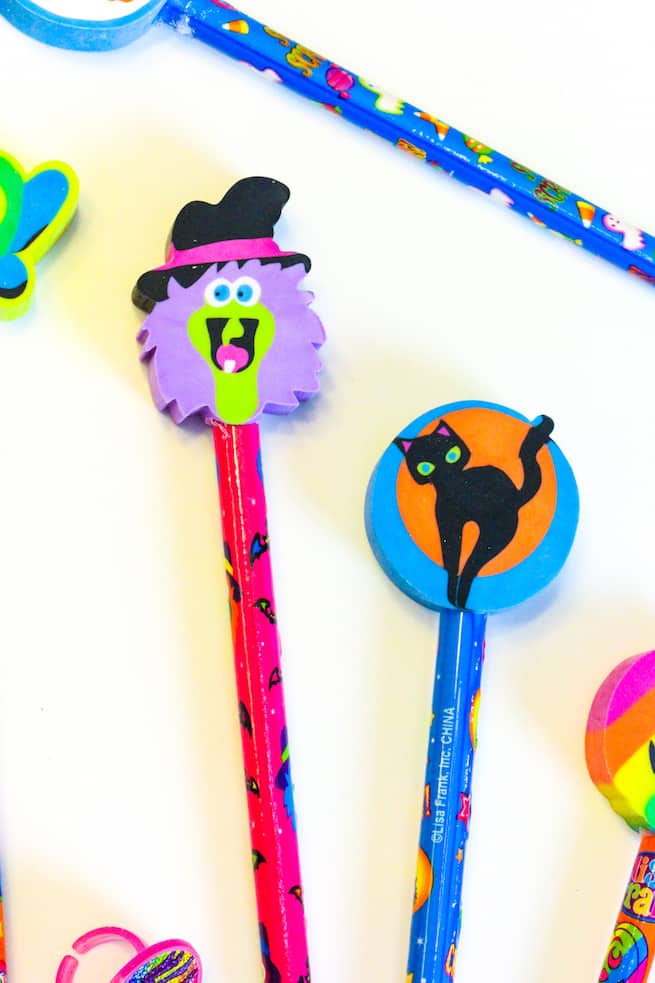
The main source of inspiration has been these amazing Halloween pencils. I’m so thrilled with how this cake came out as it truly encompasses everything I dreamed up for this cake to be in my head!
Here is the tutorial below, so you too can have this amazing colorful cake for Halloween!
Hello again Brite and Bubbly readers! Are you ready to throw it back? When I was in high school (okay it was really college, I’m no spring chicken!), Lisa Frank’s notebooks and folders were my thing. I remember my friends making fun of me for having all those childish school accessories, but what can I tell you, I liked them! So needless to say, I’m super stoked today to show you how to decorate a Halloween cake, inspired by Lisa Frank. The whole idea was to incorporate these Lisa Frank vintage Halloween pencils and erasers onto the design, along with her signature bold bright colors. I think you will have tons of fun doing this one!
You will need:
For the cake:
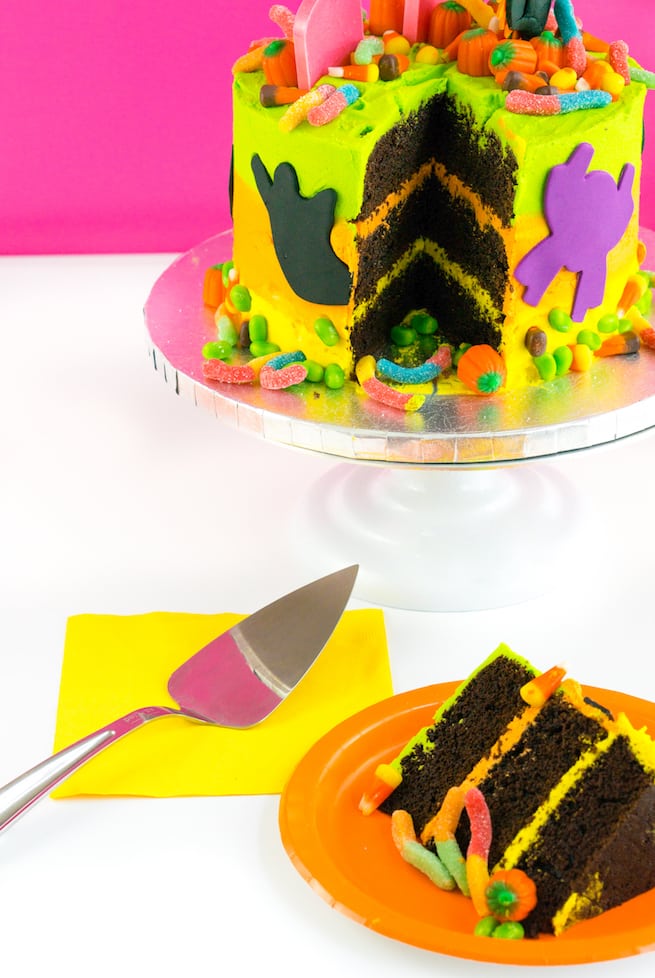
-Three 8” layers of your favorite chocolate cake recipe (you may use boxed cake to make it easy on yourself)
For the buttercream (make 2 batches):
-4 cups of powdered sugar
-3 sticks of butter
-2 tsp vanilla
-1 tsp milk
-1/8 tsp salt
-yellow, lime green and orange gel food coloring
-offset spatula (to smooth and even frosting)
-pastry scraper
For the cake topper and decorations:
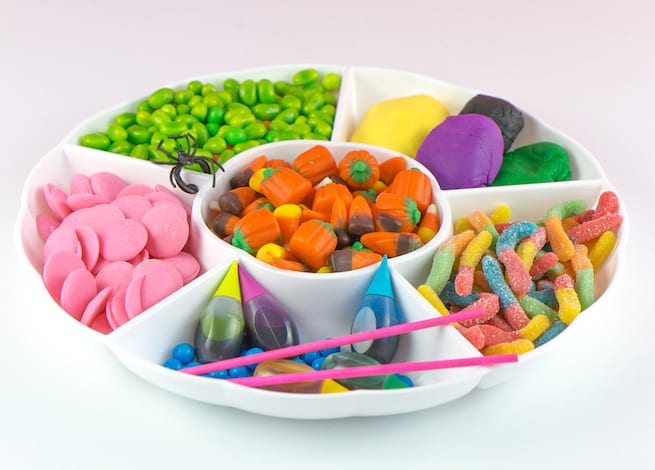
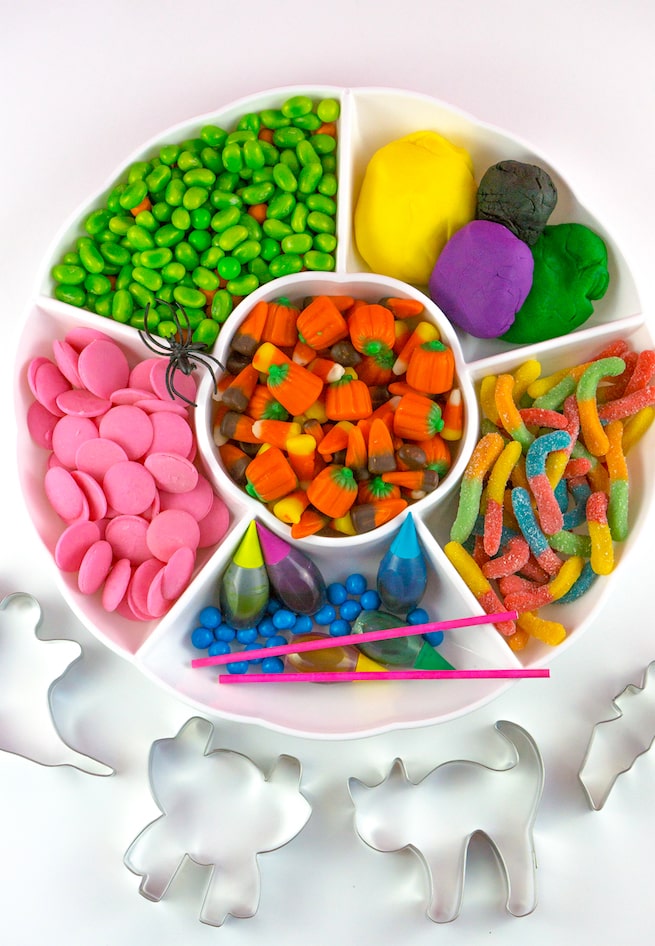
-Halloween candy corn (I found a cute version that includes mini pumpkins) and gummy worms
-Lime green jelly beans
-Hot pink candy melting chips
– Purple, black, white, yellow, green and orange fondant (you can dye white fondant with gel colors)
-A lollipop stick
-Halloween shapes cookie cutters – The Wilton Bucket comes with the witch hat, the cat, the pumpkin and the spider
-An oval shaped and a star shaped cookie/fondant cutter
-Green food marker
-Tombstone candy mold (from your local craft shop)
-Parchment paper
-A fondant roller (from your local craft shop)
-Baking powder to dust surface (you may use a silicon mat as your fondant surface)
-Small brush and some water to use as glue
I typically do my decorations 2 days before, so they are dry when I’m ready to put them on the cake. Dust your surface with baking powder before rolling out or cutting any fondant. This is how you keep it dry enough to handle without getting sticky. Set all your pieces on parchment paper once they are cut.
All the fondant pieces will be rolled out 1/8th inch thick and you must allow 1-2 hours for all pieces to dry, unless stated otherwise.
To make the witch:
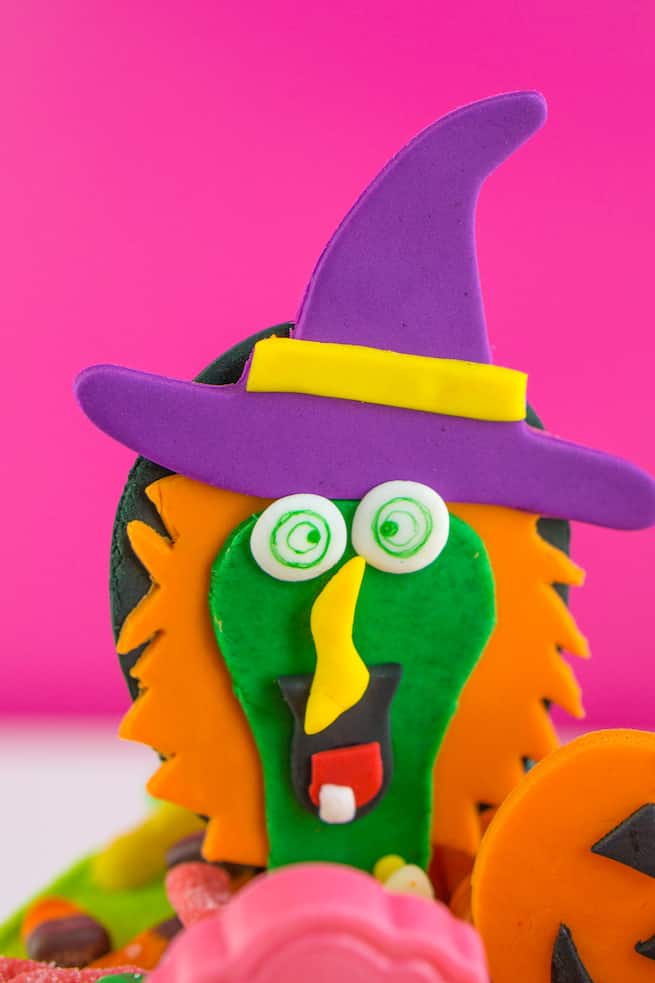
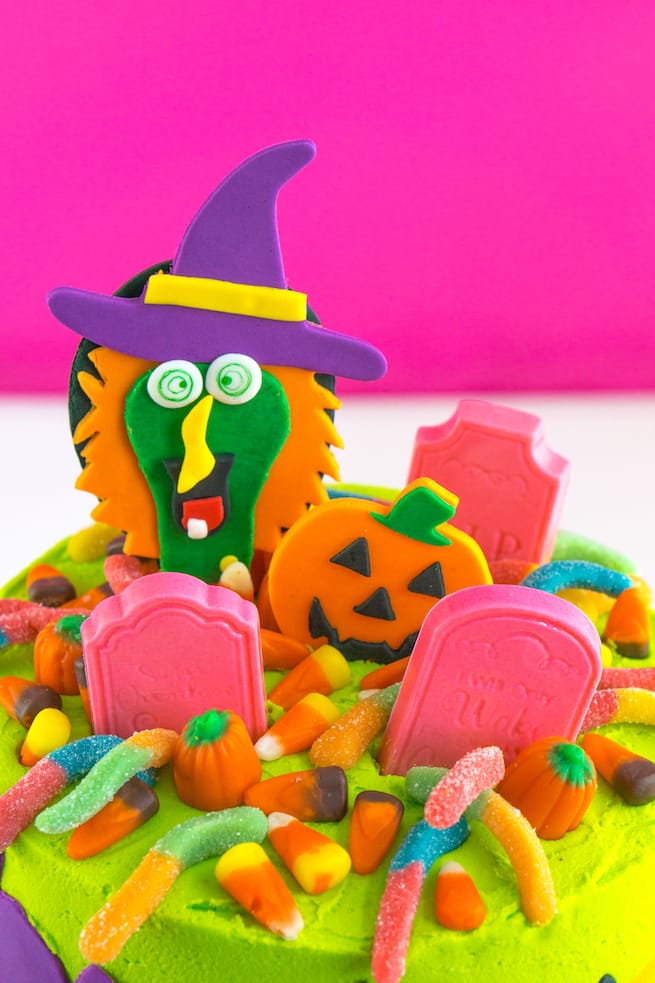
Roll out the black fondant about ½ inch. Cut out an oval to use as a backdrop for the witch’s face. Insert a lollipop stick, add more fondant on the back so that it covers the stick completely. Let it dry overnight on parchment paper.
Roll out the orange fondant and cut out an oval. Cut out little triangles around it to form the witch’s hair shape with a knife or fondant cutter.
Print this image and cut out the witch’s face to use as a stencil on the green fondant. Hand cut the witch’s face with a fondant cutter or knife. You may also use the hair on the image to guide you when cutting out the edges of the hair on the orange fondant.
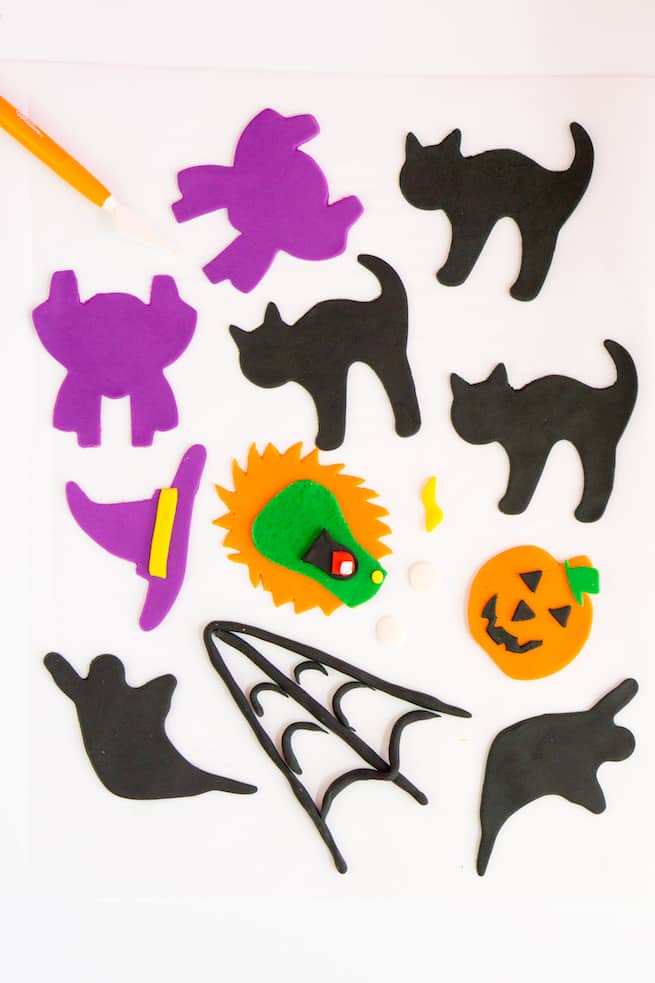
Cut out the purple witch hat and with the straight edge of any cookie cutter, the yellow stripe for the hat. To make the witch’s nose, use a small yellow fondant ball about ¼ inch, shape into a crooked banana and then flatten it a bit. For the white eyes and red tongue, shape into 1/8th inch balls and flatten. Give the tongue a “U” shape at bottom with your hands and cut a straight line at the top. For the black mouth, shape a 1/2 inch ball and use the same method as the tongue and shape the edges outward a bit. Shape into balls and flatten a tiny piece white fondant for the tooth and yellow for the wart. Once you flatten the tooth, cut it in a square shape.
Once everything is dry, draw green circles inside of the eyes. Glue all the face pieces using a small brush and a bit of water. Wait until the face dries to attach the hat. Wait until the hat dries to attach the witch to the black lollipop backdrop.
To make the pumpkin:
Cut out your orange pumpkin and green tip of the pumpkin. On black fondant, use one of the star cookie cutter ends to cut out little triangles for the pumpkin eyes and ear. Use the bottom part of the oval cutter to cut out the half-moon shaped mouth; and use the tip of star cutter to cut out smaller triangles on the top and bottom of the mouth so it looks like a carved pumpkin.
Roll out the black fondant and cut out the cats and ghosts. Roll out the purple fondant and cut out the spiders.
To make the tombstones:
Melt your candy chips according to the package. Pour inside the mold. Tap 3 or 4 times to clear out any bubbles and smooth it out. Chill for about 2 hours. Candy should pop right out.
To prepare the buttercream:
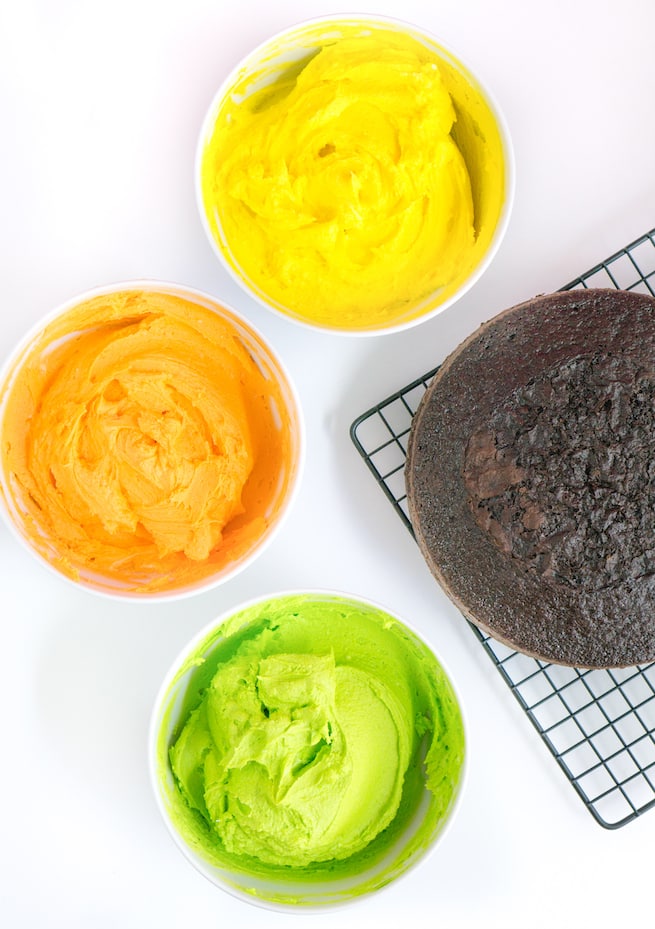
Mix the butter (at room temp.) with the sugar, milk, vanilla and salt for about 5 minutes. It will be the most delicious buttercream you ever tasted. Divide it evenly into 3 bowls, add about ¼ tsp of food coloring or more until you get the brightness you need.
To assemble the cake:
Spread a little bit of buttercream before you put your first layer of cake. Add about ½ inch of buttercream filling between layers. I used yellow at the bottom, orange in the middle and green on top to give all the orange candy and good contrast. Add a very thin layer of buttercream around and on top of the cake and freeze for about 15 mins. This is your crumb coat. To frost the cake ombre style, frost a stripe of each color of buttercream all around the cake using the spatula. Some people prefer to pipe it. Use the pastry scraper to smooth the frosting around only a few times so the colors don’t mix. Smooth out the cake edges with the scraper as well by bringing it in and cleaning it every time. It does not have to be perfect. Chill for about 20 minutes so the buttercream sets.
To decorate the cake:
Insert the witch lollipop first and the pumpkin next to it. Use candy to hold them in place. Insert tombstones around the cake and place the candy behind them to give them support.
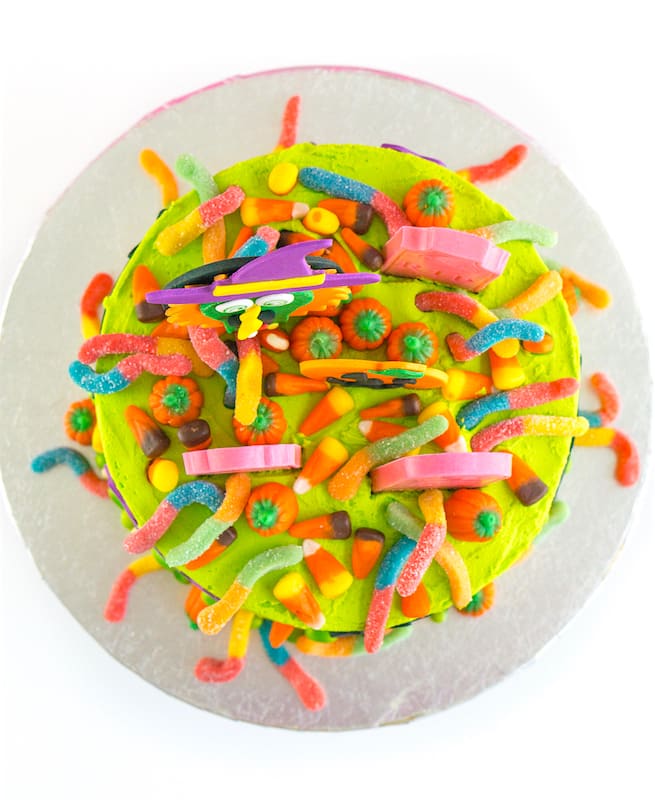
Add the rest of the candy corn pieces and gummy worms. Make sure that the gummy worms are sticking out of the cake for a creepy crawly effect.
Add your fondant pieces around the cake. I brush a bit of water as glue to make them soft so they can bend a bit. Stick jelly beans at the bottom of the cake.
Add candy corn and finally more gummy worms. Add as much candy as the cake can hold, don’t forget to include the kiddos and have fun with it!
We have more fun Holiday treats coming your way…don’t forget to share your comments. Until next time!
Thanks so much again to Rose for making my Lisa Frank Inspired Halloween Cake Dreams come true! Check out all of Rose’s tasty treats on Instagram at @SweetEventsByAnnaRose!
I hope you all love this colorful Halloween cake as much as I do! You can find more fun and tasty Halloween DIY’s HERE!
If you decide to make this cake, be sure to share a picture on any of your social channels and tag it #BandBSugarRush or #BandBHalloweenParDIY, so I can see! I love seeing all my fabulous readers making our tutorials!
























Comments