Hey All!
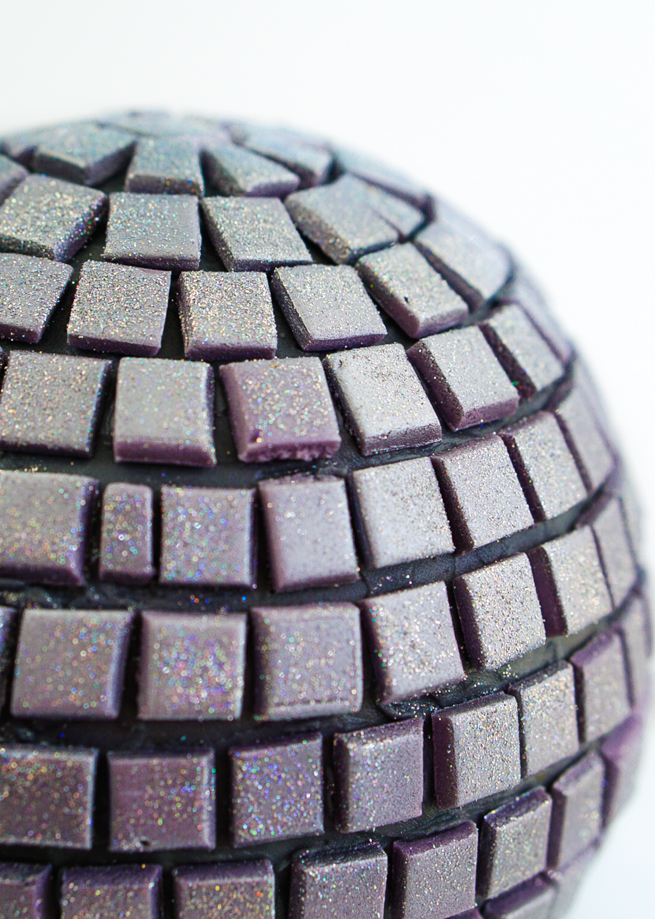
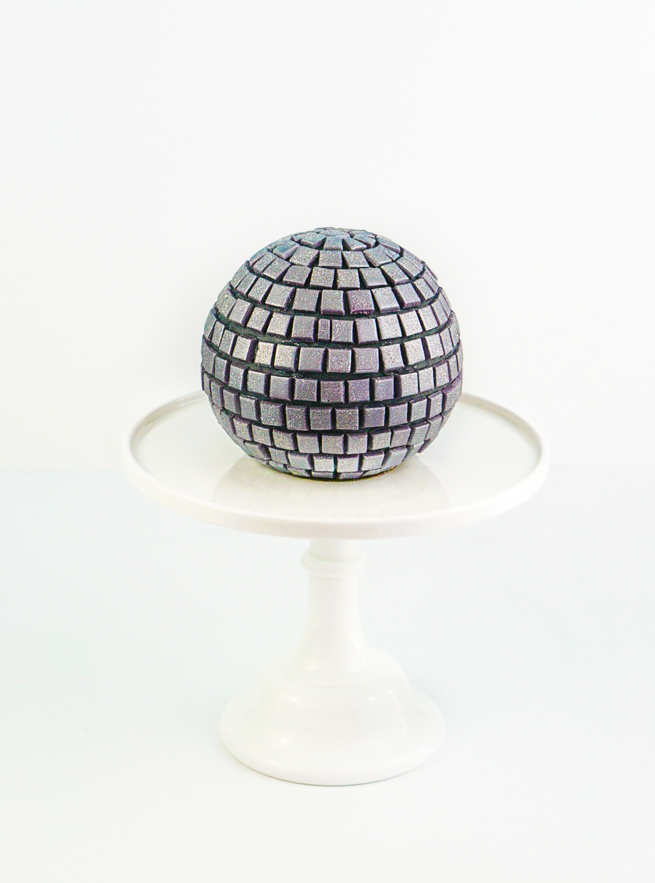
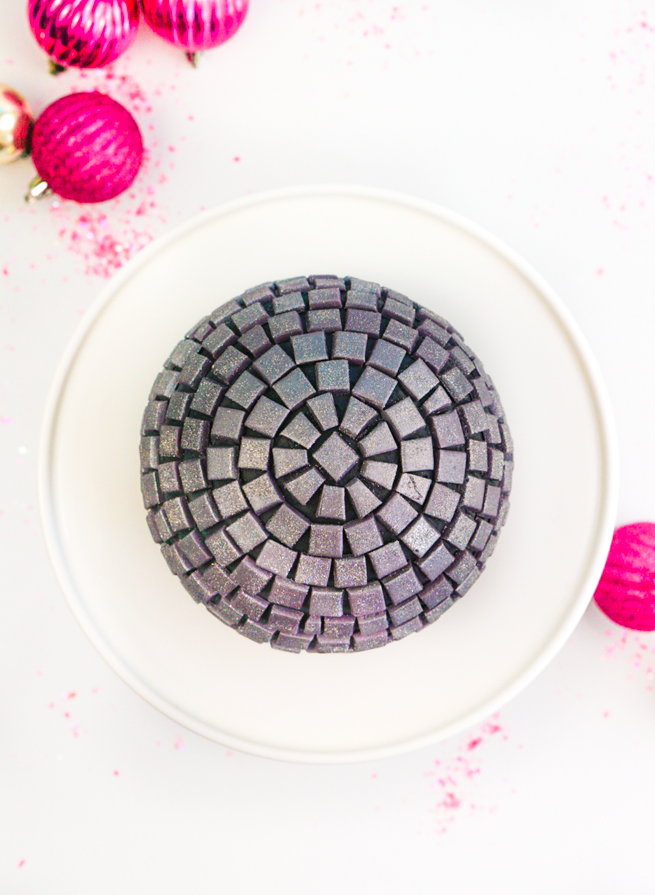
Happy Almost New Year!!! I knew I wanted to do something special for New Years Eve, so I tapped my fabulous cake Diva Rose from Sweet Events From Anna Rose to make me a DIY Disco Ball Piñata Cake to celebrate the ball drop for New Years. She delivered big time and I’m obsessed with this cake! It’s amazing. It totally captures the ultimate disco ball for New Years, which you can see right in Times Square when the ball drops. Here’s Rose to show you how to make it just in time for your New Years Eve parties.
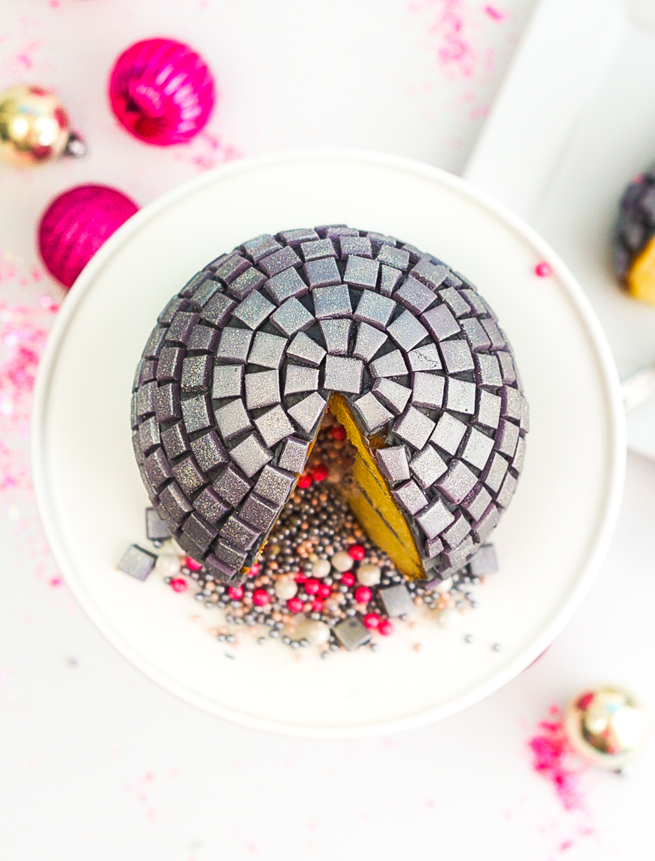
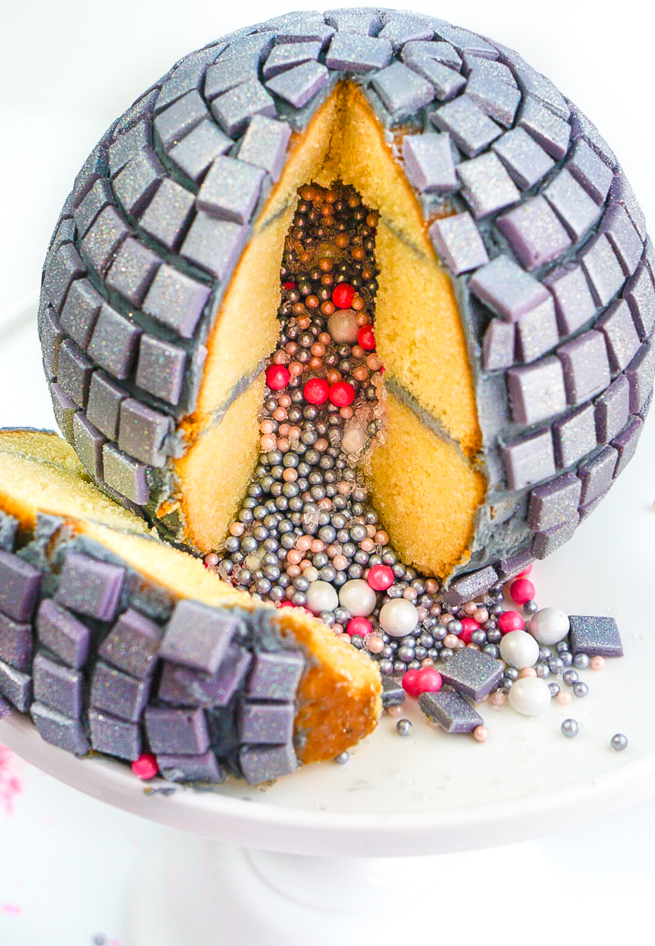
Hey Everyone, Rose here! I hope you are all excited about what 2017 has to offer! I am excited about all the fun treats we will be making in the new year! We are also celebrating the new year in style with a super cool Disco Ball Sparkle Piñata Cake. This cake is so cool, I would use it for any celebration not just New Year’s Eve. Not only is it a Disco Ball on the outside, but it also has a sparkly surprise inside when you cut it.
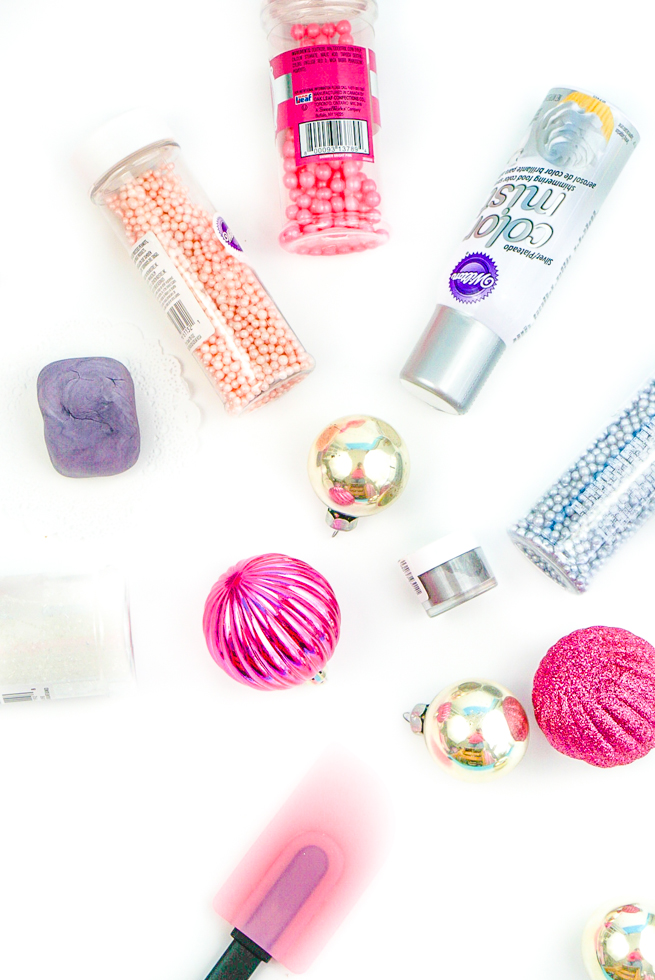
For this cake you will need:
- Your favorite cake batter
- Gray fondant (I mixed black and white)
- Gray buttercream
- Silver edible color mist
- Hologram Silver Disco Shaker (online cake supply store)
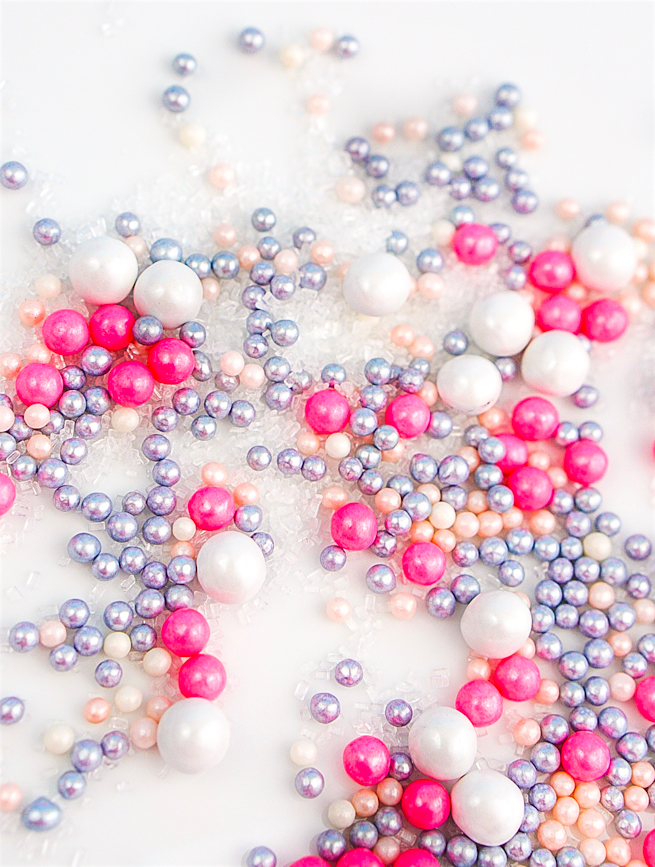
- Any color sparkly sprinkles, pearls and sugar crystals (I used pink, silver and white)
- 3D Ball Cake Pan
- Pastry Cutter
- Circle cookie cutter (around 2” diameter)
- Plastic ruler
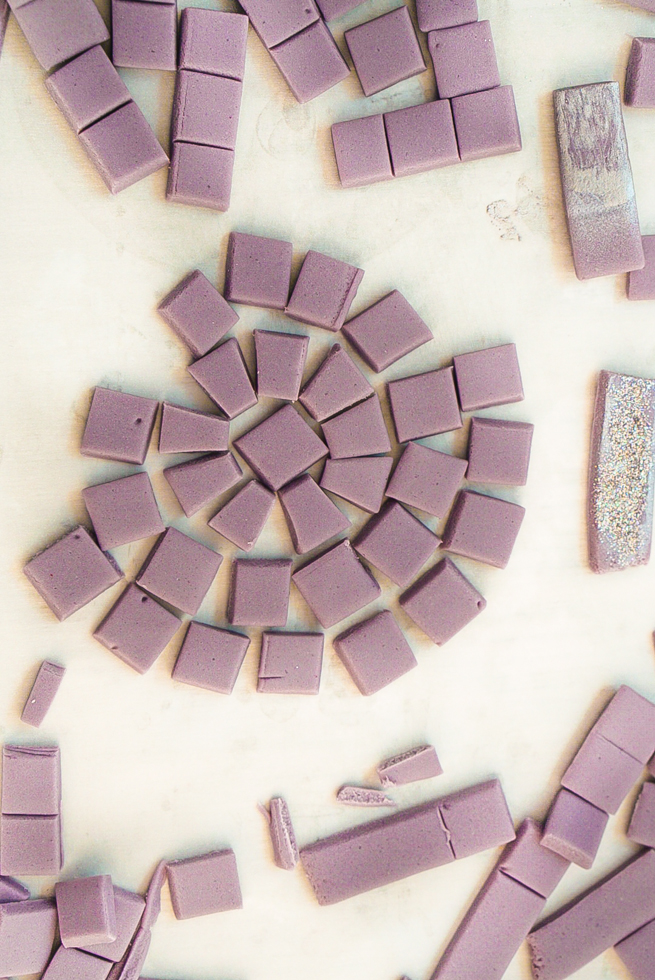
Roll out fondant to 1/8 inch. Let it dry for about an hour. With the ruler measure and mark squares of ¼ inch in size. Cut out the squares with the pastry cutter.
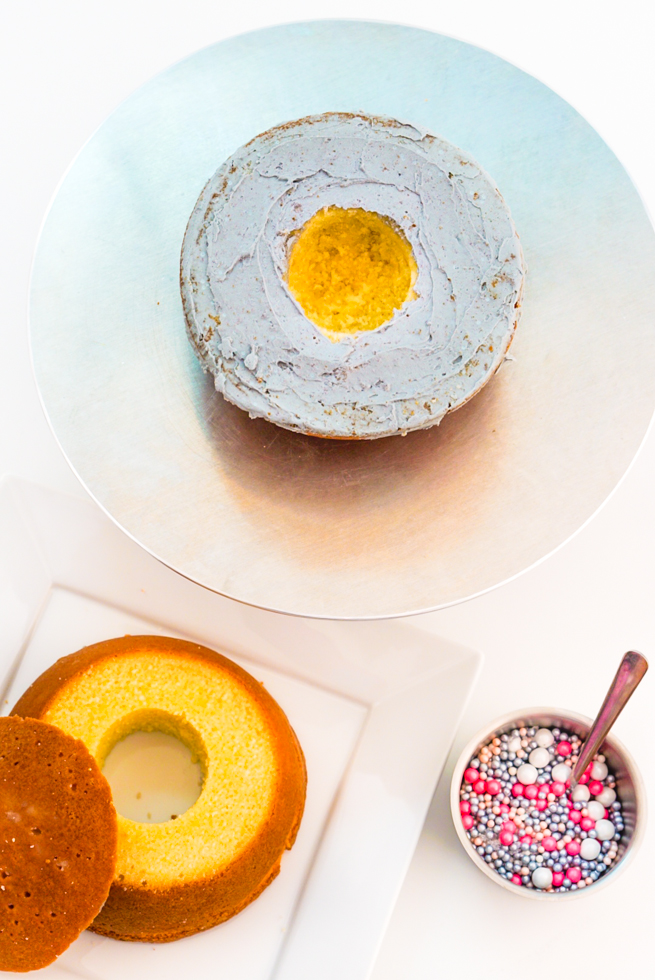
Bake the cake following the instructions on the pan package. You will have two half cakes. Put a dollop of buttercream on a small cake plate, place on top of 1st half cake and turn over.
Using the cookie cutter cut out a circle in the middle of it, making a cavity of about two inches deep. Cut off the top of 2nd half cake (about 2inches). Cut out a circle in the middle of the remaining piece. It will look like a donut.
Assemble that piece to the 1st half cake, with a thin layer of buttercream. You will have a hole of about 4 inches deep. Fill in with sprinkles, sugar, pearls and/or candy. Assemble the top piece with a thin layer of buttercream. Add a crumb coat and freeze for 20 minutes. Finish with a thin smooth layer of buttercream. Let it set for at least 30 minutes.
While you wait, make sure the fondant squares are dry and separated. Spray silver mist and sprinkle disco shaker immediately. You must sprinkle while the mist is still wet so the disco shaker sets.
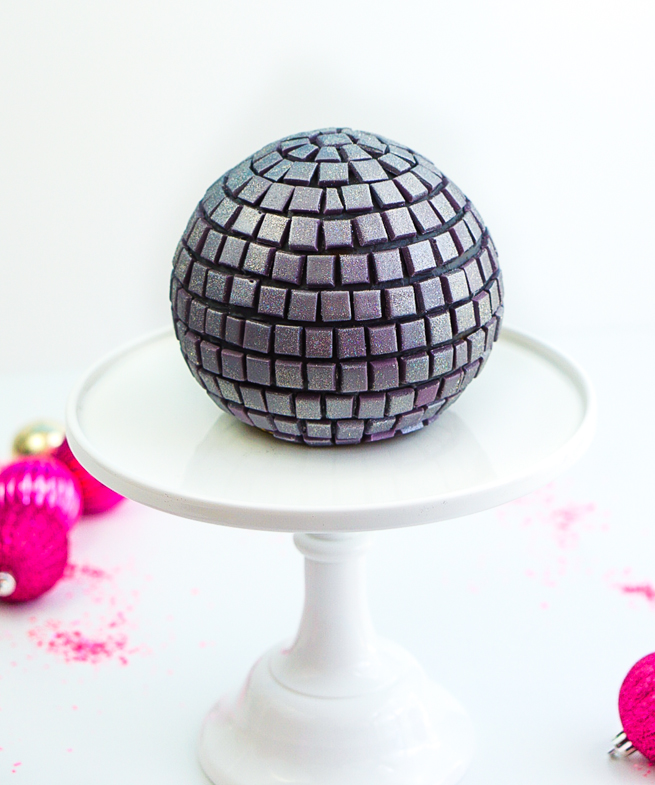
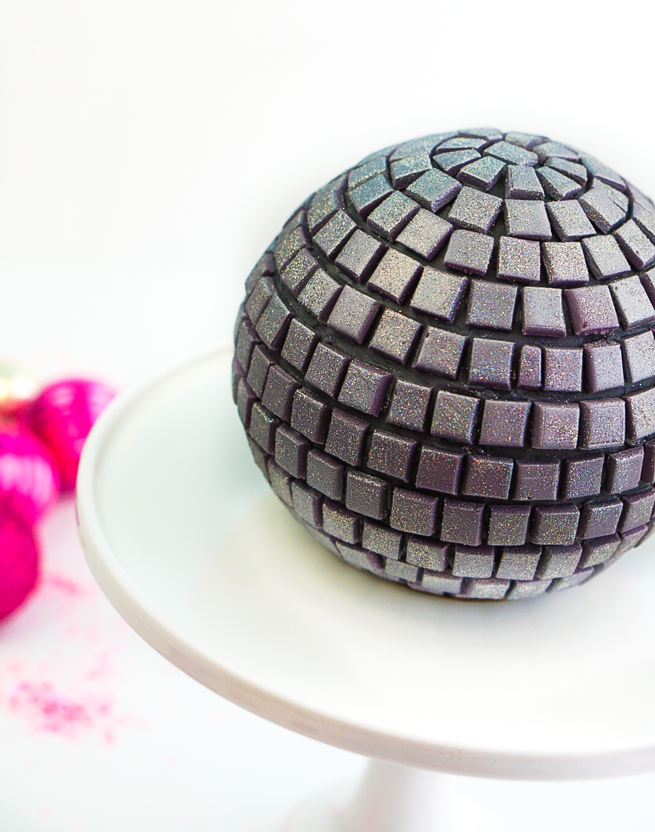
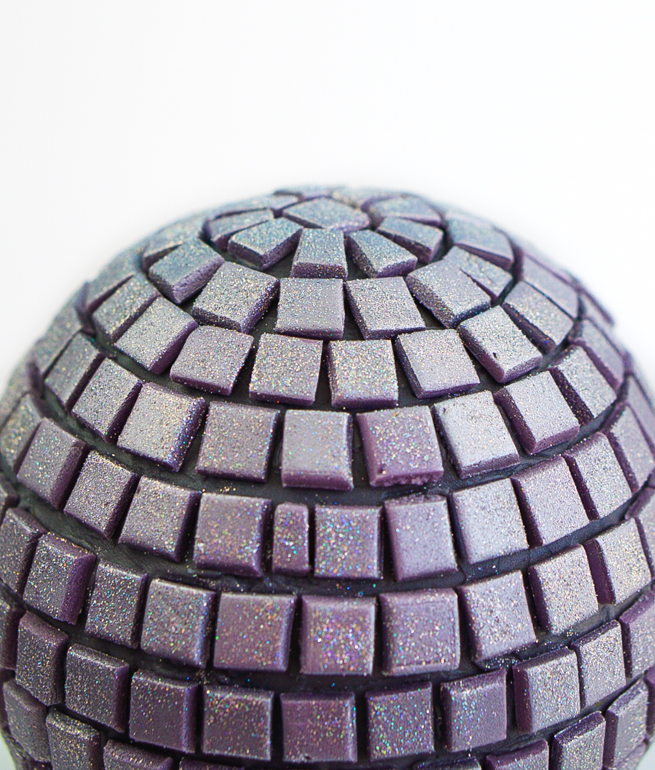
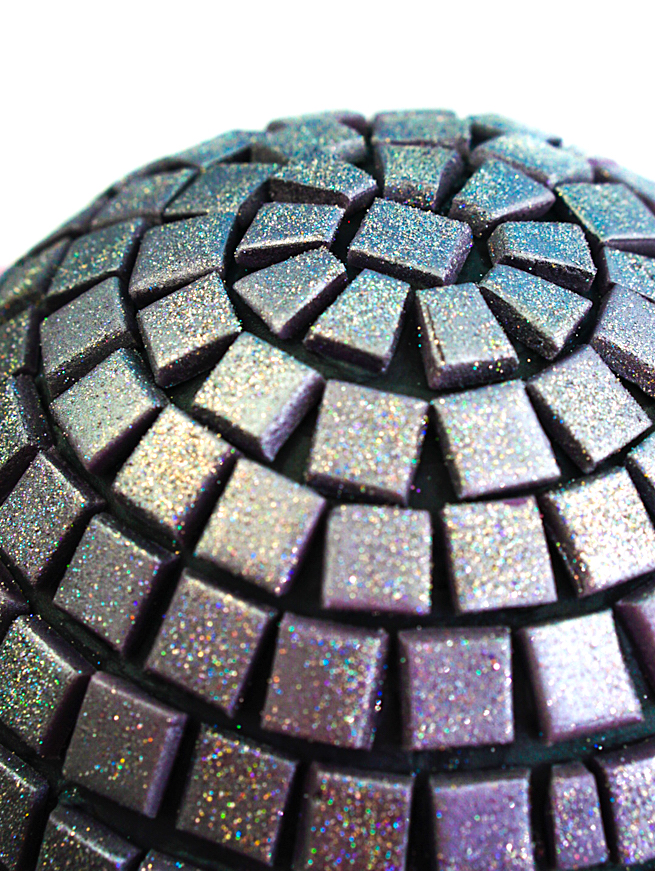
Here comes the fun part and you will love it if you like puzzles. Assemble your square pieces to look like a disco ball starting with the top middle and working your way around. Place one square in the middle.
For the first row, cut 10 squares in the shape of a trapezoid, which is similar to a square but the top is shorter than the bottom.
From the 2nd row on, assemble the regular squares trying to alternate as if you were placing bricks.
Go around doing a line as straight as you can. If you don’t have enough room on the last spot of the line, cut a square to size to make it fit.
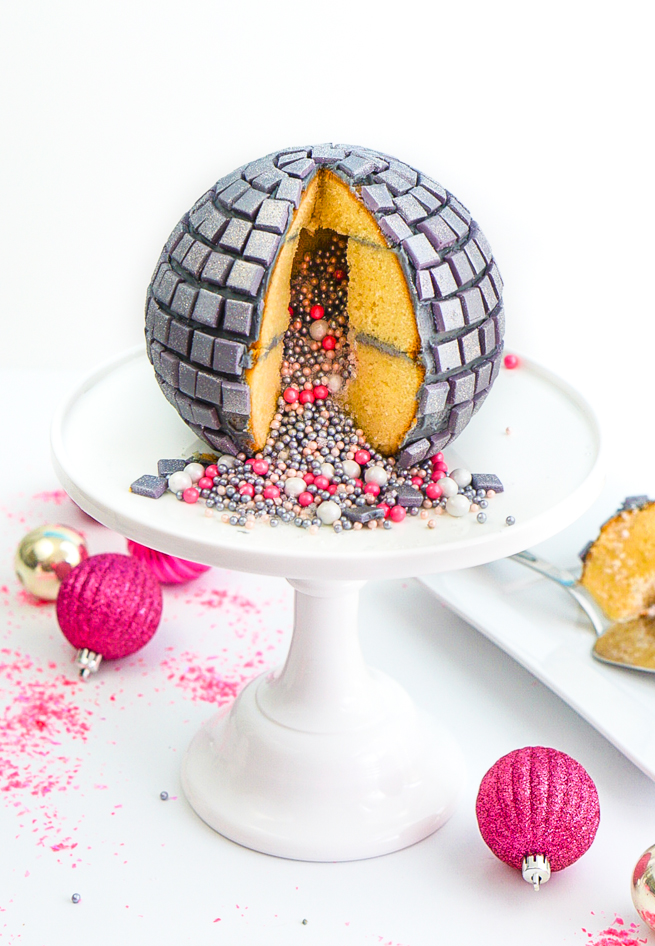
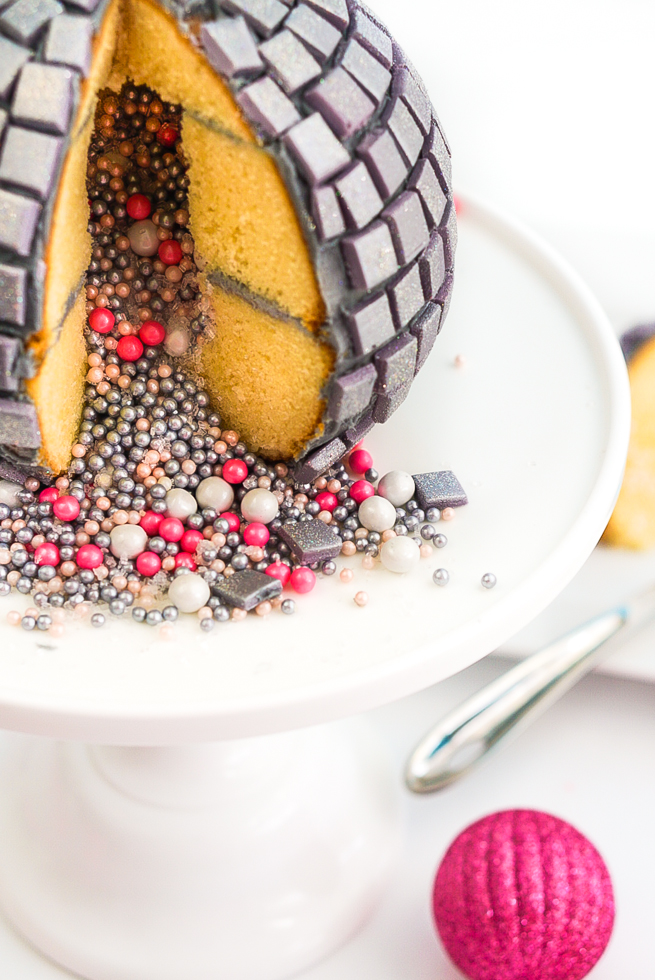
Cut the cake and watch the sprinkles fall like a piñata!
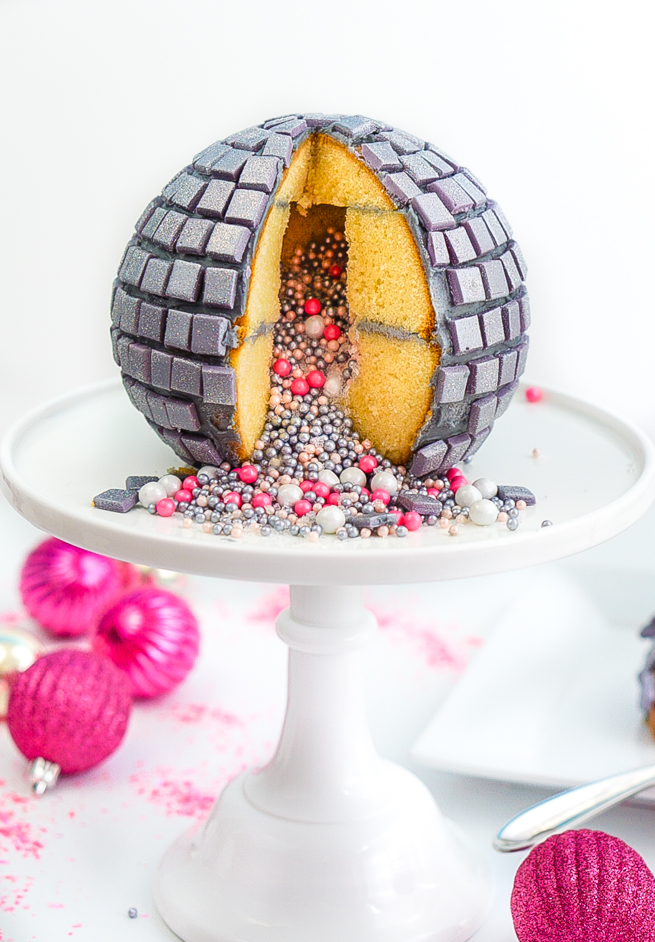
It would be fun to cut the cake right at midnight as a new tradition. I hope it was as much fun for you to make and cut this cake as it was for me.
Hope you love this cake as much as I do!
Have a very happy New Years Eve full of fun DIY’s. Happy 2017 folks!!!
Find more fun New Years themed DIY’s HERE!

















Comments
I love your idea, so original. Awesome job.
Thanks for share DIY New Years Disco Ball Piñata Cake!
Fabulous! I am a novice baker and would like to try this out as a surprise for my step daughter. What is a crumb coat? And before freezing, should the whole outside of the cake have buttercream icing or only the bottom half and the in between layers? Thank you
A crumb coat is a thin base layer of frosting that you apply and then allow to harden in the fridge. This allows the final coat of frosting to be nice and smooth, without crumbs.
Are these squares really 1/4”? I’m making it now and they’re tiiiiiiny.
How in advance can I prepare this cake for a birthday party?