This post is sponsored by The Home Depot.
Hey all!
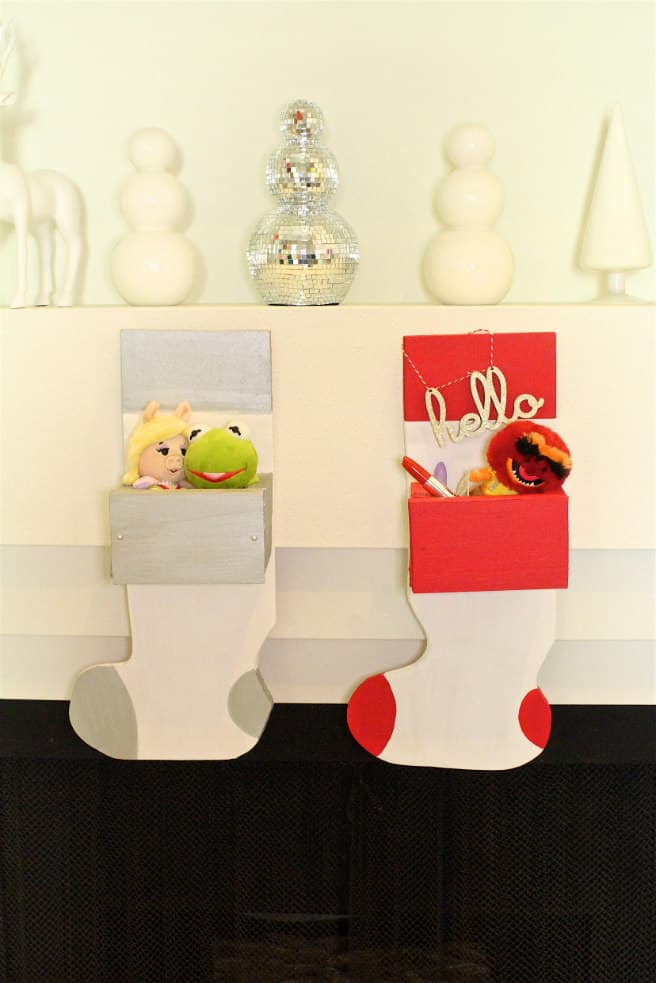
I know Halloween hasn’t even passed yet, but we’re getting a jump-start on our DIY holiday-decoration ideas. The holidays are my favorite time of year, and I love to decorate. I make sure each corner of our home has some festive décor. If you’re looking for something fun to make for your mantle or walls this year, check out this fun, easy DIY wooden stocking hanger! It’s so fun and festive for the holidays.
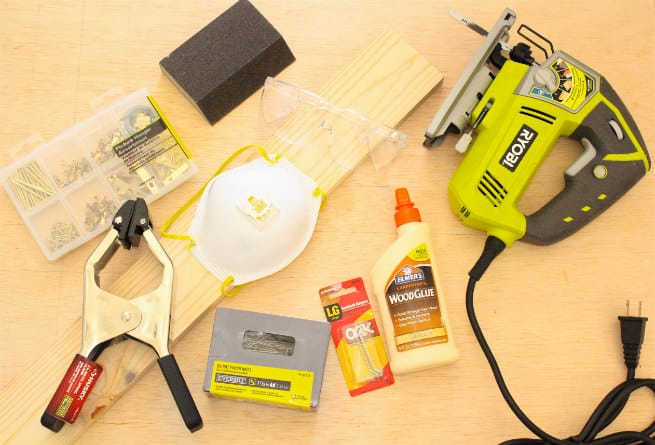
Here are the steps and supplies you’ll need to make this easy do-it-yourself or, should I say, do-it-herself project.
SUPPLIES:
- 1 piece 24-by-48-by-1/2-inch sanded plywood
- 1 piece 1-by-4-by-72-inch common pine board
- 1-lb. pack #15 1 1⁄2-inch 4D bright steel finish nails
- 8-oz. bottle wood glue
- Steel sawtooth ring hangers (this product holds up to 20 pounds)
- Picture-hanging kit (this product holds up to 35 pounds)
TOOLS:
- Jigsaw
- Table or circular saw
- Hammer
- Tape measure or yard stick
- Pencil
- Clamps
- Latex gloves
- Sanding block
- Paint brushes or staining rags
- Safety goggles
All these materials and tools can be found conveniently at The Home Depot. You can also get a live lesson to learn how to make this DIY project at one of The Home Depot’s Do-It-Herself Workshops, which are held at all store locations. The Home Depot wants everyone to have the skills and confidence to be a first-class do-it-yourselfer. In-store workshops are a great way to get step-by-step instructions and hands-on experience learning to do simple décor and easy home improvements.
Clear your calendar and grab your girlfriends on the third Thursday of each month, for The Home Depot’s #DIHWorkshop. This interactive, hands-on workshop is a great opportunity to fine-tune your DIY skills and pick up tips and advice from the pros for all your home-improvement projects.
If you want to have a fun holiday DIY experience, register online today to attend this month’s workshop for this holiday wooden stocking project. If you’re OK with making it at home, here is how you make it!
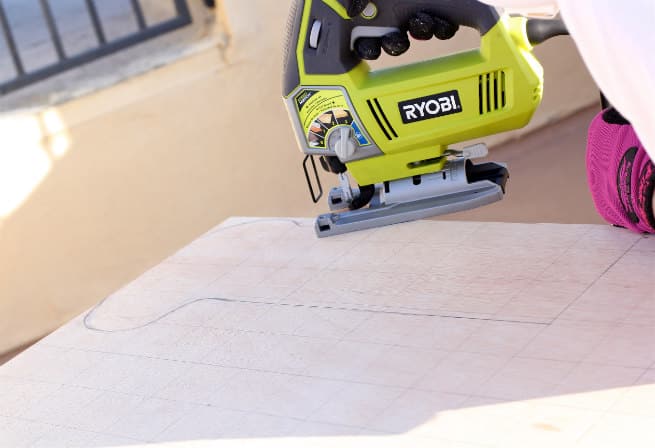
First, use a pencil and tape measure or yard stick to mark a grid of 6-by-6-inch squares on the sanded plywood. Then use the grid as a guide and draw two stocking shapes. They will fit best if you draw one upside down and the other one right side up. The neck of the stocking is 1 grid square wide, the length is 3 grid squares long, and the foot is 2 grid squares wide at the bottom.
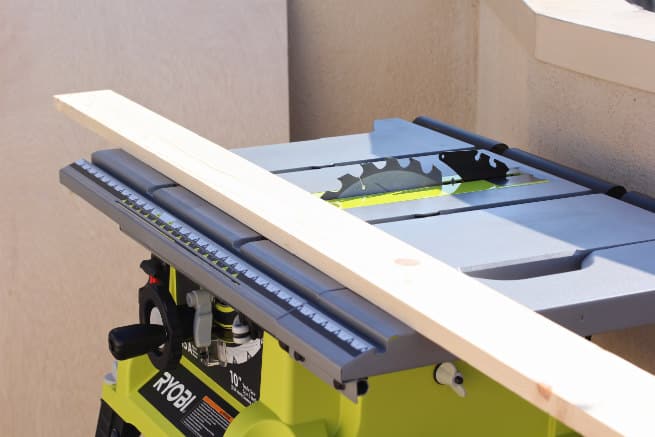
Next, use a jigsaw to cut out the stocking shapes from the sanded plywood. Use the 1-by-4-by-72-inch pine board to cut the parts for two boxes.
Cut the following:
- 4 side pieces, 3 1⁄2 inches long
- 2 bottom pieces, 4 1⁄2 inches long
- 2 front pieces, 6 inches long
Once your pieces are cut, apply a bead of glue to the left edge of the bottom piece. Place one of the side pieces against the glue and nail it into place. Repeat this step for the other side of the bottom piece. Then attach the front piece to the U-shaped frame, and run a bead of glue along the edges of the frame. Lastly, place the front piece on top of the glue and nail it into place.
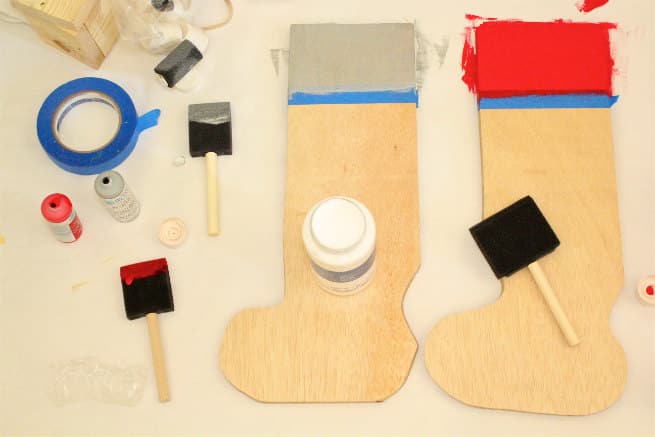
To make the stocking, lightly sand the stocking shape to remove any rough edges, then paint all the pieces. Allow the paint to dry completely before moving to the next step.
Place the finished box face down on a work surface. Position the painted stocking shape face down on the box and nail together.
The final step is to nail the sawtooth hanger to the back of the stocking.
Hang the stocking on a wall or wooden mantle with a picture hanger or Command hook. Use a Command hook for stone mantles. Make sure the hanger is rated for projects up to 35 pounds to support the stocking and the contents of the box.
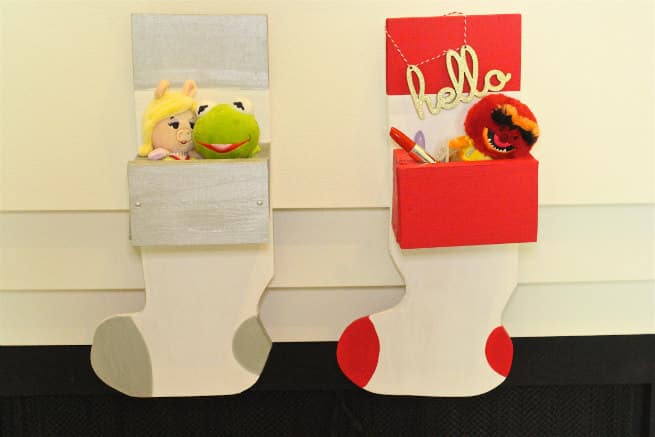
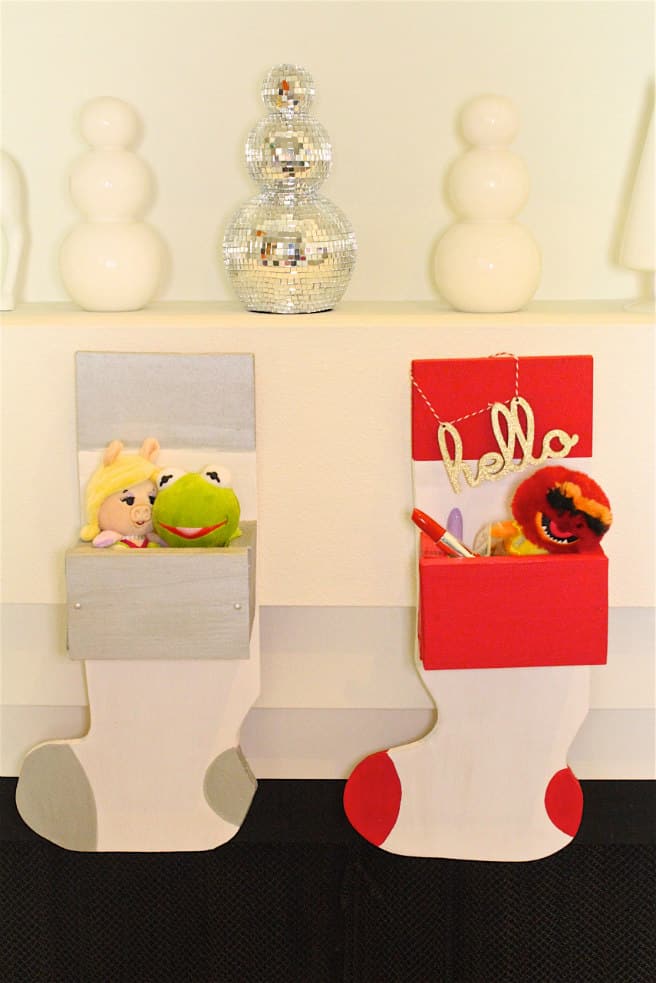
That’s it! You’re done! You now have a fun holiday wooden stocking decoration. I painted mine silver and white and red and white because my theme this year is a disco holiday. My stockings have to match my holiday theme décor, of course. You can fill them with holiday stocking stuffers, plants, candy treats, and more!
Again, everything used to make this was bought at The Home Depot. They really are a one-stop shop for supplies and lessons on fun holiday DIYs.
For more info, visit The Home Depot Do-It-Herself Workshops site!
If you’re in the Los Angeles area, I hope to see you at these fun workshops!
I hope you enjoy making this easy holiday DIY wooden stocking hanger from The Home Depot as much as we did!




Comments