This post is sponsored by The Home Depot.
Hey All!
Today I’m sharing another fun collaboration with Home Depot! This one is a fun festive project as we gear up for Halloween. For ladies like myself who love to DIY, Home Depot offers Do-It-Herself Workshops that are held monthly at all The Home Depot store locations. This DIH Rustic Pumpkin Stand is going to be one of the Do-It-Herself Workshops you can take at Home Depot. These workshops empower women with the skills and knowledge to take their home improvement project plans from dreams to done. The Home Depot wants everyone (men and women) to have the skills and confidence to be first class do-it-yourselfers. In-store workshops are a great way to get step-by-step instructions and hands on experience learning to do simple décor and easy home improvements.
This week I decided to make this DIH Rustic Pumpkin Stand project inspired by their upcoming Home Depot 2015 DIH Workshop, which will show you how to make it live if you attend. You can sign up for the DIH Rustic Pumpkin Stand workshop here.
If you decide to make it at home, here is everything you’ll need to make this festive Halloween Pumpkin candy treat holder.
MATERIALS:
- 2 – 72” x 5-1/2” Fence pickets, square edged preferred
- 1 – 1×2 x 4 feet long (can cut 8 foot long 1×2 in half for use on two projects)
- 1″ staples
- Exterior wood glue
TOOLS:
- Measuring tape
• Circular saw or miter saw
• Jigsaw
• Ryobi Airstrike Crown Stapler - Clamps
• Solid work surface
• Carpenter’s pencil
PUMPKIN:
- 4 – Fence pickets cut into 18” long pieces (length can be flexible to accommodate all four cuts on a single fence picket)
- 2 – 1×2 @ 20″ long
- 1 – 1×2 @ 8″ long (length can be flexible to use up scrap wood)
FRONT BOX:
- 1 – Fence picket @17″ long
- 2 – Fence pickets @ 5-1/2″ long • 1 – Fence picket @ 16″ long
Hopefully you have most of these tools in your garage or your husband or wife has them. The cost for this project should be just $25.
It does take a fair amount of time and dedication to do this one. The difficulty level for this project is Intermediate. You need to know how to use a circle saw and staple gun to make it. If you don’t, I don’t recommend doing this project without someone who does know how to use them. It will take about 3 hours to make (includes drying time).
First you cut all of your boards according to the cut list. For the pieces on the pumpkin, there is flexibility to cut slightly shorter to accommodate all of the pieces per given materials list. For the box pieces, it is important to cut straight and accurate to the cut list. The easiest saw to cut these pieces with is a miter saw, but a circular saw can be used as well.
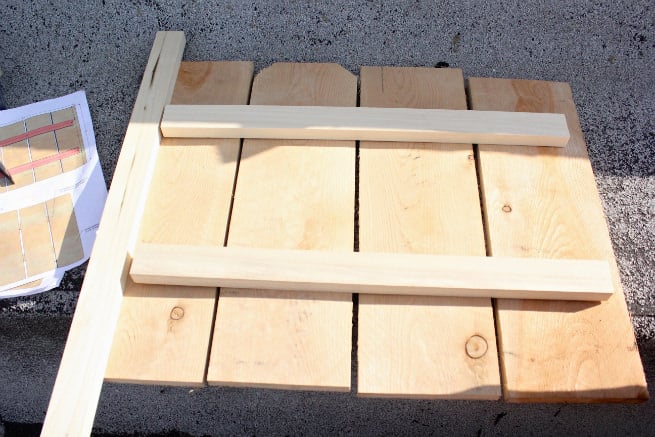
Lay the four fence pickets on the work surface, so overall width is about 23″. Place 20″ long 1x2s on top, with about 1-1/2″ gap on either end. Use wood glue and two 1″ staples per overlap of 1×2 and each fence picket to secure 1x2s to the fence pickets.
Flip the project over. Add additional two staples per overlap of fence picket and 1×2 to secure fence pickets from front to 1×2 supports. Do not staple within 1″ of the edges, as there is no 1×2 backing here.
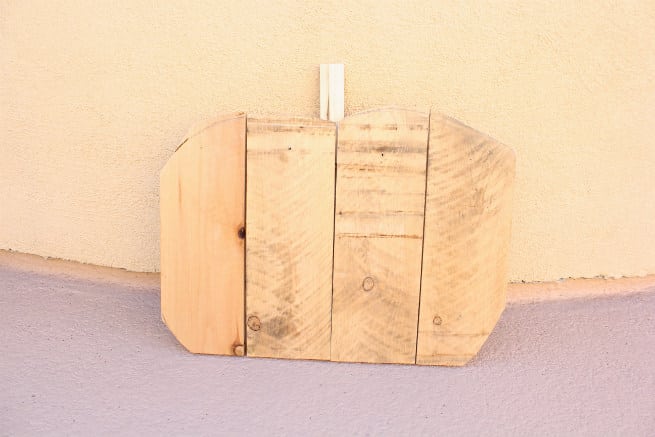
Starting 3″ out at the bottom of your wood pieces, draw a pumpkin shape on the front of the boards. Avoid drawing so that the 1×2 supports will be crossed. Keep the shape organic and unique. Pumpkins generally are “bottom heavy” so consider a smaller rounding on the bottom and larger rounding on top. Position project so area to be cut out overhangs work surface to allow jigsaw blade to cut freely. Secure the project to the work surface with two clamps. Test to make sure project is secure. Cut out following pumpkin shape with jigsaw. Remove clamps and reposition and re-clamp to cut full pumpkin shape out. Place stem in center of pumpkin and attach with glue and 2″ staples.
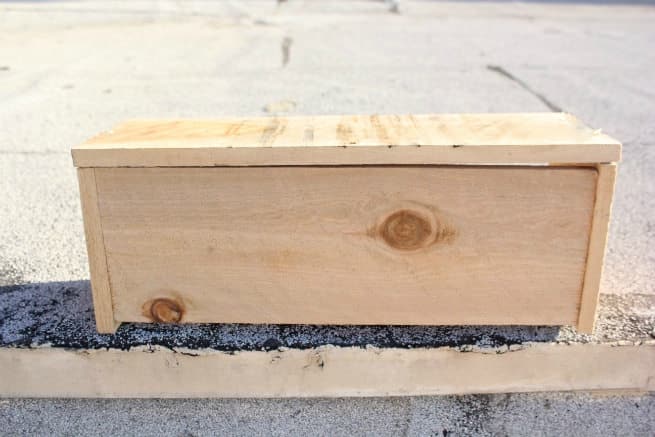
Lastly, use glue and 1″ staples to attach front of box to the sides of the box. Apply glue along three edges of bottom of box. Place the bottom of box inside front and sides. Staple in place along side and front edges with 1″ staples.
You then place the box open side up on work surface. Apply glue along top edges. Place pumpkin on top, aligning bottom edge, and the start of the pumpkin shaped cut with the outside corners of the box. Use 1″ staples to secure bottom of pumpkin to bottom of box. Use a straight edge to guide you when stapling the pumpkin to the sides of the box. Sand any rough edges with sanding block. Apply an orange paint or stain as desired.
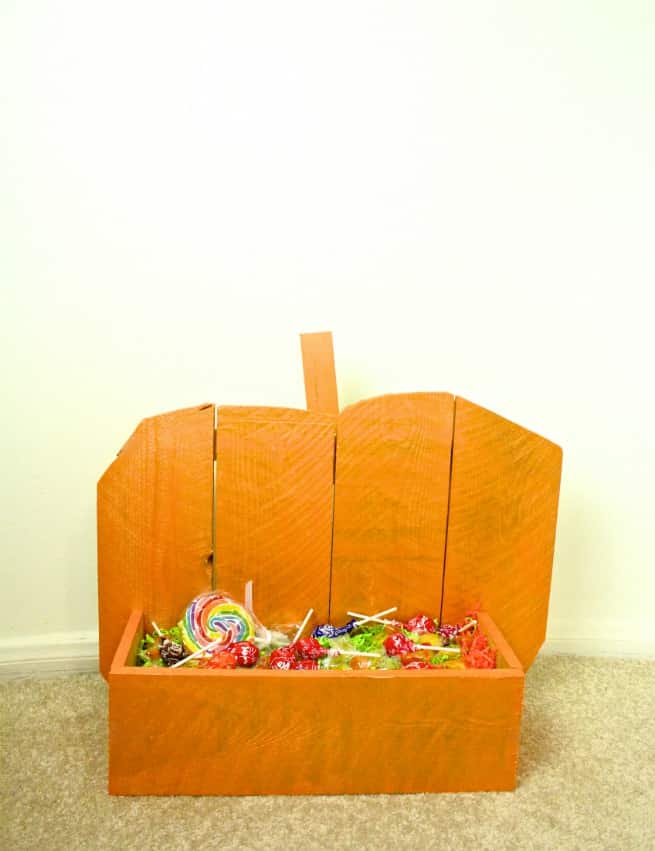
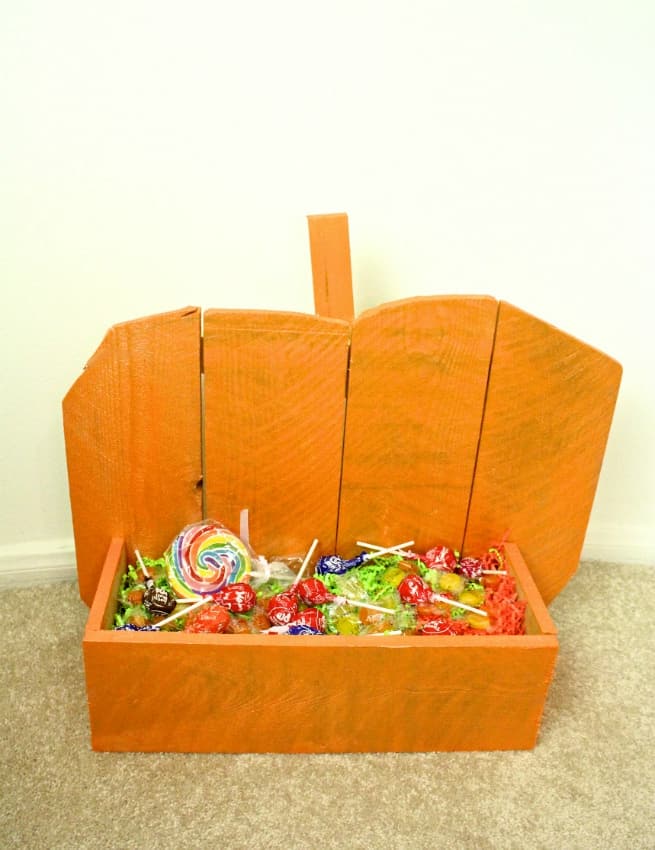
When you’re done it will look like this picture below! Well maybe yours may look better, but you get the idea.
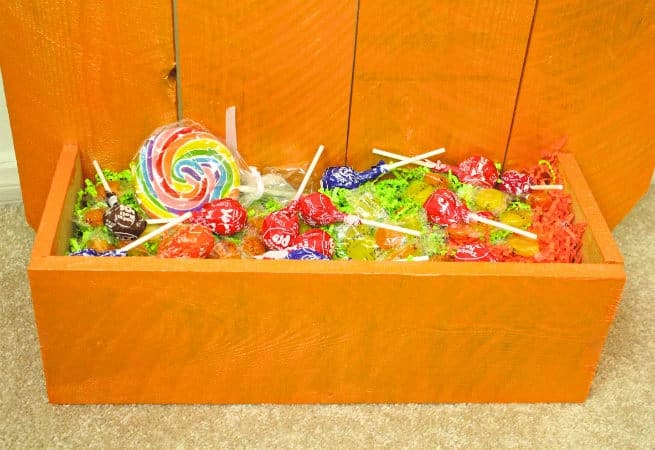
You then fill the draw with your favorite candies and get ready for those trick-or-treaters or Halloween party guests to have something fun to pick candy out of.
It didn’t come out as perfect as I wanted as our circle saw was not the best, but we did our best and I still think it looks like a pumpkin. It’s a DIY project. It doesn’t have to be perfect! That’s what gives it that personalized touch and charm. It’s a cute piece of décor for the fall season that you can easily make in your home!
I hope you enjoy making this as much as we did!
If you’re looking for some fun DIY projects to tackle for the fall, clear your calendar and grab your girlfriends on the third Thursday of each month and register for The Home Depot’s DIH Workshops. And don’t forget to snap some pictures of your project and share using hashtag #DIHWorkshop as I would love to see how your projects come out!
For more info on The Home Depot’s DIH Workshop visit the Home Depot Website!
Thanks for supporting the brands that make this blog possible!


![Rustic Pumpkin[1] Rustic Pumpkin[1]](https://briteandbubbly.com/wp-content/uploads/2015/08/Rustic-Pumpkin1.jpg)


Comments