Hey All!
I’ve always loved to play with glitter since I was a little girl. I’ve always found adding glitter to something could make everything look just a little more fabulous. At this moment I’m wearing some glitter covered Toms. I was inspired to make myself some matching jewelry to match my growing number of glitter covered shoes.
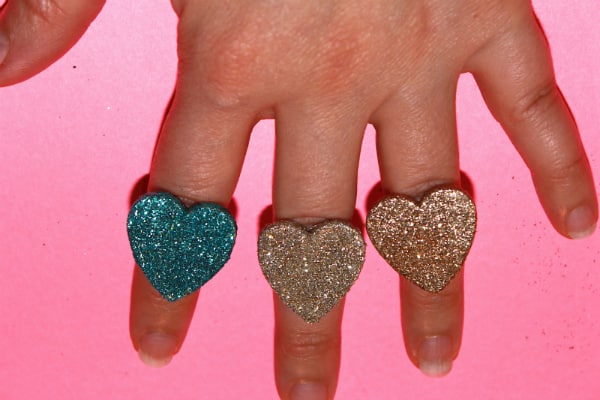
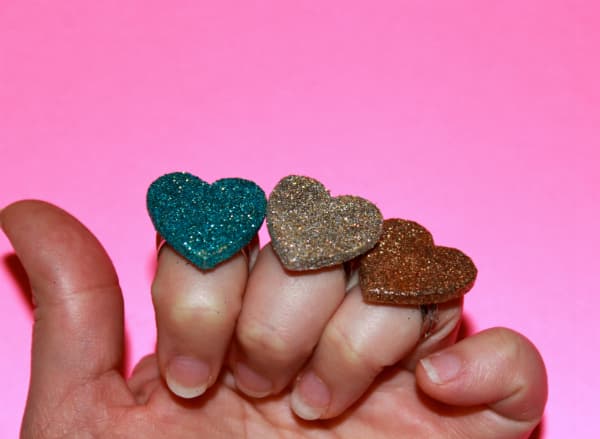
I came up with the idea to make some DIY Heart Glitter Rings.
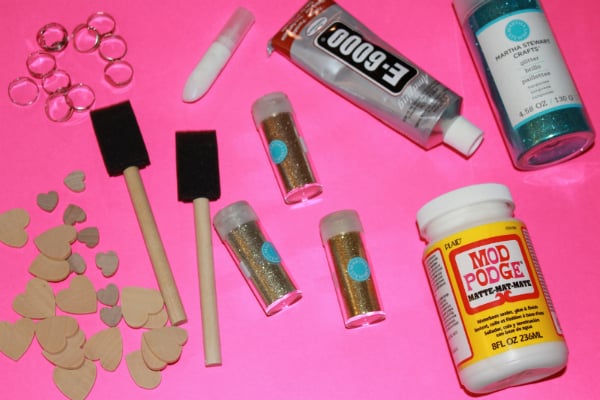
What You Need to make the Glitter Rings:
1 Inch Wooden Hearts
Metal Blank Ring Bases
E6000 Craft Adhesive
Craft Glue
Glitter (I used a Martha Stewart Glitter kit and some of her large bottle glitters, but you can use any glitter you have.)
Foam brushes
Mod Podge
Glitter Ring Instructions:
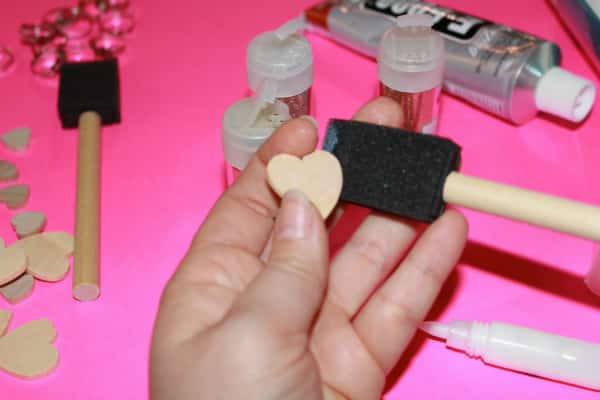
First you take one of your brushes and apply the clear crafts glue to the wooden hearts.
Make sure it’s completely coated on all sides with the glue.
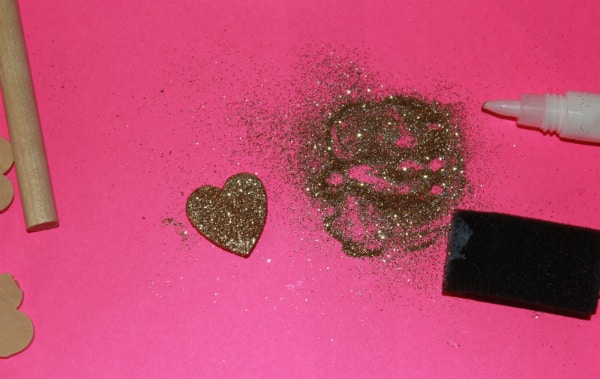
You then begin to pour the glitter over the hearts. The glitter will stick to the hearts thanks to the glue. The glue will dry clear. You need to act fast with each heart as the glue can dry quickly.
Once you are done covering all your hearts with glitter you then take your clean brush and apply Mod Podge to the entire heart. This seals the glitter so it won’t come off and gives it a shiny look.
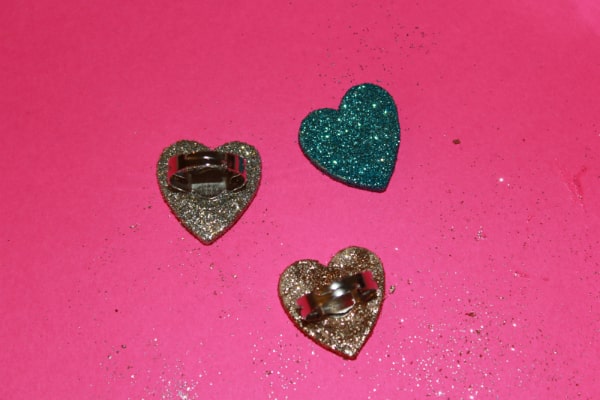
Once the hearts is completely dry after about 15 to 20 minutes, You then place a small squeeze of the E6000 Craft Adhesive on the back of the heart and this will secure the Metal Blank Ring Base to the heart.
Let this dry for another 20-30 minutes and you are done.
You have some adorable rings in any color you’d like! The Ring bases are adjustable to fit any ring size.
I think they came out great don’t you think? These rings are such a fun and easy way to showcase your style.
I hope you enjoy making this DIY as much as we did.














Comments
Too fun! I should have my girl scouts make these. They are all into glitter and bling
How fun for little girls!
These are so cute my daughter would have fun making them.
Love it! Awesome adult glitter bling 🙂
I have two daughters with birthdays coming up. Hello awesome party favors!
Okay I totally want to make some of those! I am glitter obsessed.
Oh my goodness, I need one of these for Zeva. She would love it! Thanks for the tutorial on how to do it.
Very cute! My girls would love these, but I’ve never seen the ring bases for sale. I’ll have to track some down for a good price. 🙂 Thanks!
Our youngest daughter loves sparkly things! She’d love this project.
My daughter would love a project like this!
I bet my daughters would totally love these.
How cute and easy! I bet the girls in my Pinterest co-op class would love to make these.
Wow, these are really pretty!
These are too cute!
Vanessa, I just love them! Wouldn’t they be cute tucked into some Easter baskets? 🙂
What a great DIY to do with girls! I need to borrow my bff’s daughter. 🙂
My niece would love to make some of these!! What a great craft idea, and thanks for sharing! You can never go wrong with glitter!!!