Hey All!
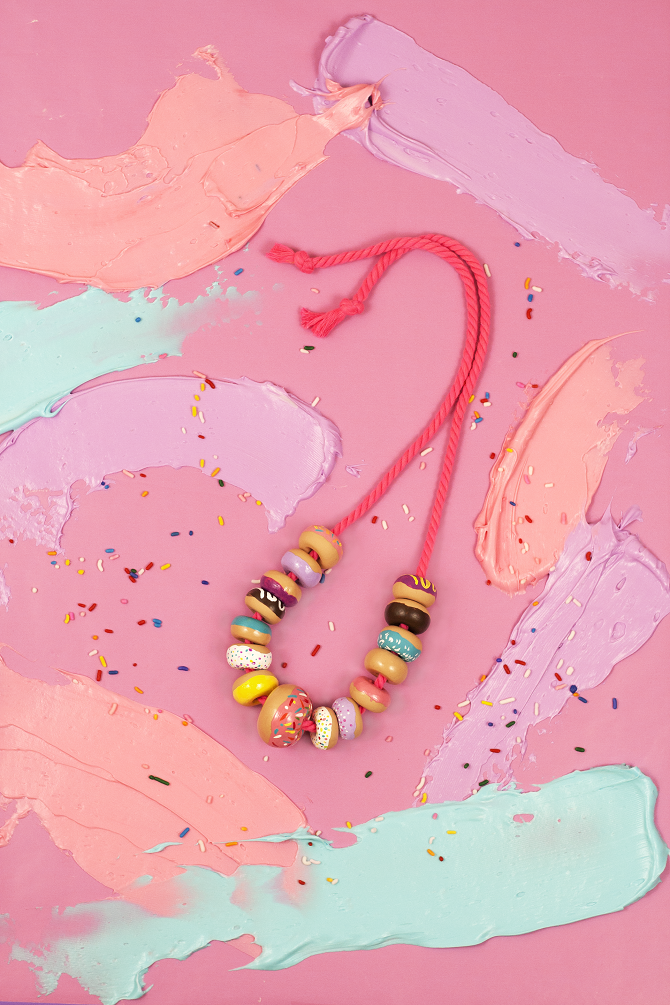
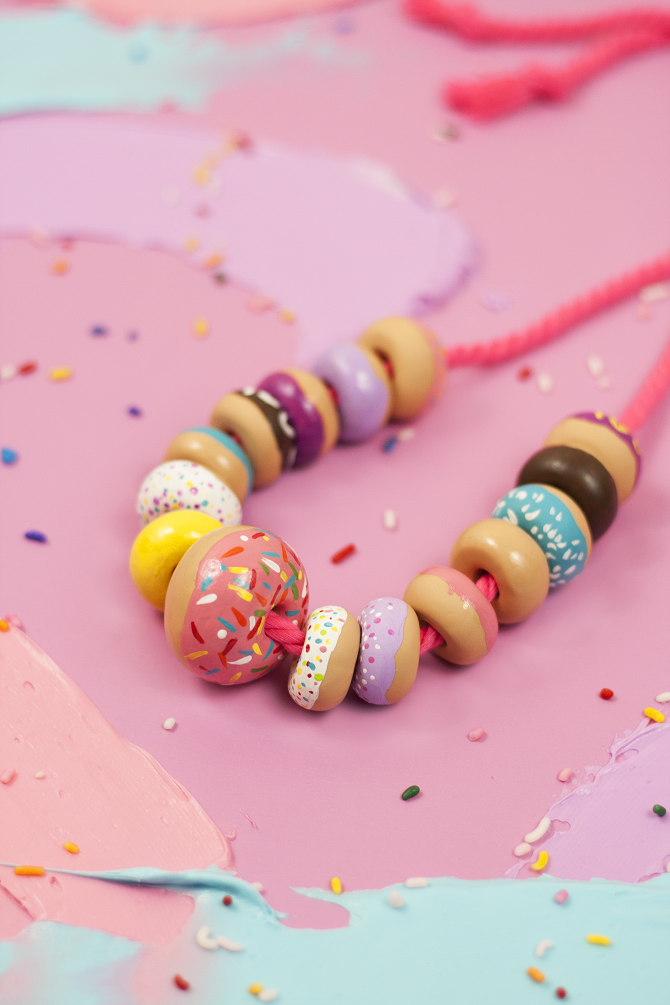
We’d like to introduce our first contributor Amy of The Glitter in My Tea. She’s awesome and she’s kicking off her first DIY during Donut Week with this amazing DIY Donut Bead Necklace! How cute is that?! Check it out and Happy Donut DIYing!
I’m so thrilled to be guest contributing here during Donut Week! I gained inspiration for this donut bead necklace from Emily Green’s amazing, beautiful necklace line. (Isn’t her stuff so fun?! I could die.) And who doesn’t love donuts? This necklace is so fun, and super easy to make! You can either make it as simple or as complex as you want, so it’s perfect for your wardrobe. Here is how to make it!
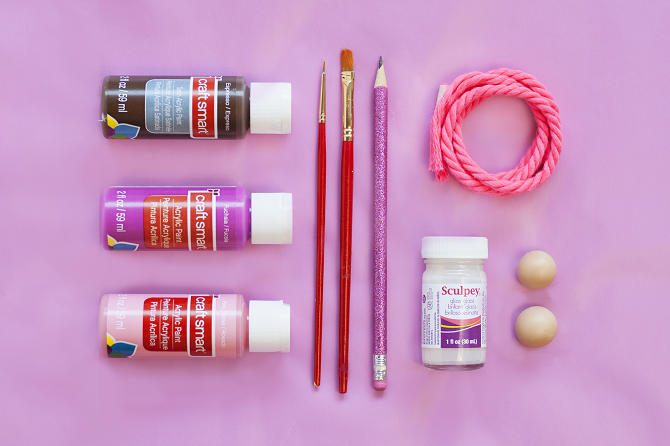
- Tan oven-bake clay
- Oven + glass pan
- Pointed clay tool, or pencil
- Acrylic paint, assorted colors
- Paint brushes
- Optional: oven-bake clay glaze
- Pink string, ribbon, rope, etc.
1. Pinch off pieces of clay, and roll them into quarter-sized balls. For the center donut, you’ll want a ball about the size of a 50-cent piece.
2. Using either a pointed clay tool or a pencil, poke a hole in the clay ball. Try not to smash the ball too much to maintain a donut-like shape. Keep repeating steps 1 & 2 until you have as many small donut beads as you want, and as many big donut beads as you want.
3. Bake your pieces as directed on the clay’s packaging. Let the beads fully cool before you paint them.
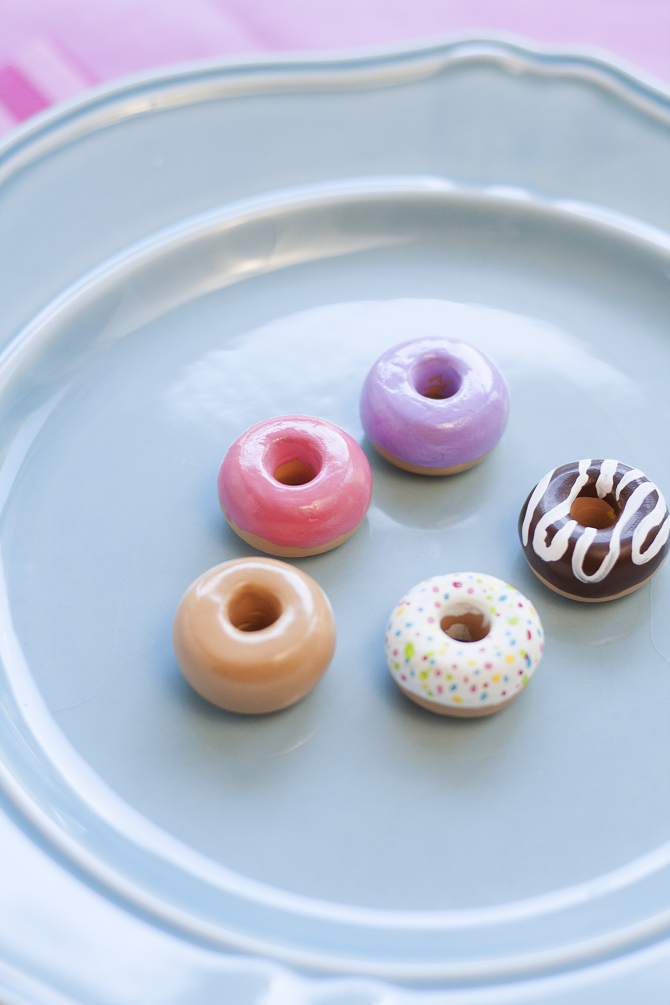
4. Using your assorted colors of acrylic paints, paint the beads like donuts, in a variety of glazes, frosting, and sprinkles! (This is the most fun part!) Let the paint dry between coats and between adding the sprinkles, frosting, decorations, etc. Tip: For ease of painting, stick the donut beads onto a pencil.
5. When you’re finished painting, and all the paint has completely dried, apply a coat of oven clay glaze. You can either glaze all the donuts, some of the donuts, or none! Let the glaze dry completely according to the directions on the bottle.
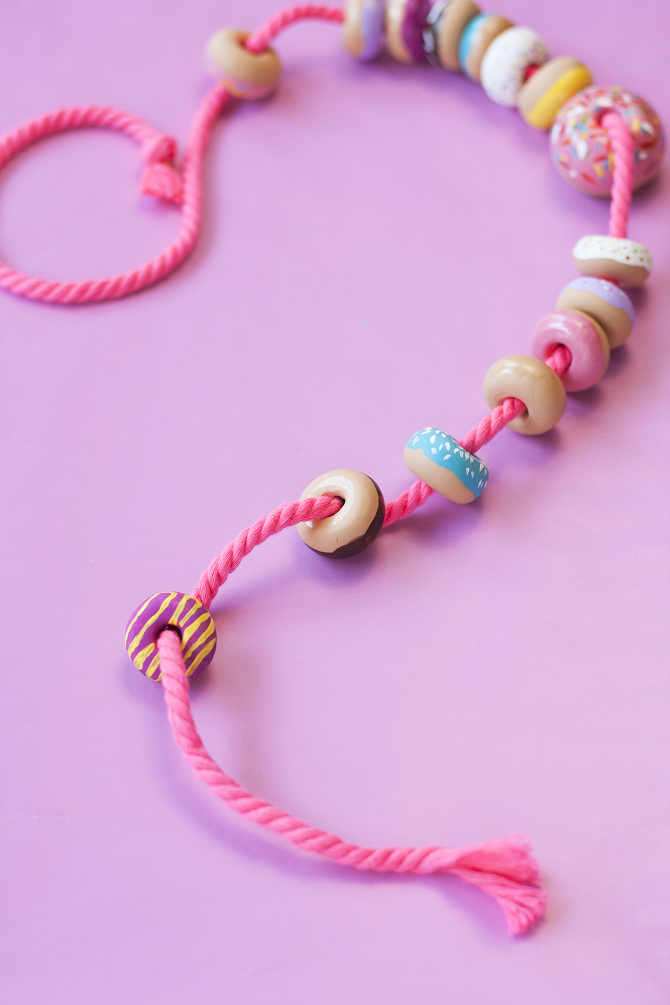
6. Cut off a piece of string/ribbon/etc. to the length you want, then start threading the donut beads on! Tie a knot on each end of the string/ribbon/etc. so that the beads won’t slide off.
The final product is a delightful piece of jewelry that you can show your Donut love with all year long. I hope you enjoy this colorful necklace as much as I do!
Where will you be wearing your DIY Donut Bead Necklace to on National Donut Day?


















Comments
So cute and clever!
This idea is so cool!!! Very creative and thanks for sharing such a great idea! 😀 I have to try this out 😀
I did this except I just used brown wooden beads. They look exactly the same.
Thanks for sharing this blog for us.
Your designs are very awesome.