Hey All!
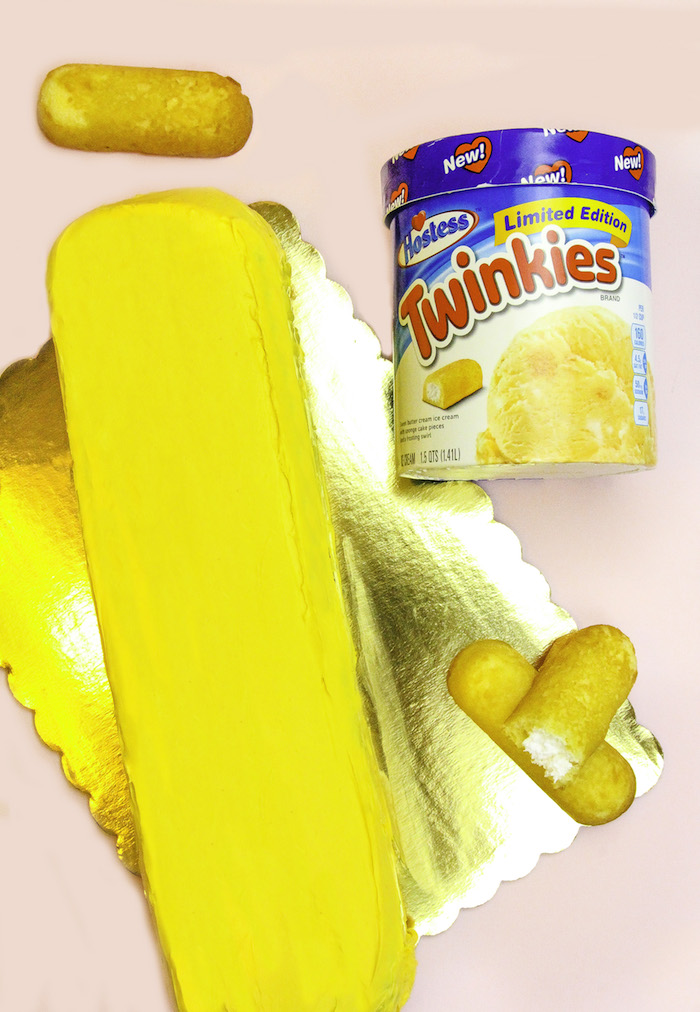
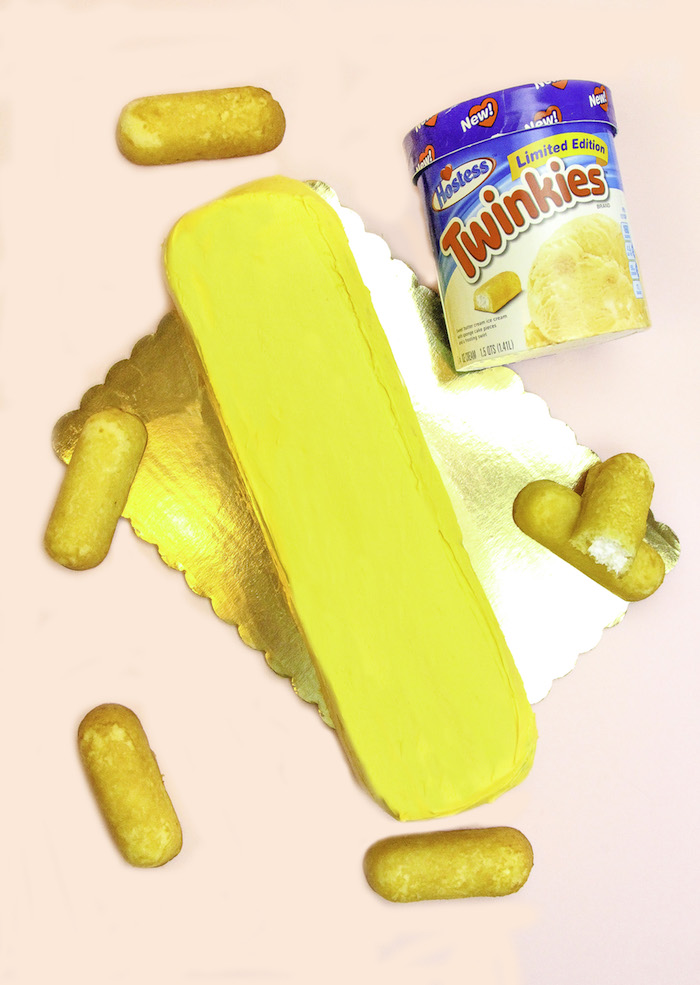
Ice Cream Month is not over yet! We’re coming to you with a bunch of ice cream themed DIY posts every day (including weekends), until the end of the month. Today we’re bringing you this awesome DIY Giant Twinkies Ice Cream Cake! The second I saw that new Twinkies ice cream in the freezer section of my local grocery store, I knew I had to have it. There was no second thoughts about it. Besides being the ice cream queen that I am, I’m also the Twinkies queen. I love Twinkies so much you can even find me in the Hostess Twinkies Cookbook! Check your local book stores!
I couldn’t wait to try the ice cream and as soon as I did, I thought why not make a Twinkies ice cream cake with it.
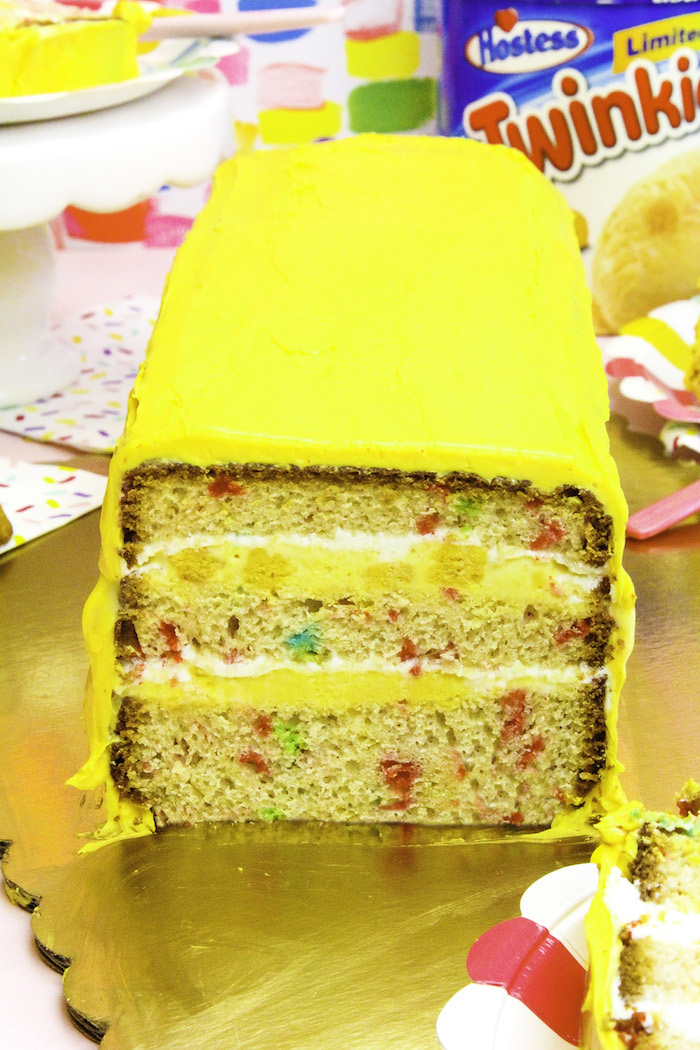
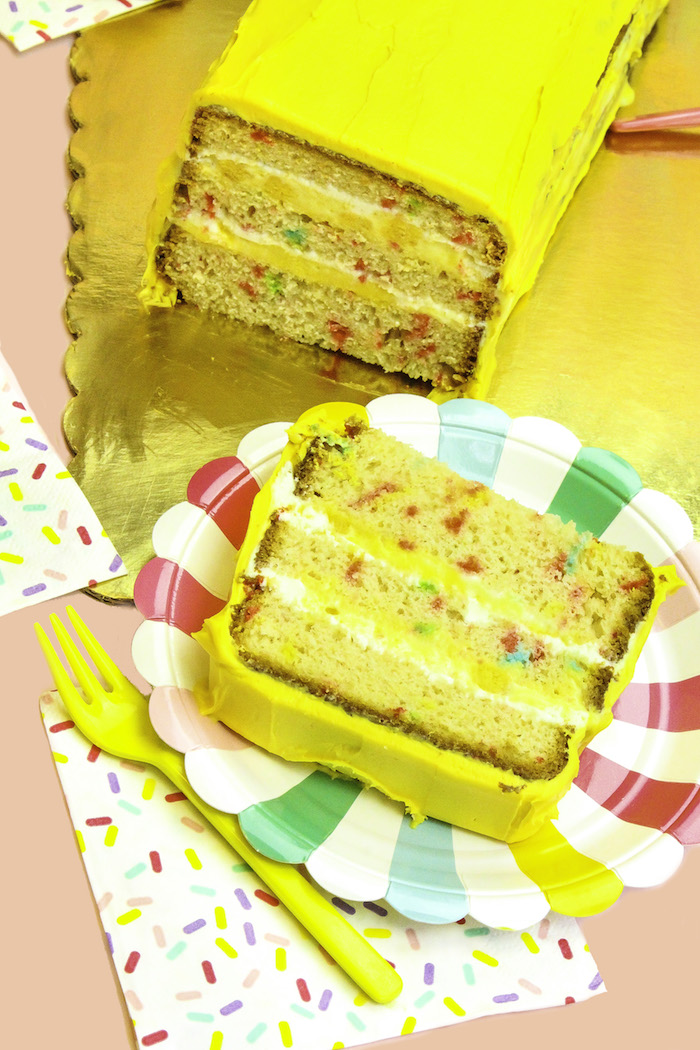
It’s got layers of Pillsbury Funfetti Cake and the Twinkies ice cream. Here is how to make it.
- Hostess Twinkies Ice Cream
- Cool Whip
- 2 Boxes of Pillsbury Funfetti Cake
- White Frostings
- Yellow Food Coloring
- Wilton Aluminum 16 by 4 by 4-Inch Long Loaf Pan
- Non-Stick Spray
- Plastic Wrap
- Spatula
First you spray your loaf pan with non-stick spray. Make sure to spray it very well so your cake doesn’t stick to the pan. Mix up the cake batter according to the Pillsbury Funfetti Cake box instructions. Pour your batter into the pan and bake according to the box instructions.
Once your cake is done, remove it from the pan carefully onto a cooling rack. Let it cool completely.
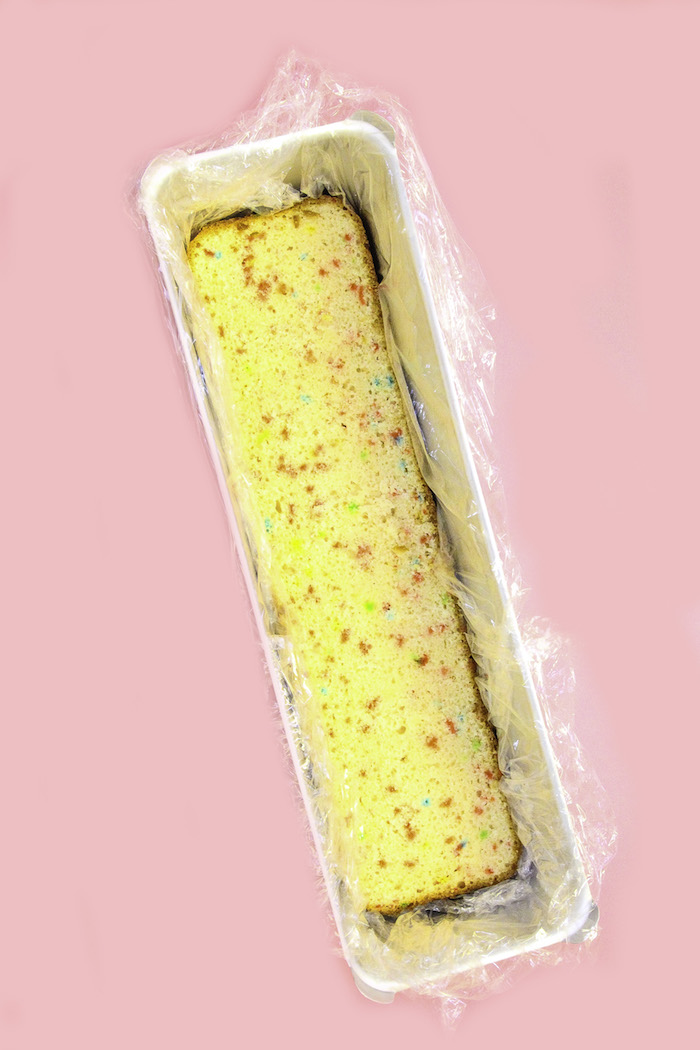
Once it’s completely cool, cut the cake down the center into three layers. Make sure to cut solely and straight down the middle, so you don’t bring your pieces. Place some plastic wrap into your pan and place one slice of cake into the pan onto the plastic wrap.
Add a layer of Twinkies ice cream and cool whip with a spatula on top of the cake slice. Place another layer of cake on top of the ice cream layer. Proceed to do the same as before with the ice cream and cool whip.
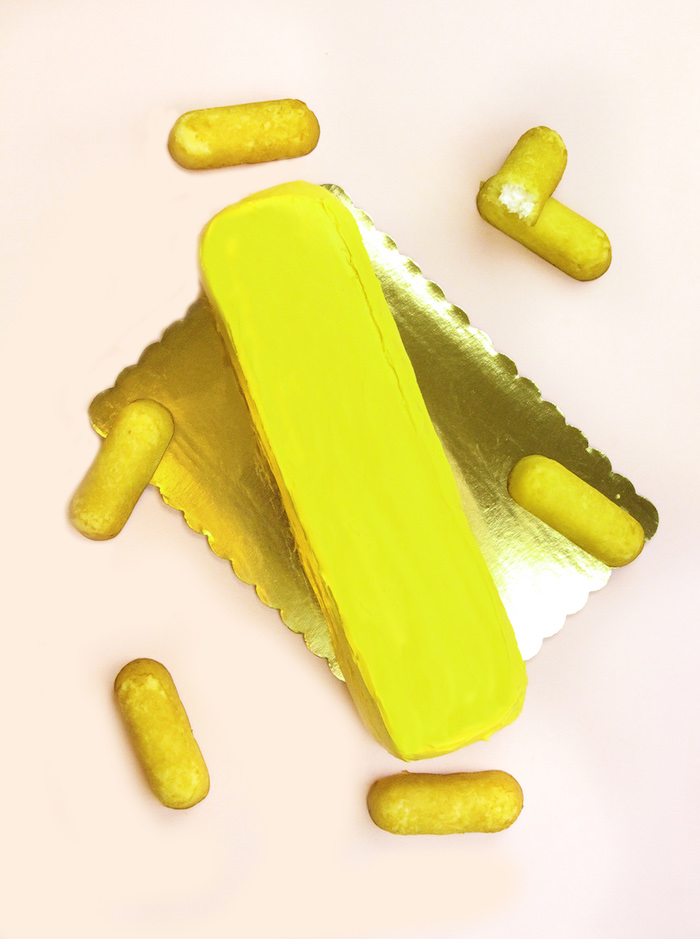
Place the final layer on the top and then place it in the refrigerator to freeze up together over night. In the morning pull out the cake by pulling on the pieces of plastic wrap along the edges of the pan. Remove the plastic wrap and place the can onto a cake board or long serving dish. Mix your frosting with yellow food coloring and frost the cake with your spatula. Make sure to leave the cake looking smooth, so it look like a Twinkie.
Place the cake back in the freezer and take it out when you’re ready to serve. And that’s how you make this awesome Giant Twinkies Ice Cream Cake!
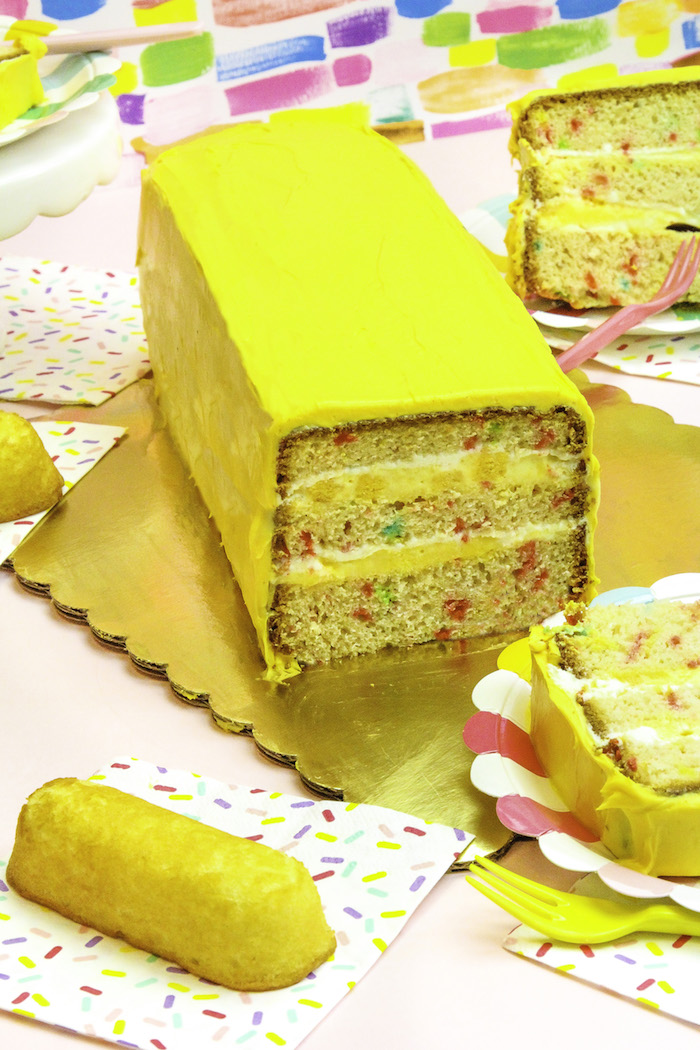
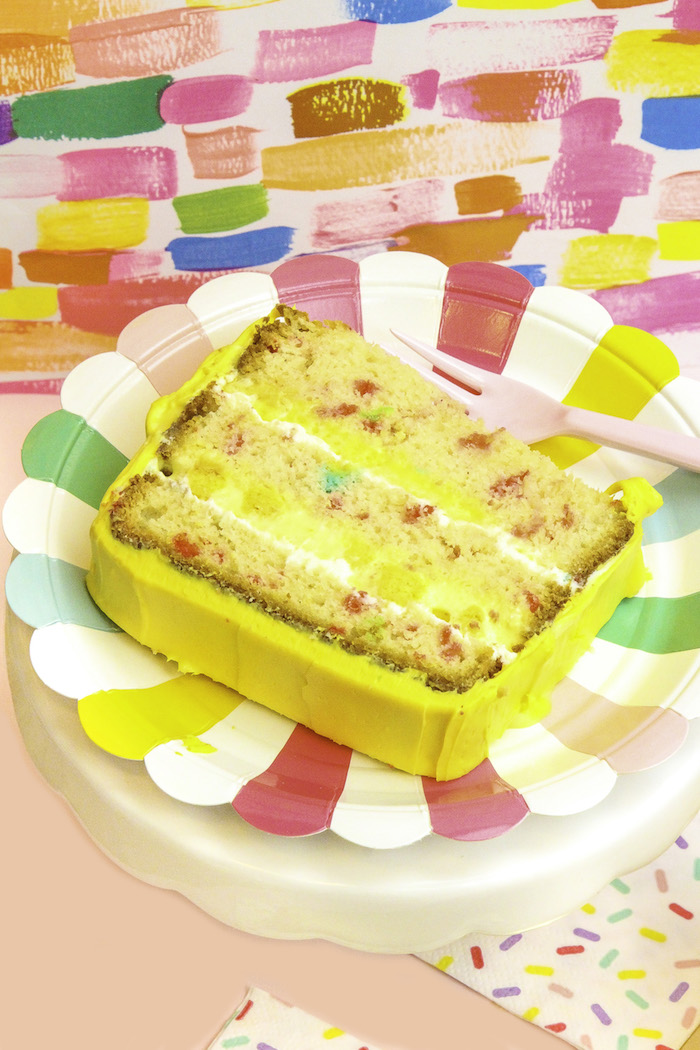
Remember this is an ice cream cake, so it will melt if you leave it out. You can see the layers of Twinkies ice cream in the middle and the pieces of actual Twinkies that are in the ice cream.
This ice cream cake is sooooooo good and it’s like double the tasty cake fun!
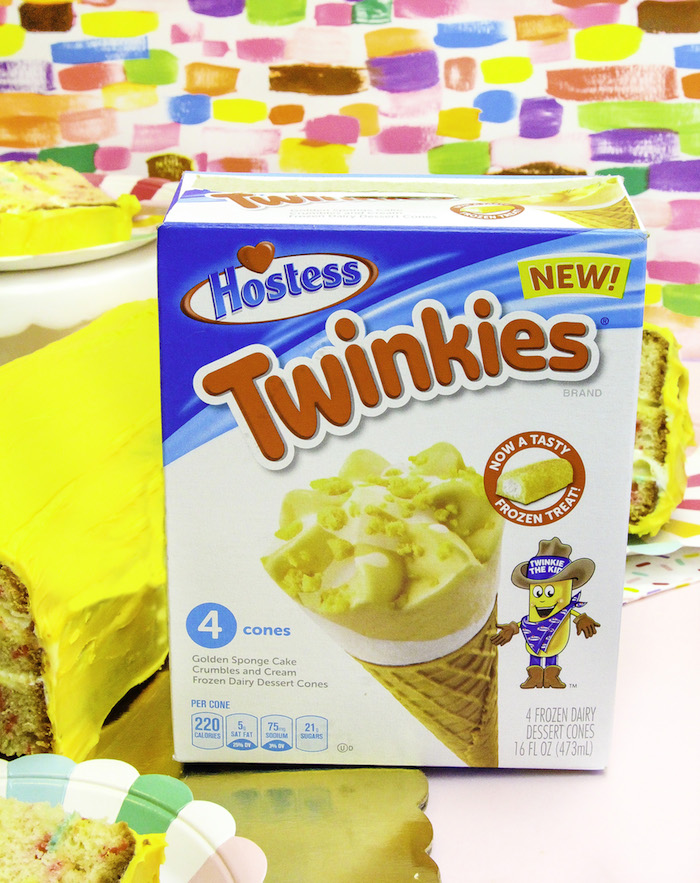
They also have Twinkies Cones, which I tried as well. I couldn’t not try anything new with Twinkies in it! I prefer the tub of ice cream as opposed to the cones, but be sure to try them both and see which one you like the best.
I hope you like this DIY Giant Twinkies Ice Cream Cake as much as I do!
You can find more Ice Cream Fun and DIY Themed Ice Cream Posts HERE!
Stay tuned for more fun Ice Cream posts coming at you until the end of Ice Cream Month!
























Comments