Hey All!
Summer has finally come to an end and cold days are ahead. I’m so going to miss summer, but I do love the holiday season. It’s a busy time of year and you have to remember to take care of yourself. There are two things you need to do during these cold months ahead. The first is, Make sure you eat your bowl of Post Fruity Pebbles Cereal in the morning so you have enough energy to make it through the day. Having enough energy helps you to keep your immune system up and those pesky germs away. A bowl of Fruity or Cocoa Pebbles in the morning awakes your senses and provides a burst of creative energy to make you feel like you can do anything! The energy of Pebbles unleashes the drive to explore, create and learn. Secondly, You also don’t want to forget about taking care of your lips. I know I always forget that the cold weather can make your lips dryer, so I decided to make a lip balm that’s the best of both worlds! It’s an easy to make DIY Post Fruity Pebbles Infused Lip Balm! It’s kind of like a little lip scrub and moisturizer in one. The cereal acts as a little scrub inside of the lip balm. I love it!
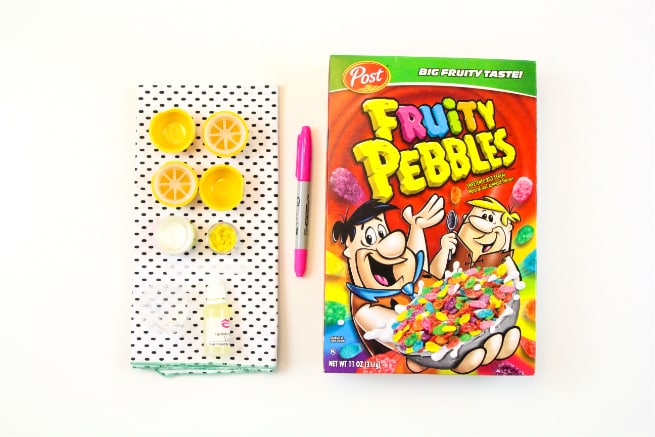
It’s super easy to make and here is what you’ll need to make it!
- 1 Box of Post Fruity Pebbles Cereal
- Some Round Empty Lip Balm Containers
- Bees Wax
- Shea Butter
- Coconut Oil
- Vanilla Lip Balm Flavor
- Small Microwaveable Cup
- Small plastic scoops
- (Optional) Marker for decorating the lip balm container
First you melt your Bees Wax, Shea Butter, and Coconut Oil inside your small microwaveable cup inside the microwave for 20 seconds. If it’s not melted in 20 seconds, put it in for 5 seconds more. Once it’s completely melted, place two drops of Vanilla Lip Balm Flavor into the mixture and stir it with your small plastic scoops. You then drop in some Post Fruity Pebbles Cereal into the mixture and stir it in with your small plastic scoops.
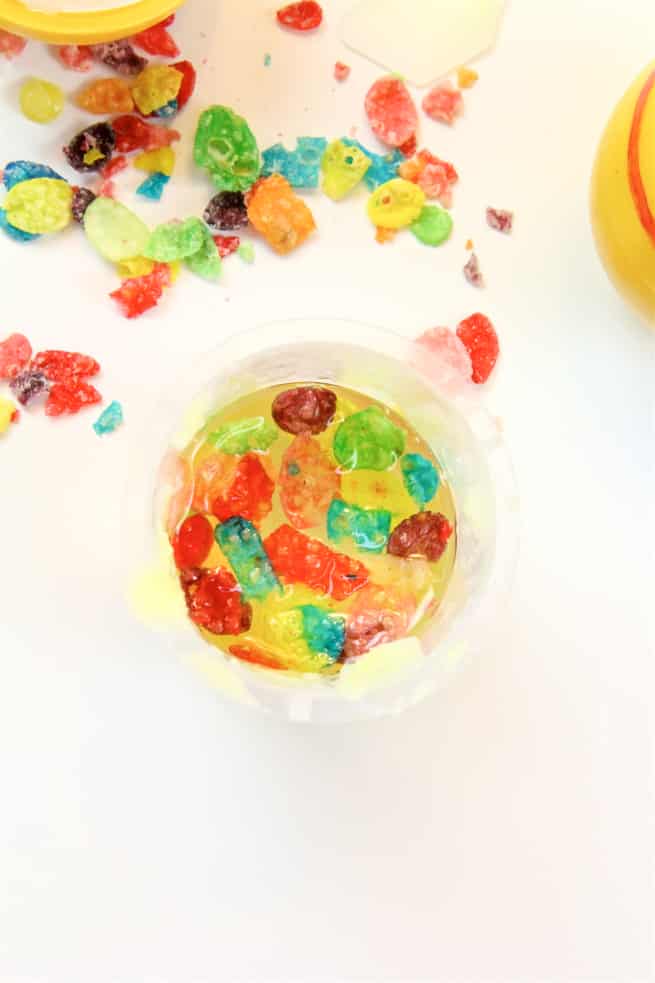
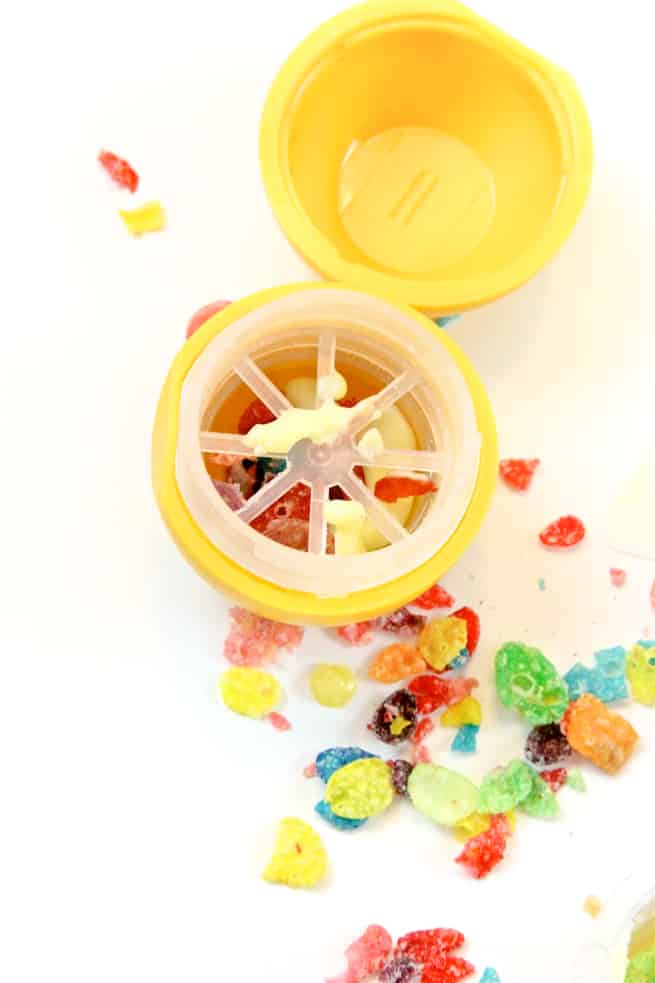
You then drop some Post Fruity Pebbles Cereal into the empty lip balm containers and then pour the mixture into the container as well.
Place the lid onto the container and make sure they are secured together. Repeat the process and make as many lip balms as you’d like. Place the lip balms in the refrigerator for about 20-30 minutes, so that the lip balm hardens completely.
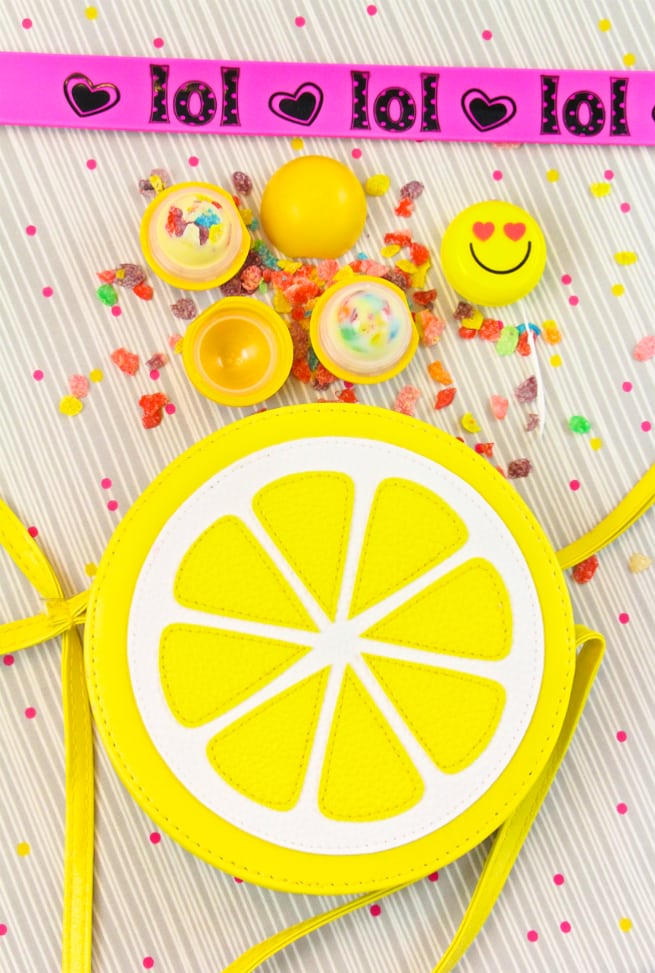
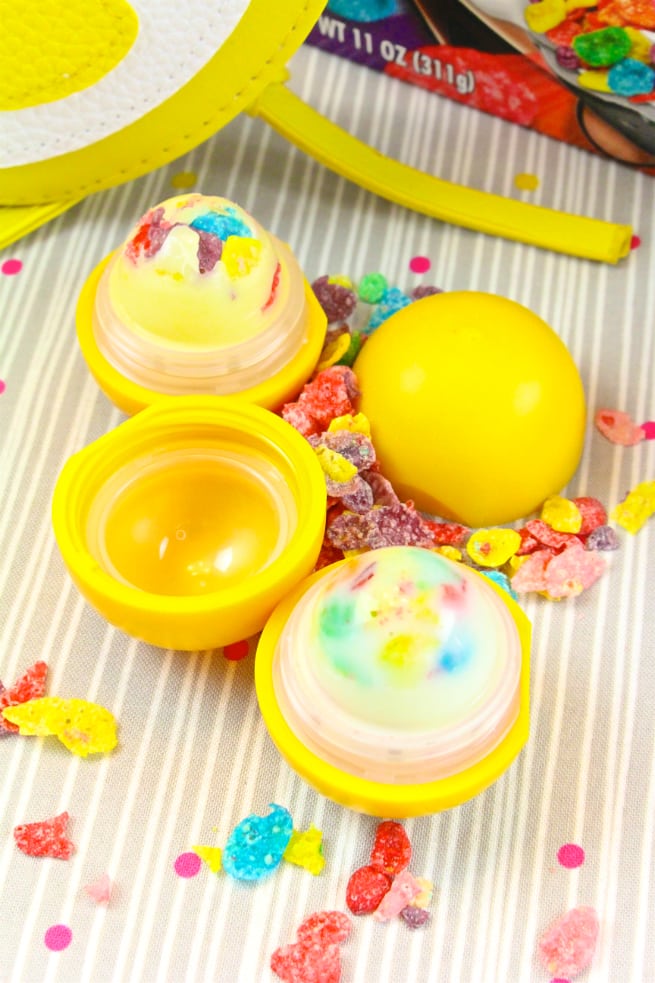
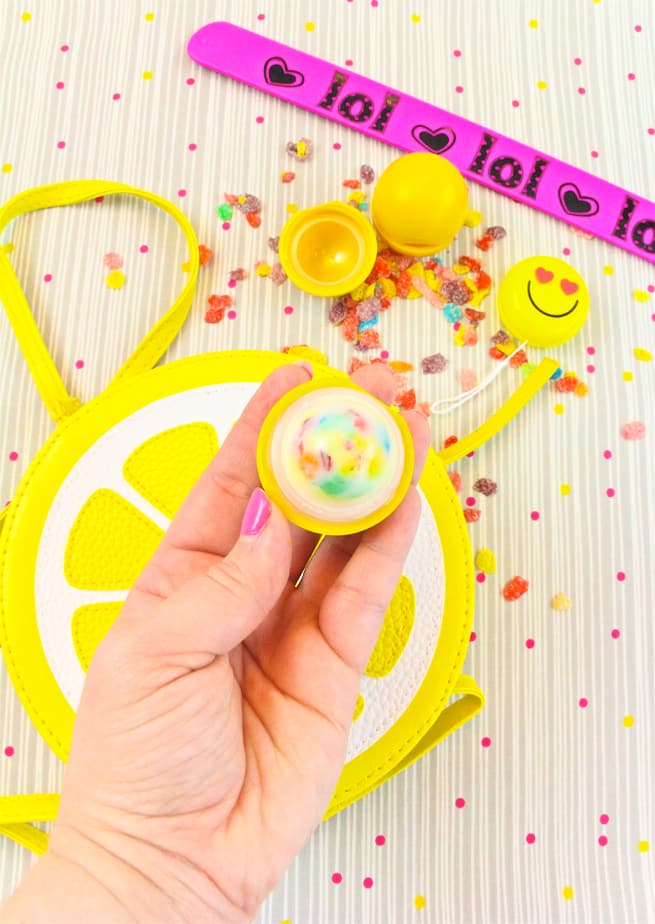
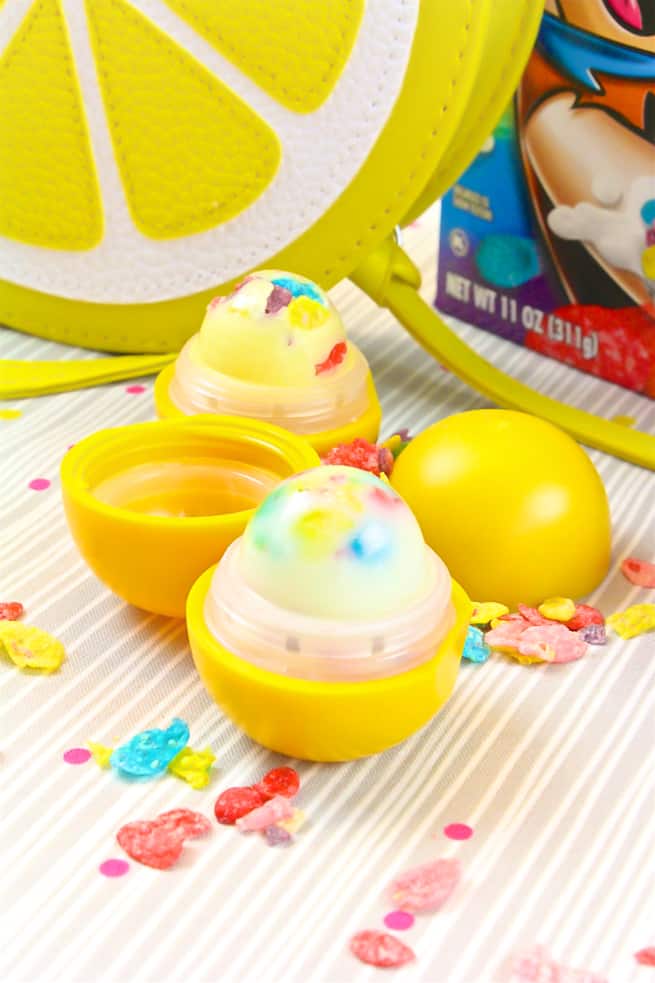
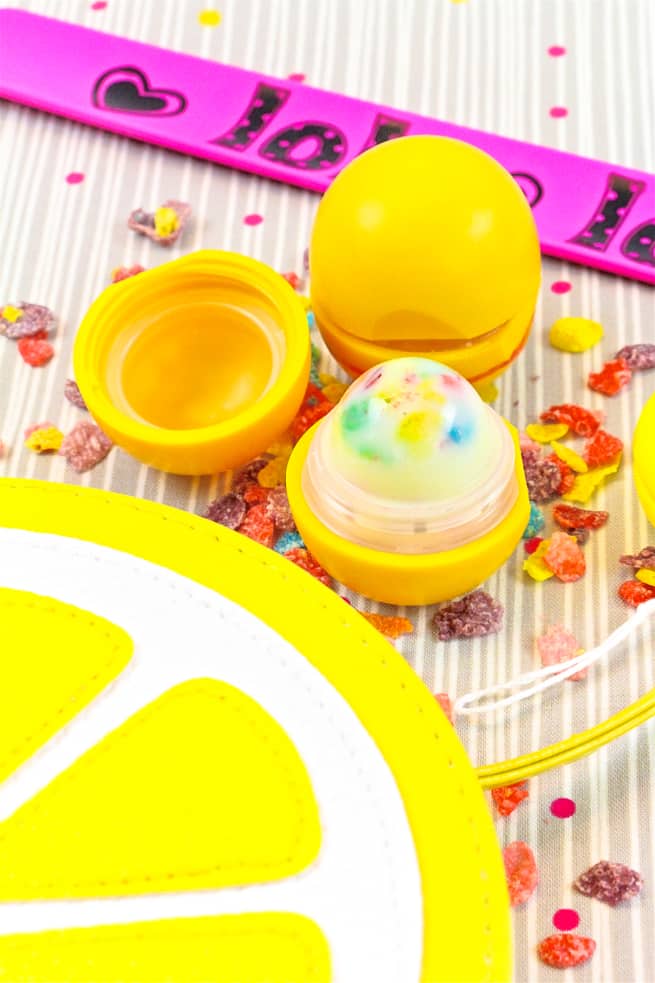
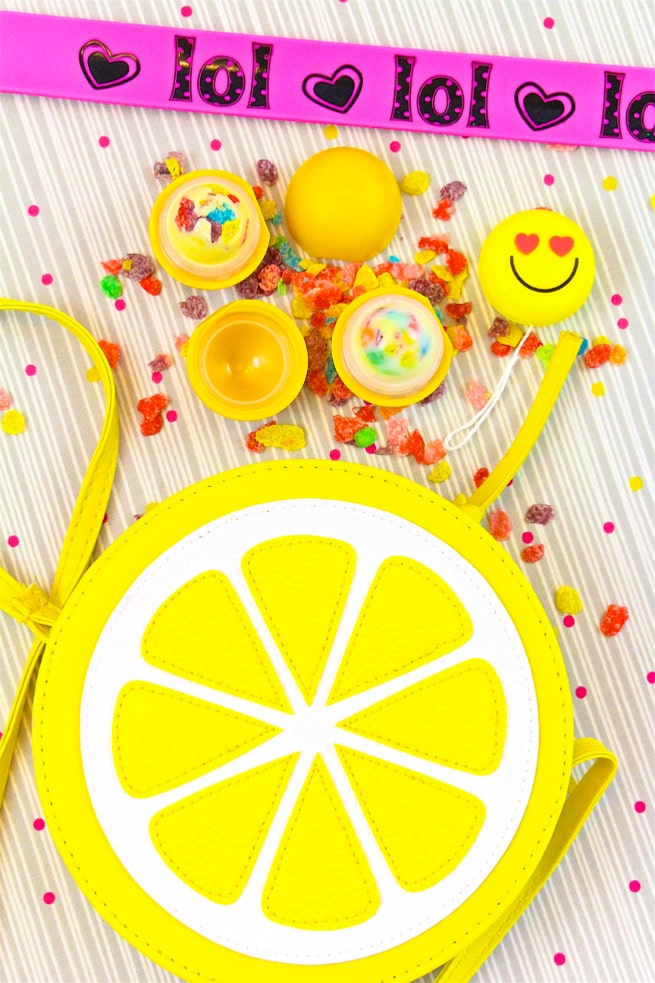
Once they are completely hardened, twist the cap open and your lip balms are done! How cute are these folks?! I love them!
They keep my lips feeling fantastic and they taste like my favorite cereal. It’s the best of both worlds. You can’t go wrong with Fruity Pebbles lip balm!
They are perfect to keep in your purse, backpack, or even your pocket.
They are also great gifts for friends and family!
It’s such an easy DIY to do with your yummy Post Fruity Pebbles Cereal. I hope you’ve enjoyed these Post Pebbles Cereal posts we’ve done for the past few months. This is sadly our last post in the series and we’ve had a blast showcasing our favorite cereal in so many unique ways.
I hope you enjoy making these fun lip balms as much as I do!
For more inspiring Pebbles content, connect with them on Facebook at Facebook.com/PebblesCereal, on Instagram via @PebblesCereal, and on Twitter by following @PebblesCereal.
This post is brought to you in collaboration with Post Pebbles!
Visit their website at http://postfoods.com/our-brands/pebbles for more info as well!
Thanks for supporting the amazing brands that keep this Brite & Bubbly party going!














Comments