This post is sponsored by Tampico.
Hey All!
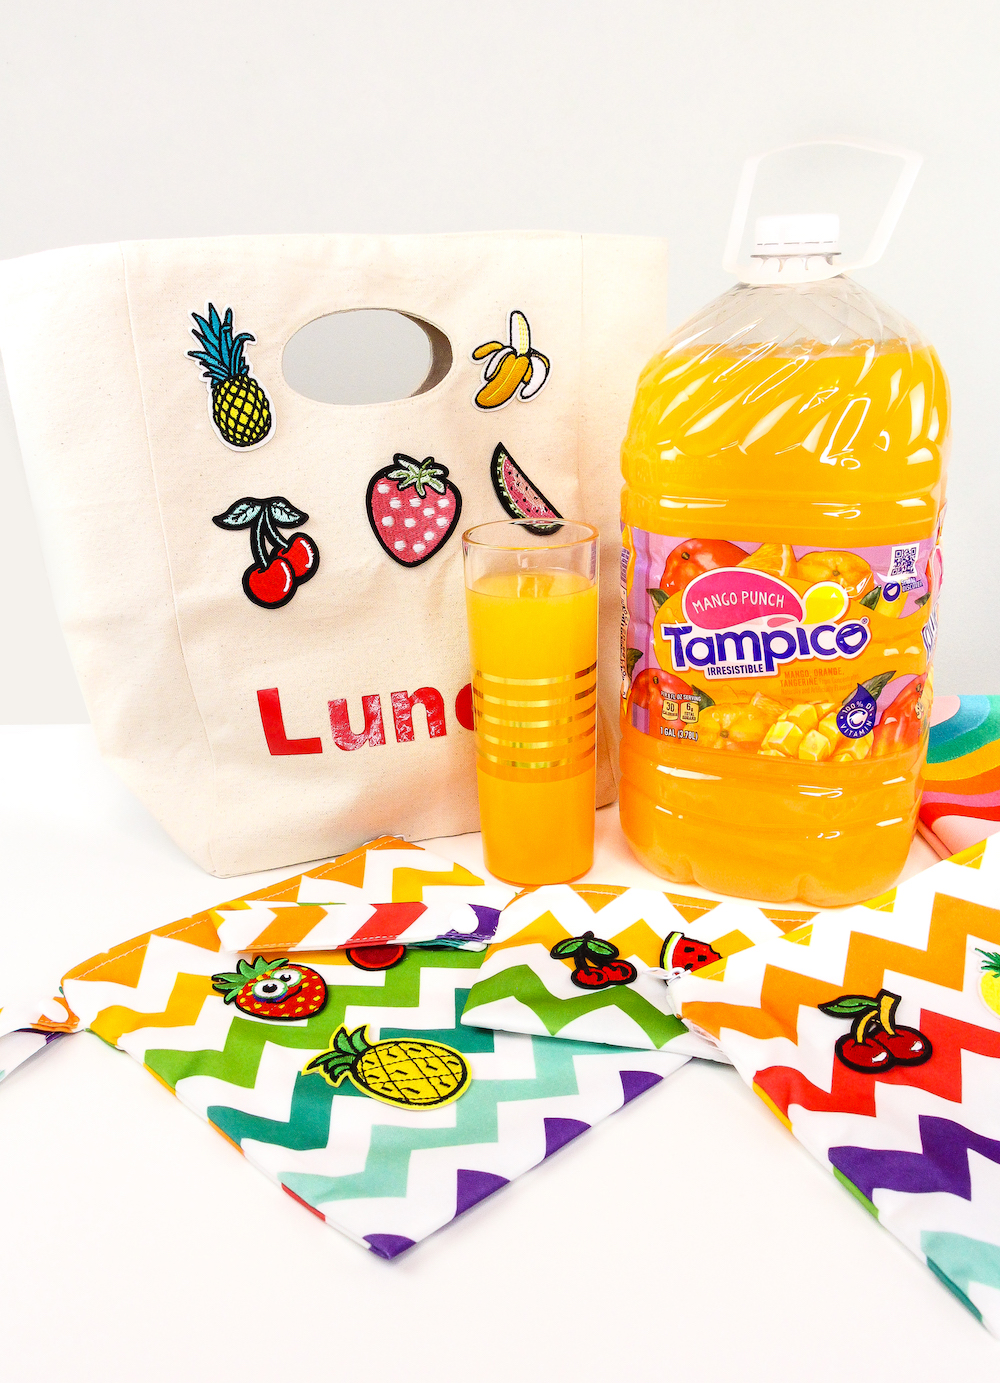
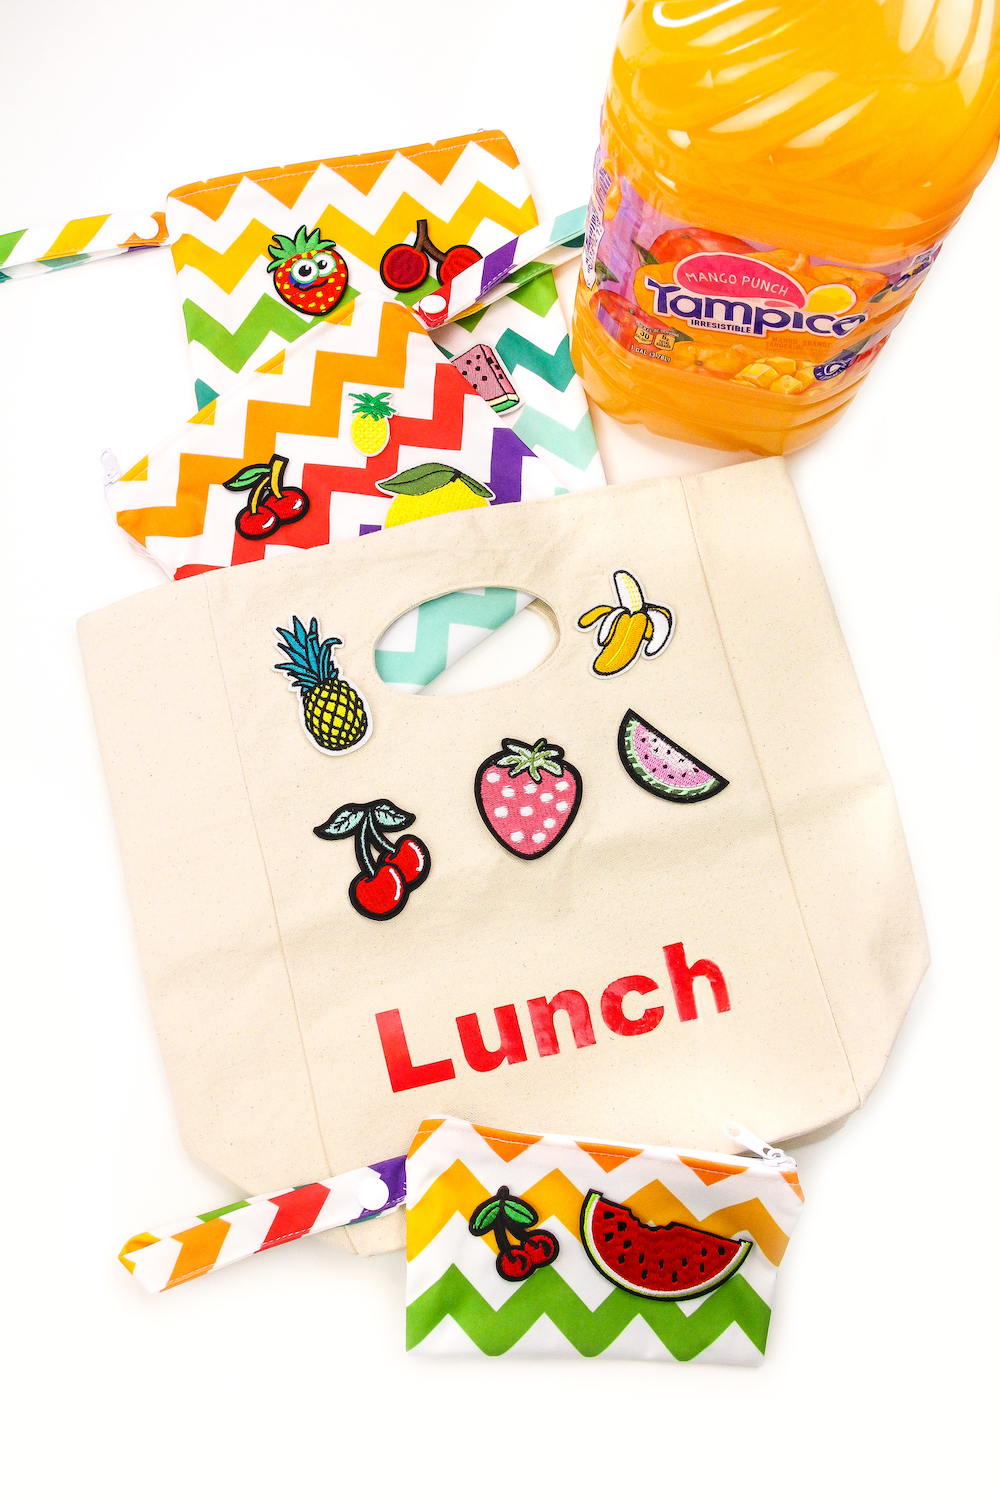
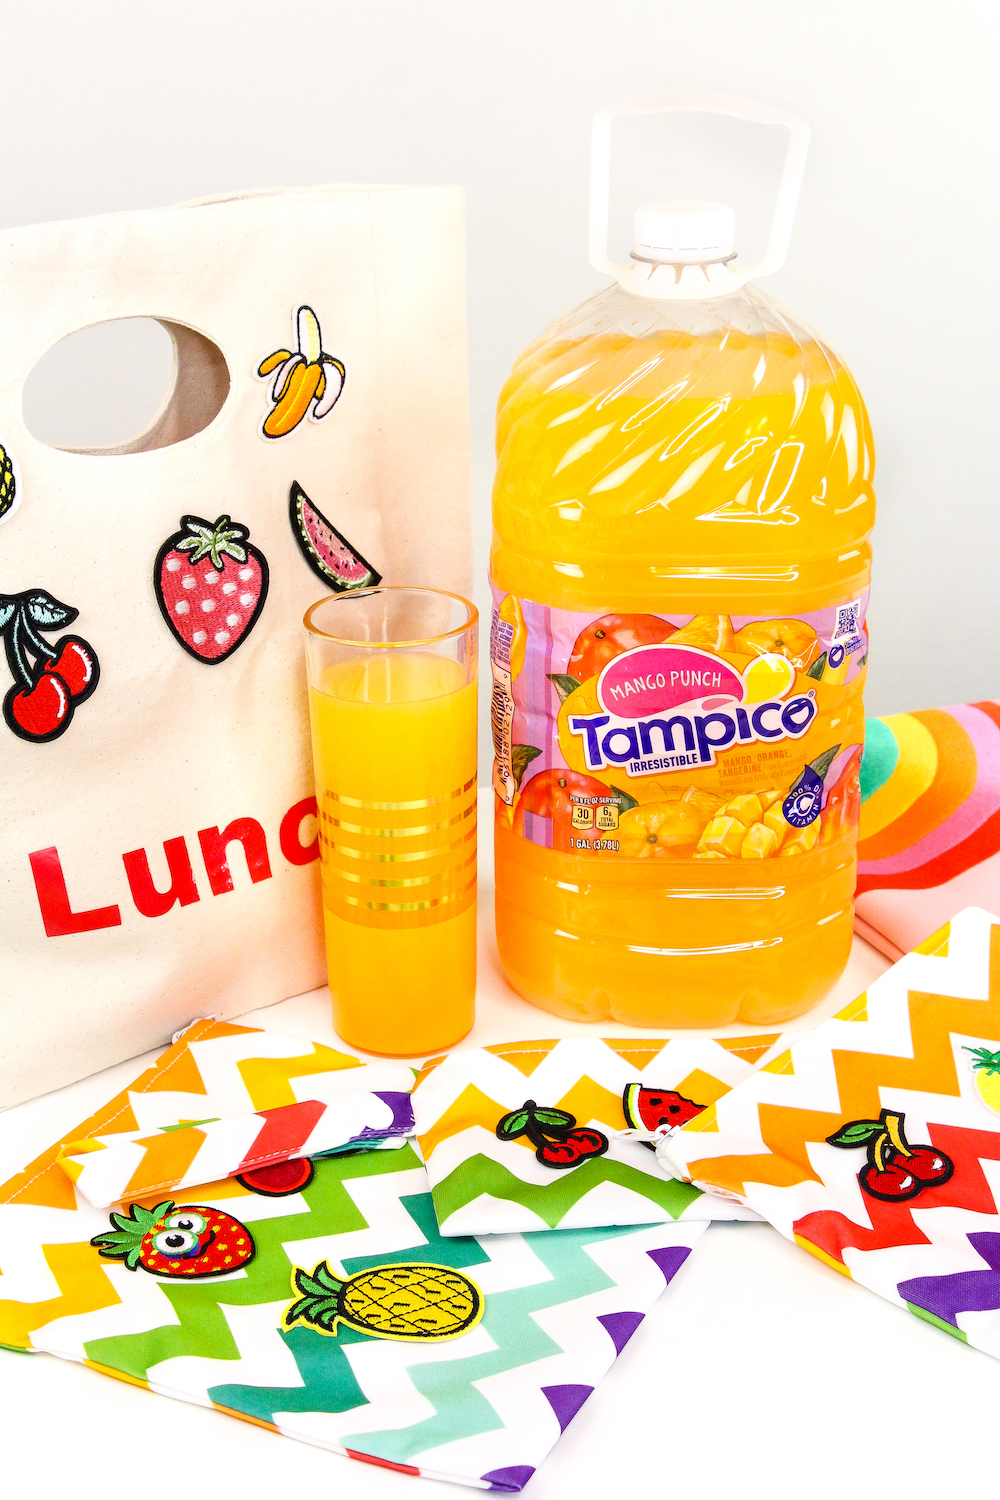
I can’t believe summer is almost over! School is about to start and we’re sending our little man off to pre-school soon. I can’t wait to pack his lunches and fill his drink bottles with some delicious Tampico Mango Punch! Since we’re all about the fruity flavors, I decided to make this easy DIY Fruit Patch Lunch Tote and matching snack bags to fill his lunch and snacks with when he goes to pre-school. They are super cute and easy to make!
Who doesn’t love cute fruit shaped patches? I know I do and I had a million of them just waiting for a fun project like this to come up.
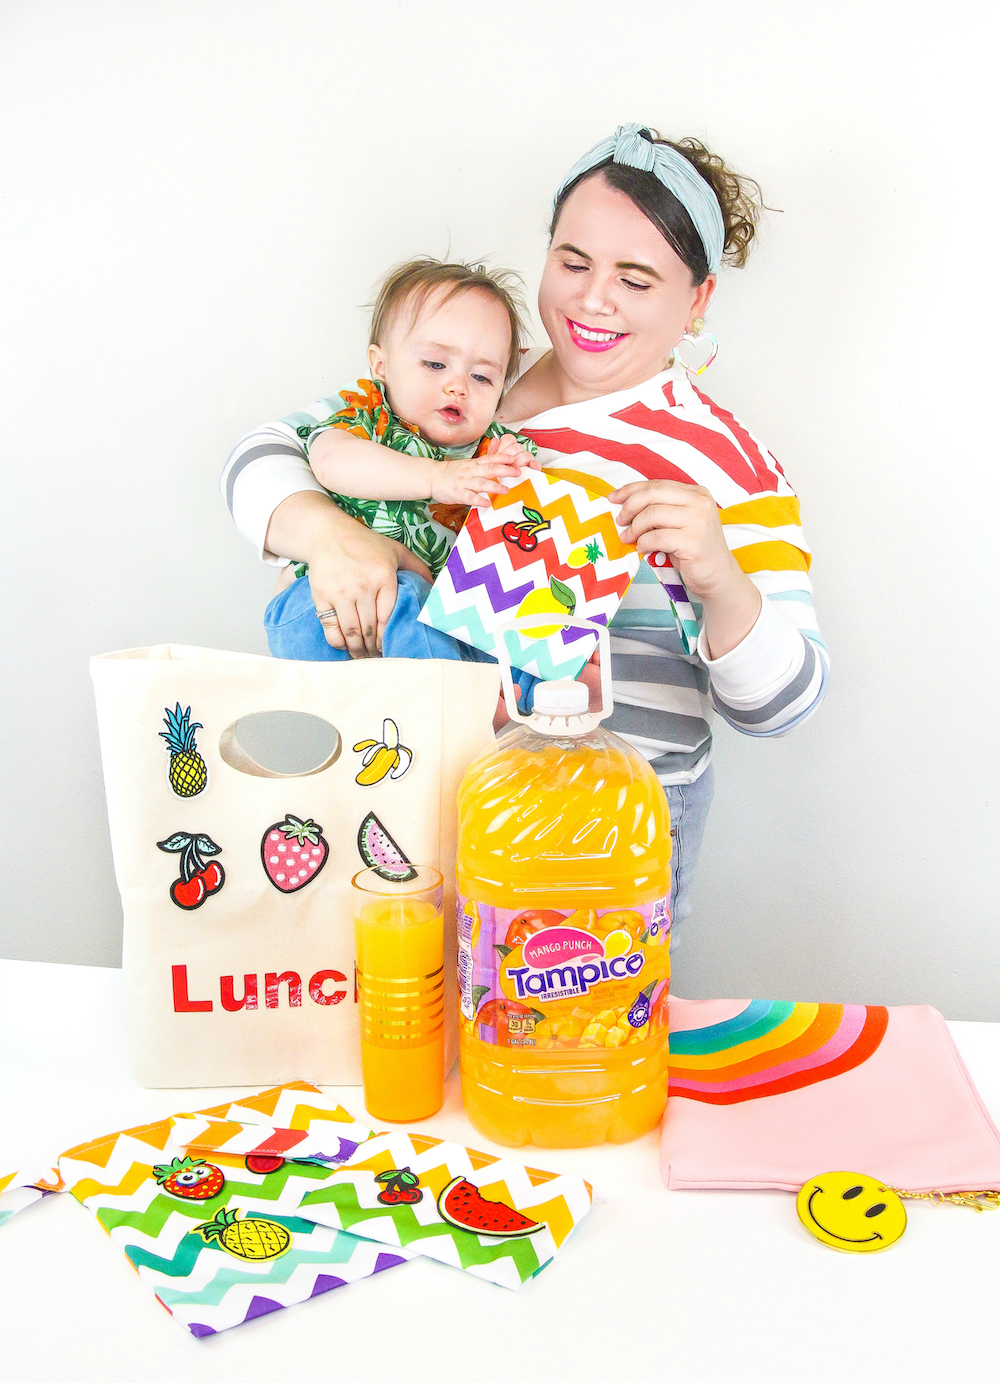
I can’t wait to snap a bunch of photos of him going to school with this lunch tote and snack bags. In the mean time, I’m snapping some photos of us making them together and getting ready for pre-school. I’m putting the photos in my Summer Scrapbook. I’m participating in the Summer Scrapbook Challenge with Tampico. At the end of the summer I’ll create a scrapbook of all our favorite memories through out the summer!
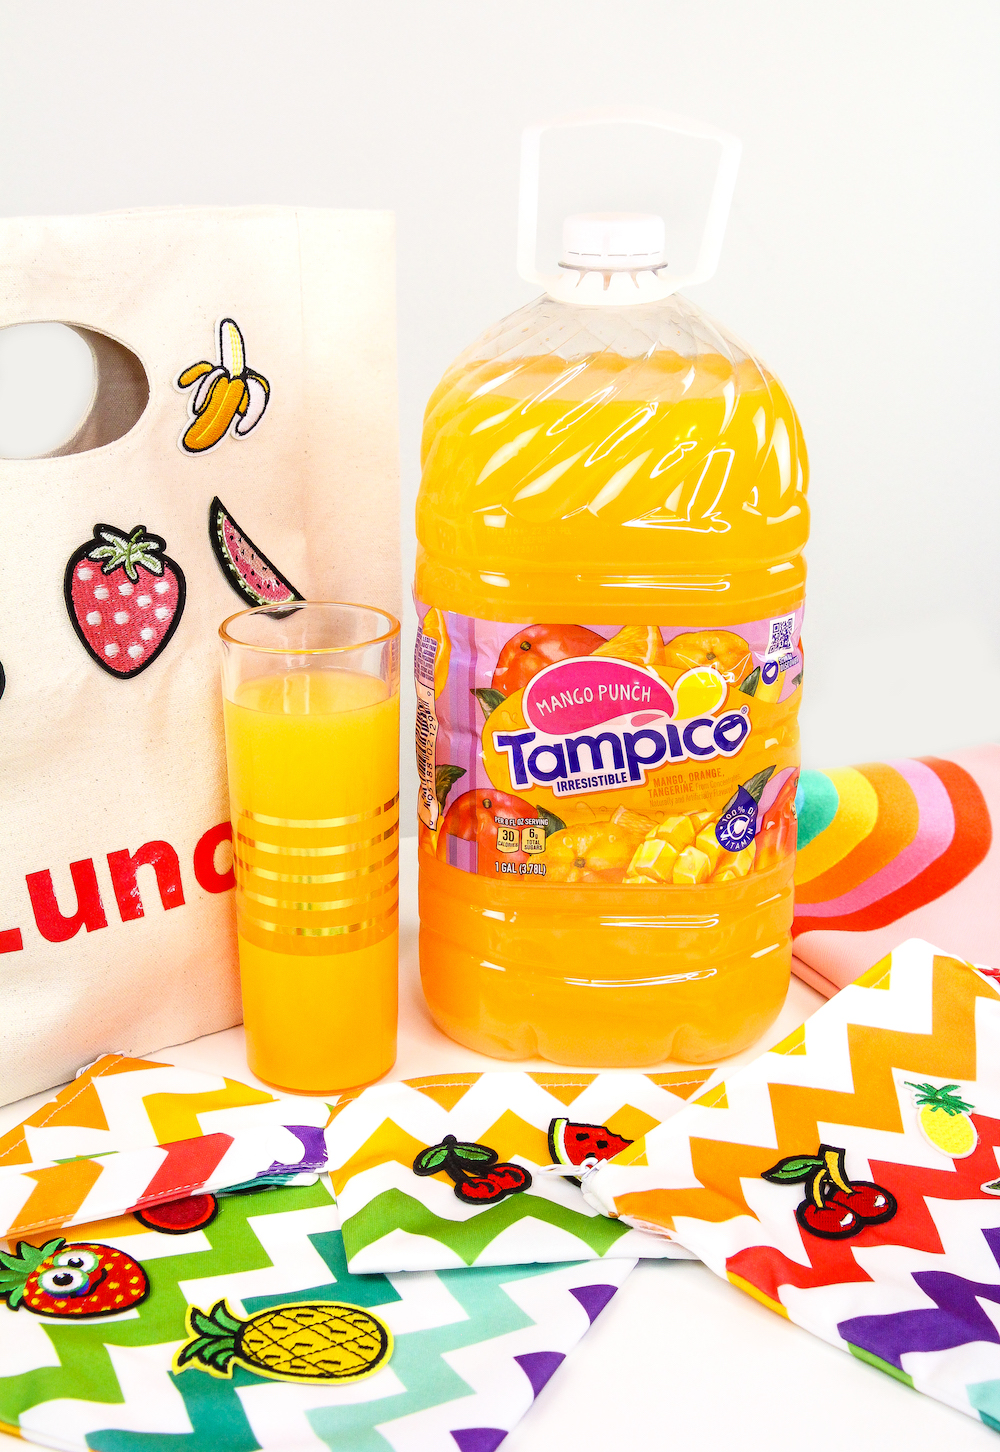
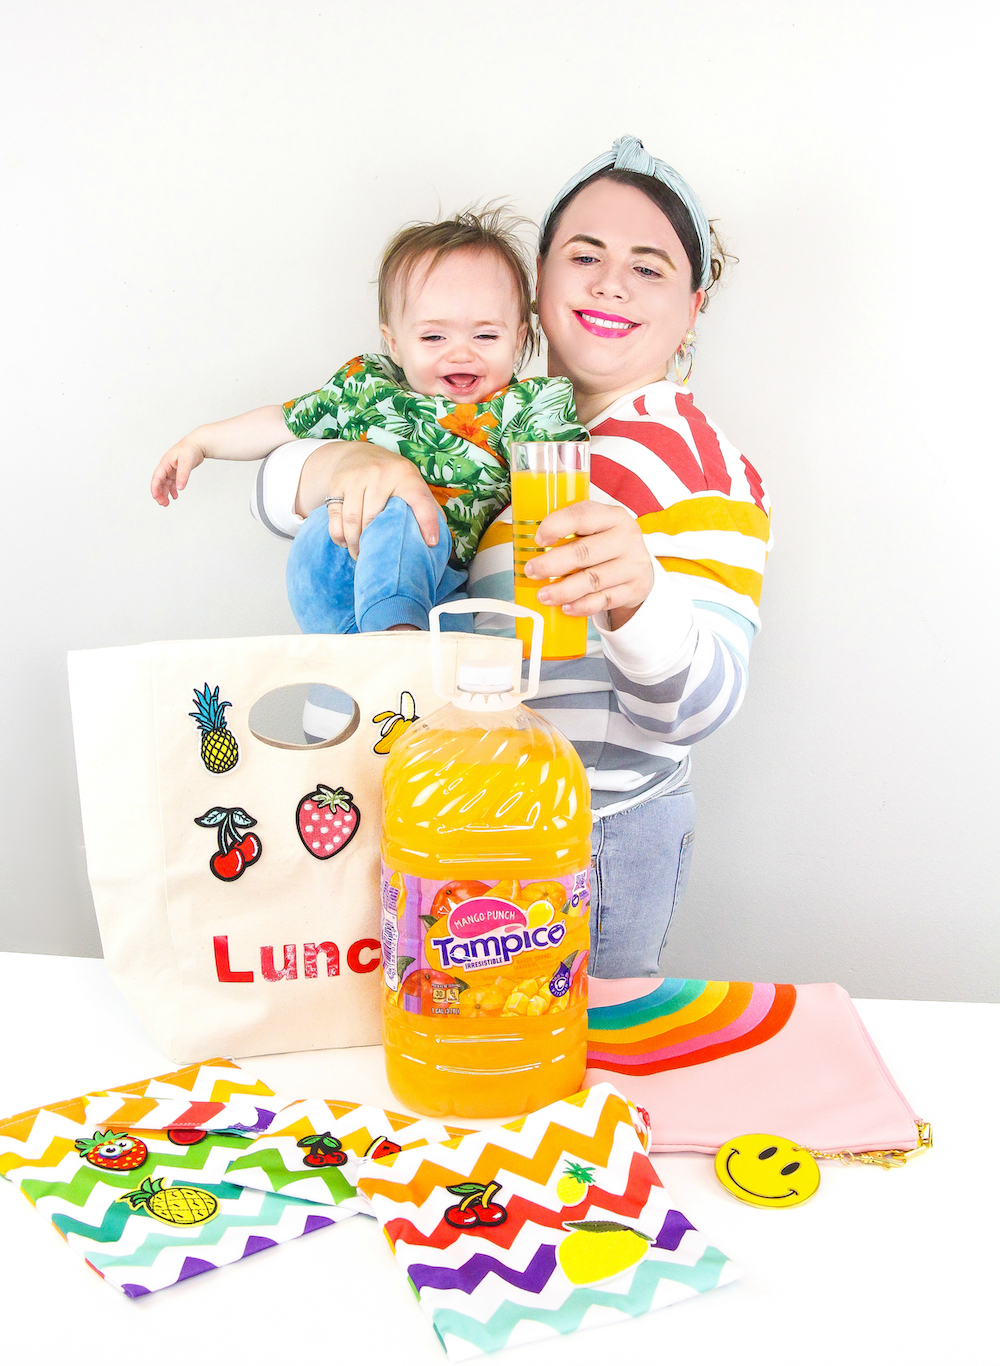
Nothing is a bigger memory than getting ready for our first ever day of school. We also loved sipping on this amazing Tampico Mango Punch as we made these fun lunch accessories.
Here is how to make them for your own child’s lunches for school!
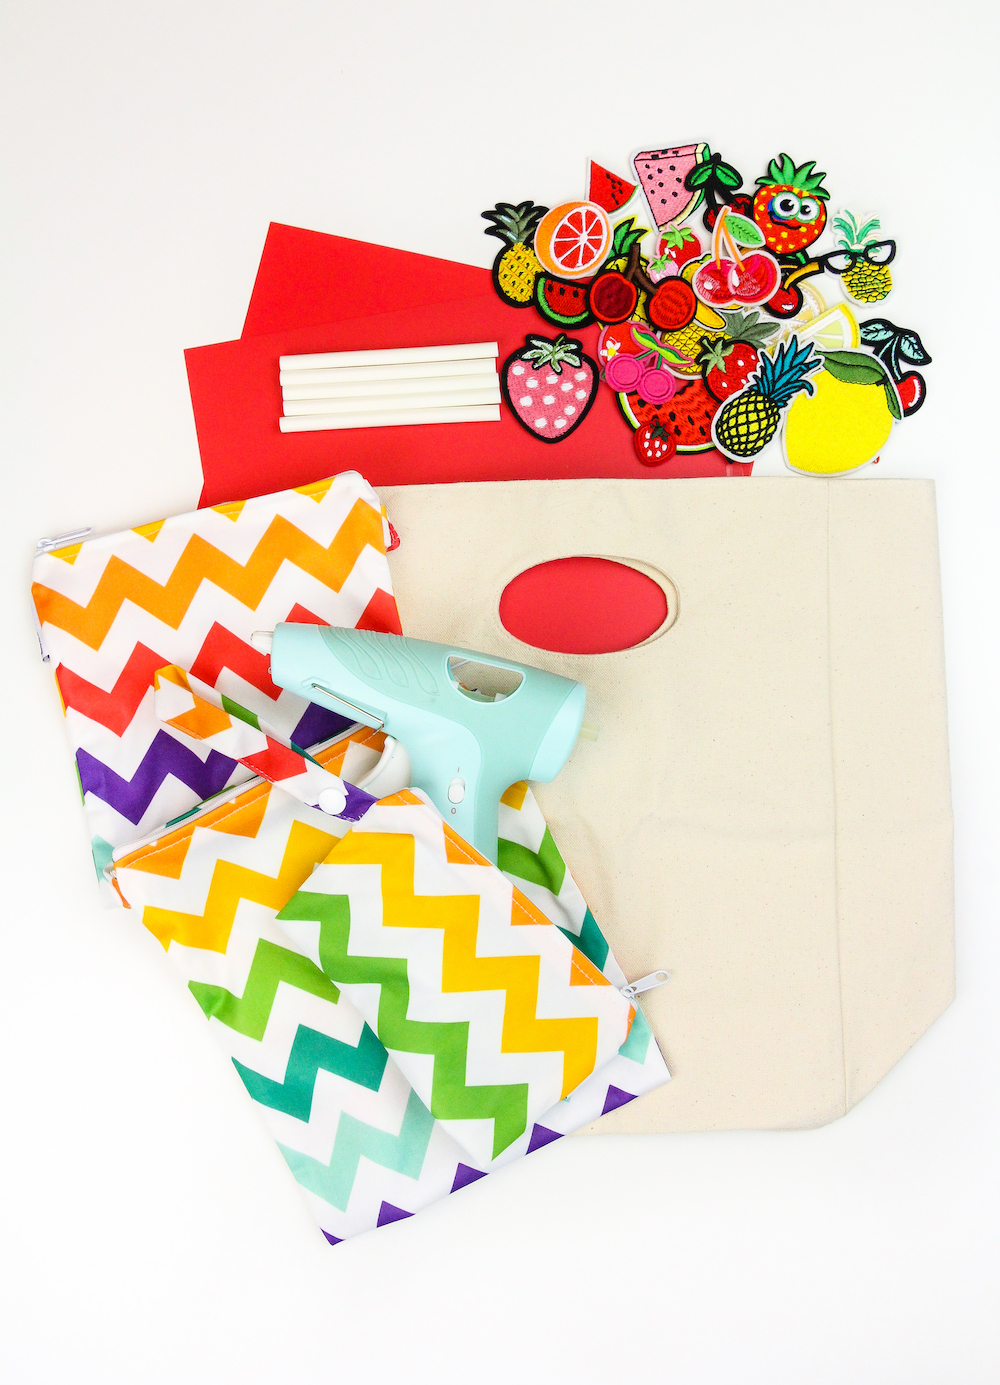
- 1 Canvas Tote Bag
- Reusable Sandwich and Snack Bags
- Various Fruit Patches
- Red Iron-On Vinyl
- Fabric Hot Glue Sticks
- Hot Glue Gun
- Iron
- Scissors or Craft-Cutting Machine
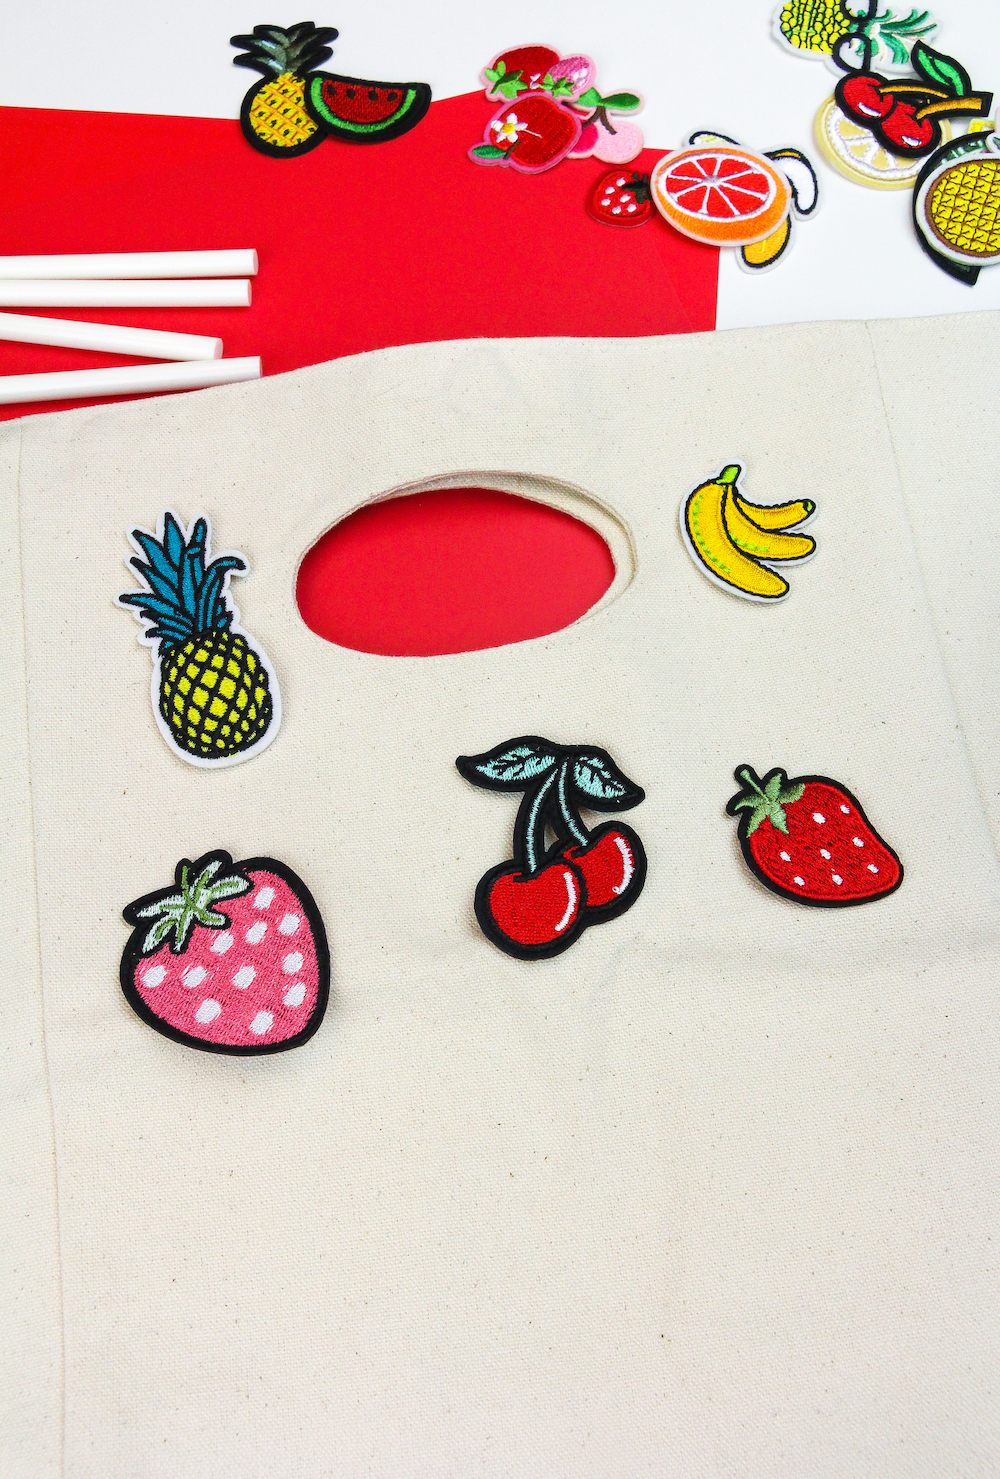
First you align your fruit patches onto your canvas bag. Place them in the position you’d like them to be.
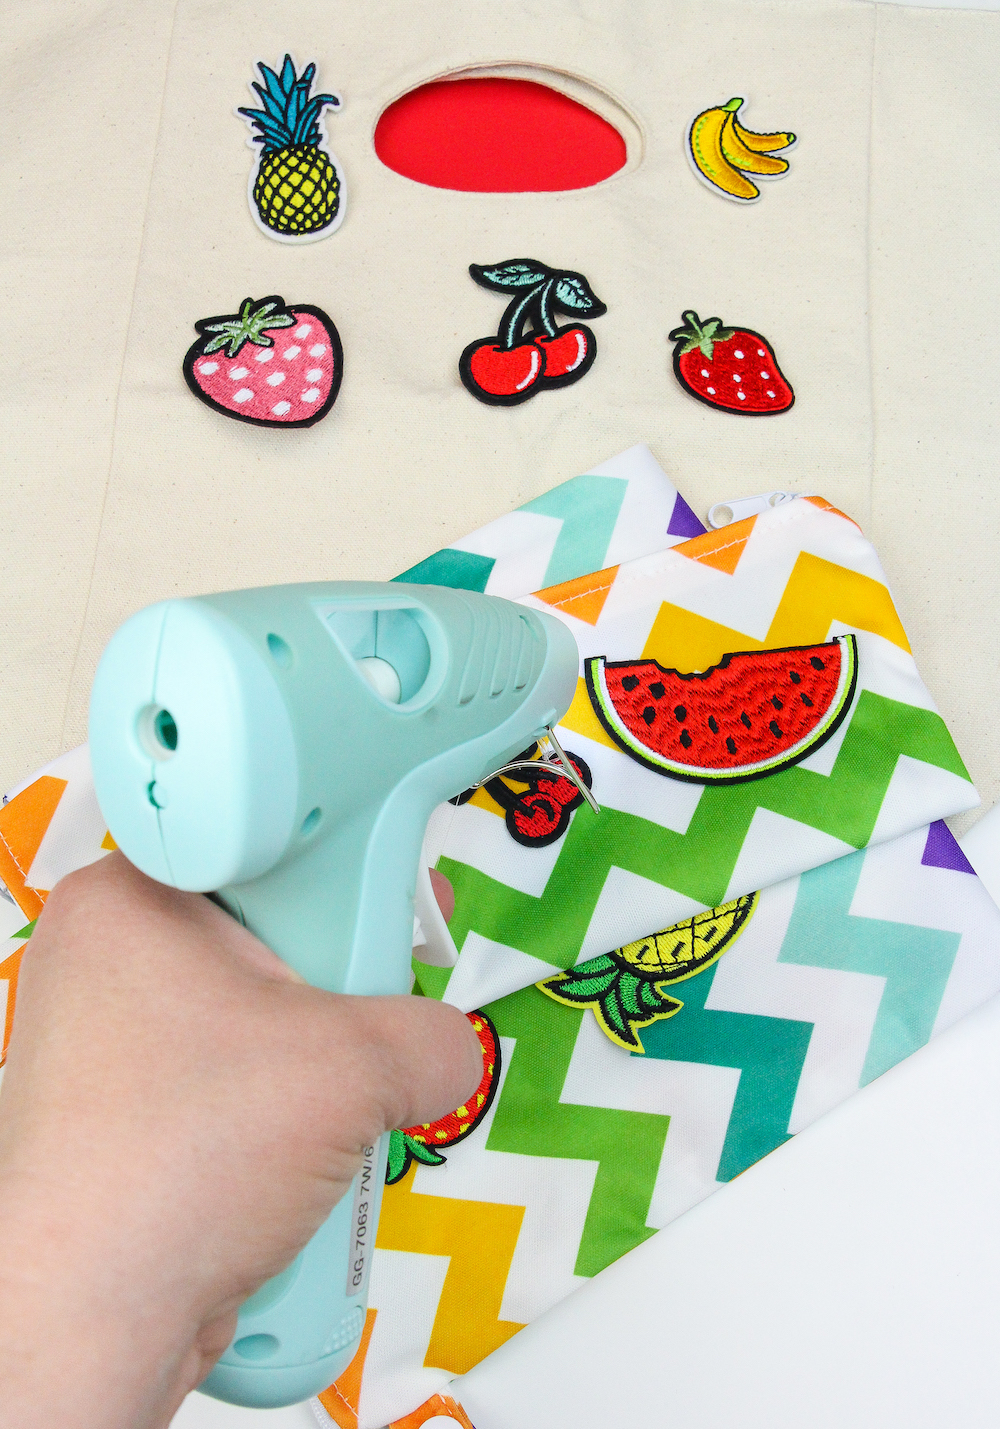
You can either hot glue or iron on these patches. I chose to hot glue them with fabric hot glue.
I love fabric hot glue because it dries so quickly and moves well with the fabric it’s glued on.
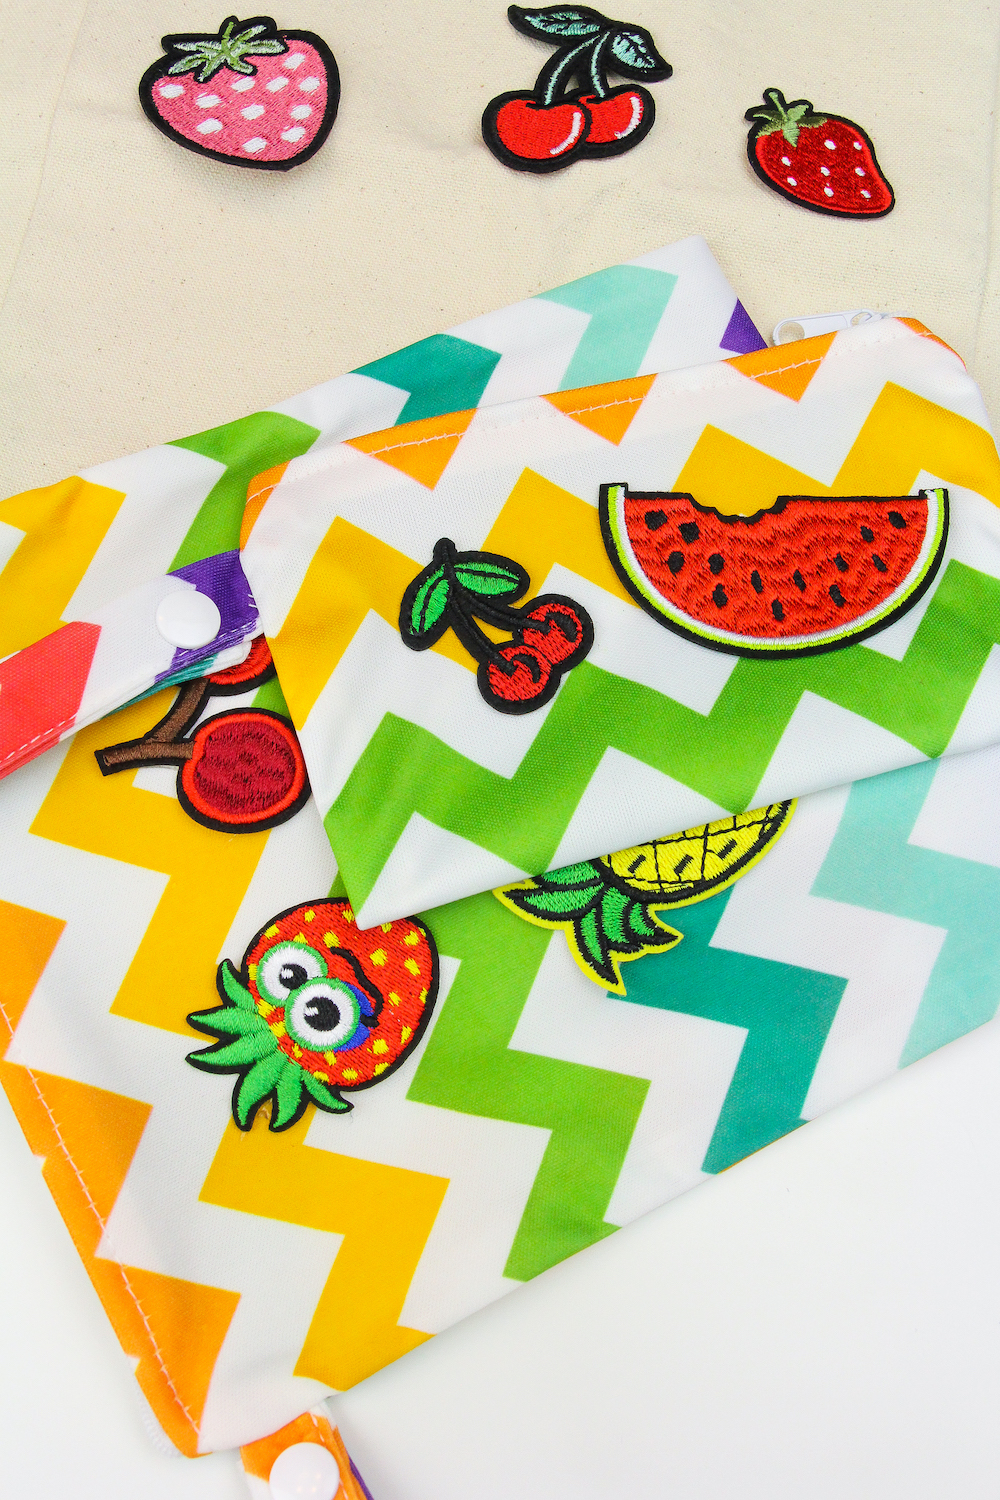
That’s all you have to do to make the snack and sandwich patch covered bags.
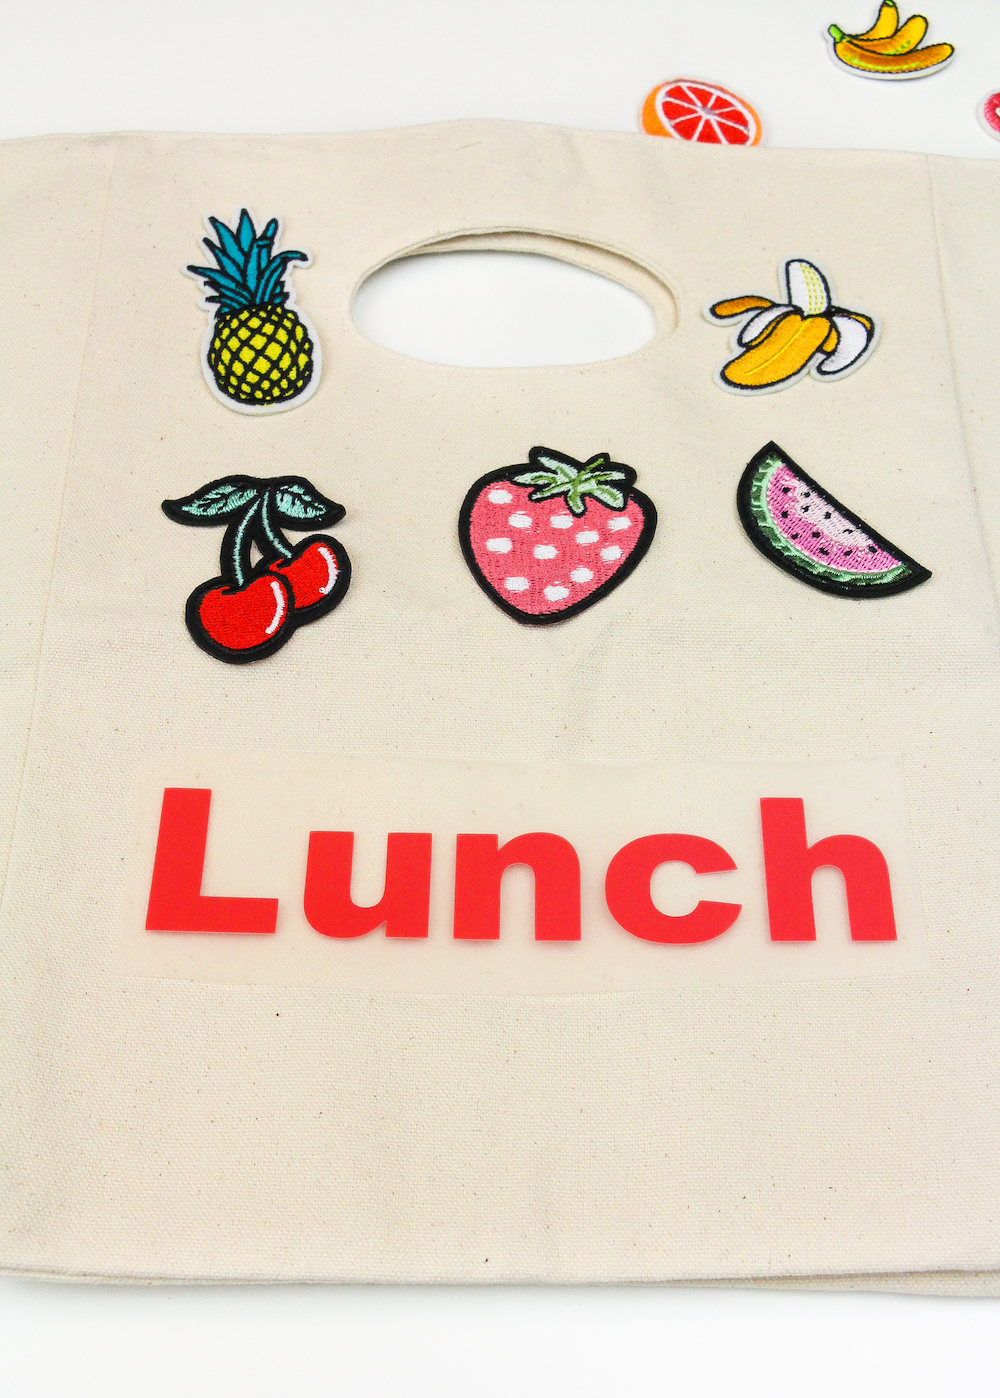
To add the word lunch to your canvas lunch tote, you’ll simply cut out the letters from your red iron-on vinyl and spell out the work “LUNCH”.
I used my craft-cutting machine to cut my letters out, but you can cut these out with your scissors as well.
Make sure the side with the film is facing up and the vinyl part is on the bag before you iron it onto your bag.
Next you iron on your letters. Make sure to not place too much heat on the letters or the letters may begin to bleed and melt.
Once you iron on your letters, let it cool and you’re done! That’s how simple it is to make these fun patch covered lunch and snack bags!
He can’t wait to get the snacks out of these bags, in case you can’t tell from the photo above! We sipped some awesome Tampico Mango Punch as we made these. Tampico is the positively irresistible juice drink that makes your family’s lives more colorful—with only 30 calories per serving! I don’t have to worry about us drinking our calories when we’re having fun making DIY projects like these!
If you’re looking for great drink to enjoy before the summer ends and as you get your craft on, look no further than Tampico Mango Punch!
I can’t wait to put these pics and memories in my scrapbook. Join us and follow along to do your own Summer Scrapbook Challenge with Tampico and keep track of all of the colorful moments your family experiences this summer!
You can find more info on Tampico at tampicoiscolor.com.
Thanks for supporting amazing brands like this one that keep this Brite & Bubbly party going!




















Comments