Hey All!
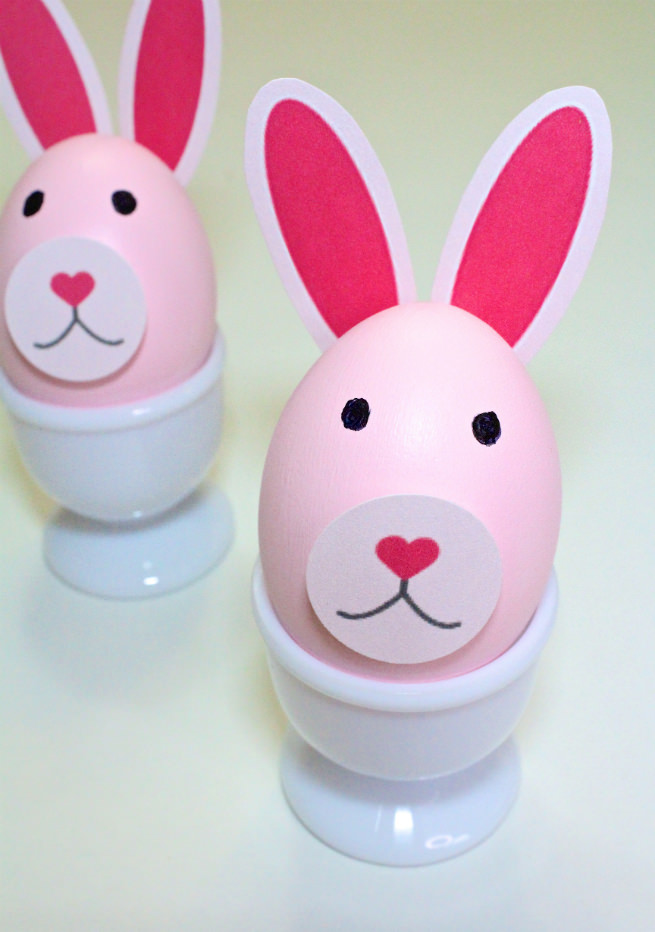
I figured I would start this years season of Easter DIY, Recipes, Crafts off right with some Easy DIY Pink Easter Bunny Eggs! Since it’s already Easter in the stores, I figured it was time to get this show on the road. I love how these came out and I just couldn’t wait to share them with you all. Who says the only way to make Easter Eggs is by dyeing them different colors. There are so many ways you can creatively make Easter Eggs and I’m going to show you a few ways to make them as I share our Easter themed projects with you. We’re starting it off with some amazing Pink Easter Bunnies today.
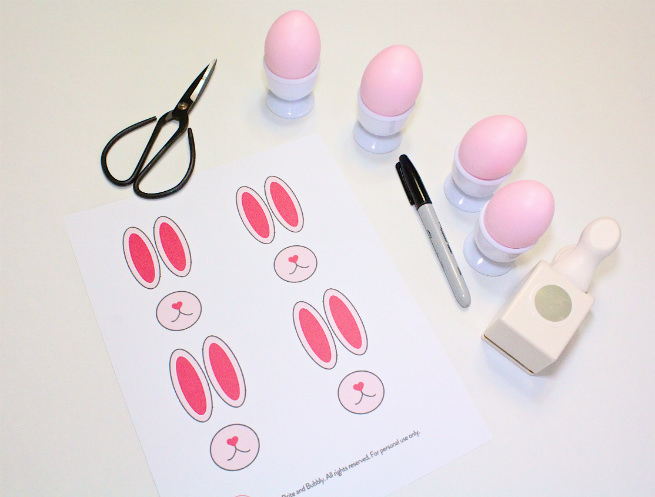
To Make These You’ll Need:
- Martha Stewart Crafts Pink Carnation Satin Acrylic Paint (I believe it came in this set I got on Amazon)
- Paint Brush (Mine is from Martha Stewart Crafts)
- 1 Dozen Eggs (Or how ever many eggs you’d like to make)
- Egg Cups, Carton, or Washi Tape rolls to hold up your Eggs
- White Cardstock
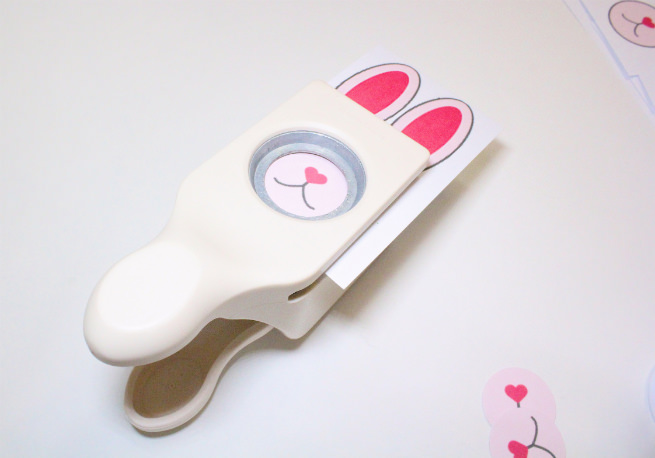
- 1 inch hole puncher ( Mine is also from Martha Stewart Crafts)
- Scissors
- Black Sharpie
- Glue Dots
- And our FREE PRINTABLE PINK BUNNY EARS AND MOUTHS BELOW!
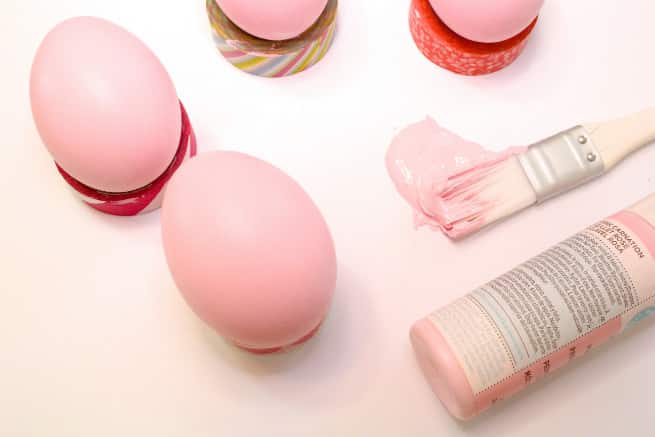
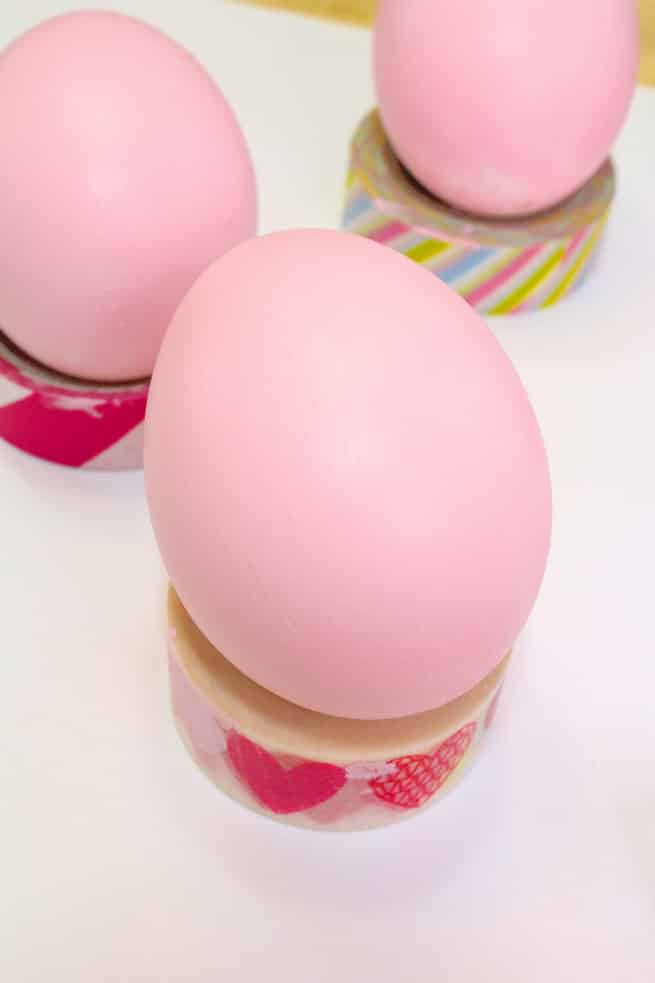
First you boil your eggs so they are hard boiled. It takes about 8-10 minutes. Then you paint your eggs with your pink paint and brushes. I used my thousands of rolls of washi tape to hold up my eggs as I painted as I didn’t want to mess up my egg cups.
I did about two coats of paint on each egg and then let them dry for at least an hour. This is the hardest part of this entire DIY honestly.
Once there all dry the quick and easy part can begin.
First you download and print out your FREE PINK EASTER BUNNY EGGS PRINTABLE by clicking the image below to download the PDF. You then print them out on your white cardstock.
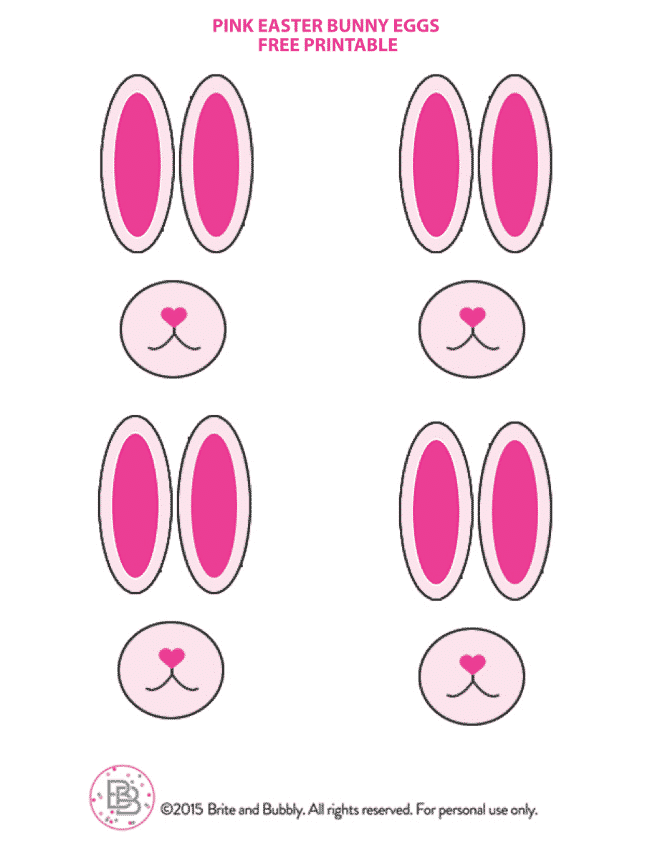
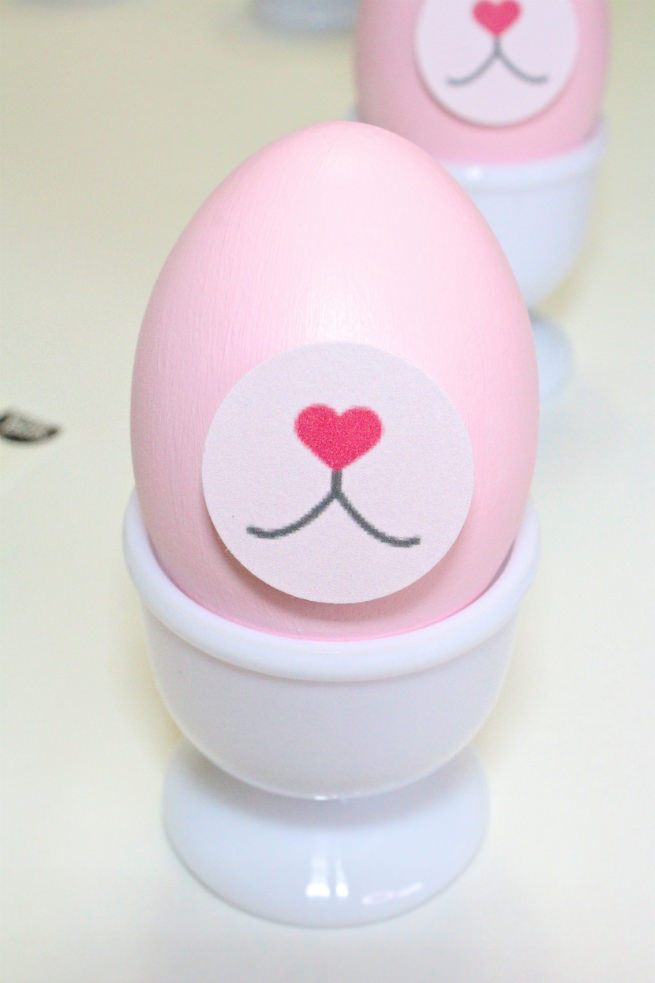
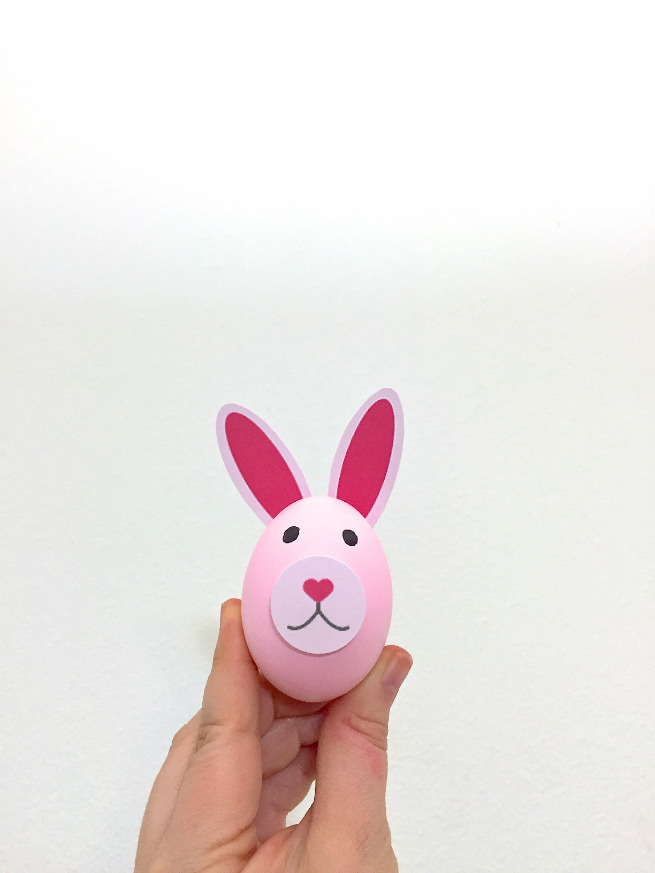
You then begin to assemble your Pink Bunny Easter Eggs. First you take 1 glue dot and glue on the mouth.
You then take your black sharpie marker and draw on the two little eyes.
You then stick on each bunny ear that you cut out from the printable with a glue dot (make sure you cut off all the black edges) and then glue them on to your eggs.
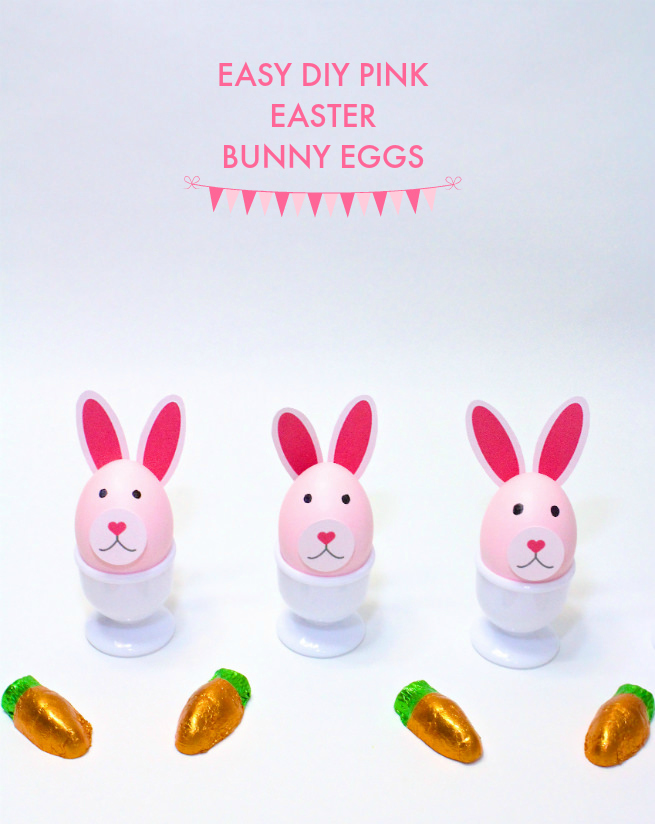
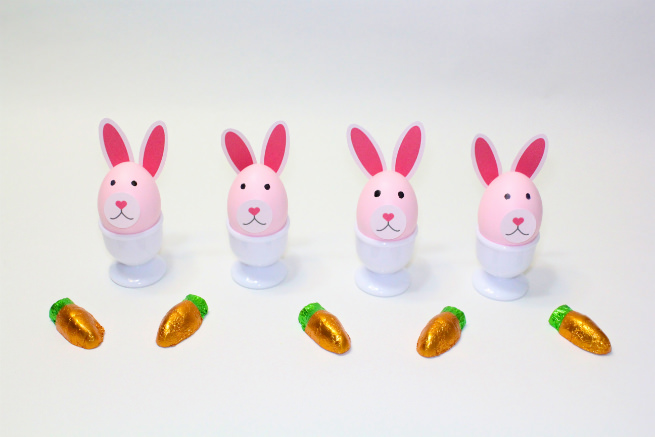
That’s it you’re done! You’ve got some adorable Pink Bunny Easter Eggs to have one display for those Easter brunches, use for your Easter Egg hunts, or to put in those Easter Baskets. I don’t really recommend eating them since you use paint to make these. They’re more for fun and decoration in my book.
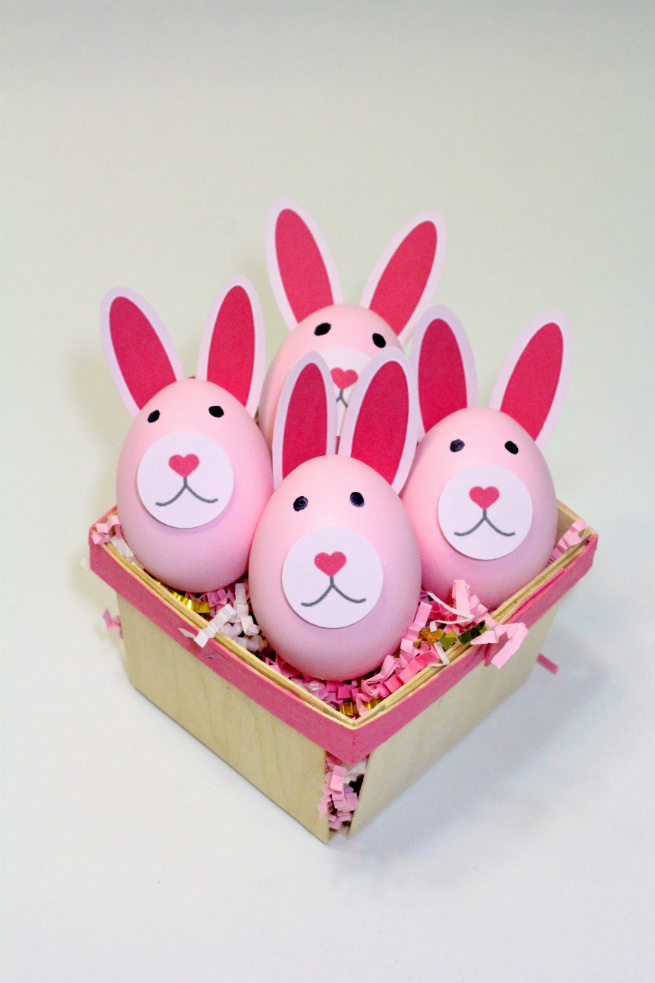
You can put them in a fun egg carton…
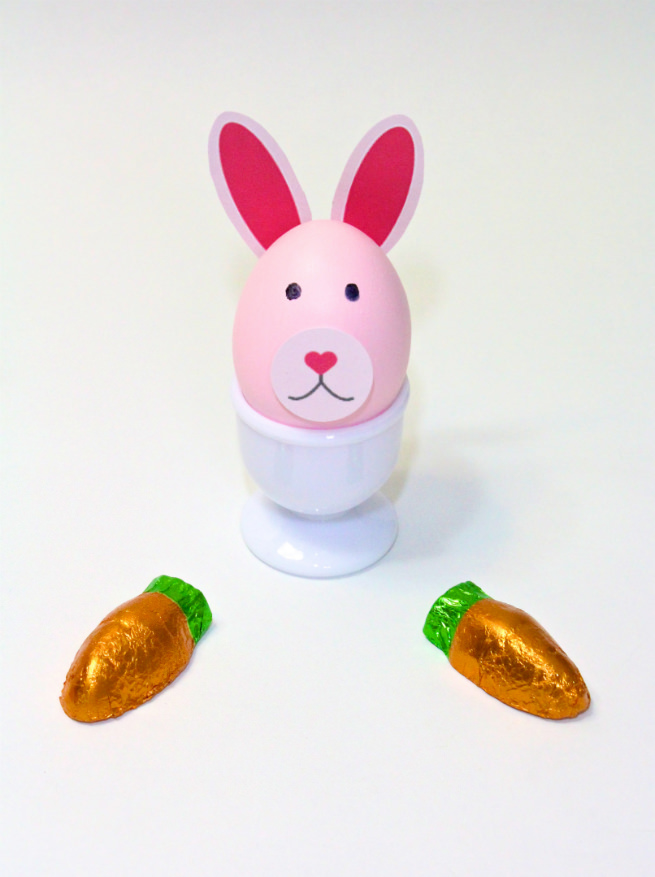
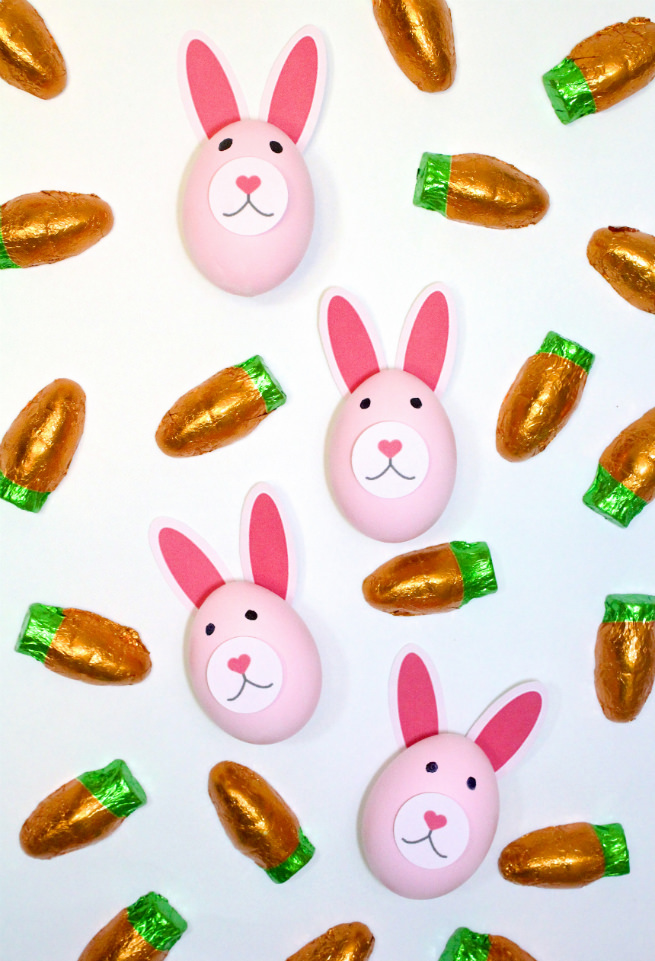
Or you can pair them with some adorable chocolate carrots.
For what ever reason you decide to make these adorable Pink Bunny Easter Eggs, I’m sure you’ll love them as much as I do!
I mean look at that face! How could you not love it?! These are some of the most adorable Easter eggs I’ve ever made.
This is just getting the Easter party started here on Brite & Bubbly! Wait until you see what awesome eggs I have to share with you tomorrow! I’ll give you a hint…Wink Wink!
Check out the rest of my amazing Easter DIY’s, Recipes, and Crafts HERE!












Comments
These are some of the most cutest eggs I’ve ever seen.
Oh how cute! I love those and I know my kids would, too.
Oh my gosh these are the cutest! I admit to using dye for our eggs but I may turn into a convert and give some a paint job this year. Really adorable!
These are adorable and I’m totally doing them with my grandson! They look so easy to do too.
These bunnies are so so so cute. Pinned to my Easter board.
Oh my goodness how cute are these!? I’m going to make these with my daughter for Easter!
Best. Easter craft. EVAHHHH! That is utterly adorable and spectacularly easy. Thanks so much!
This is such a cute and creative idea. I need to start thinking about Easter decorations.
One of my favorite holidays is Easter and I love decorating eggs. I’m not very artistic, but I think I could do these! I love how pretty the pink turned out on your eggs!
What a fun idea for Easter. Those ones in the egg cups would be great to use a place settings/name holders for the dinner table!
I’ve never thought of doing something like this before. What a cute little Easter idea.
These are just soooo adorable! I love those little pink heart noses!
I love these cute bunnies. This is such a cute idea! What a great printable!
My kids would have so much fun with this activity. It is so darn cute, I love it.
These bunny eggs are simply adorable! I am so inspired by your use of punches to bring these to life.
Oh these are just adorable! Very cute and creative! Such a good idea my kids would love it!
Well those are easy and oh so cute. I’d love to make those here too!
This is just too adorable. I will be making these for sure
How cute are those?!?! I love decorating eggs with my kids, and this craft would be just perfect for us.
OMG! Those are the cutest Easter eggs ever! What a great craft idea!
Such cute Easter Bunny Eggs. My kids would have so much fun making these.
Those look ready for Easter!~ My daughter would love the pink
That is just too cute. Not hard at all.
These are the cutest little eggs I have ever seen! I love the pink color and the bunny ears and mouths are precious.
These are super duper adorable. Since we wouldn’t want to eat them with that paint just to be safe, I would poke a hole in the bottom and top to blow out the insides. Then paint a clear coat of craft glue on there to make it stronger to prevent cracking. Then you have the shell to decorate and paint and no eggs get wasted.
What cute eggs! My kids would love these.
Those are so cute!!! I’m going to have to try this with my girls!
So easy and super duper cute! Going to try and make these this weekend.
How adorable! These looks soo fun! Thanks for sharing.
Those are super cute! Our kids would love to make these for Easter! Thanks for sharing!