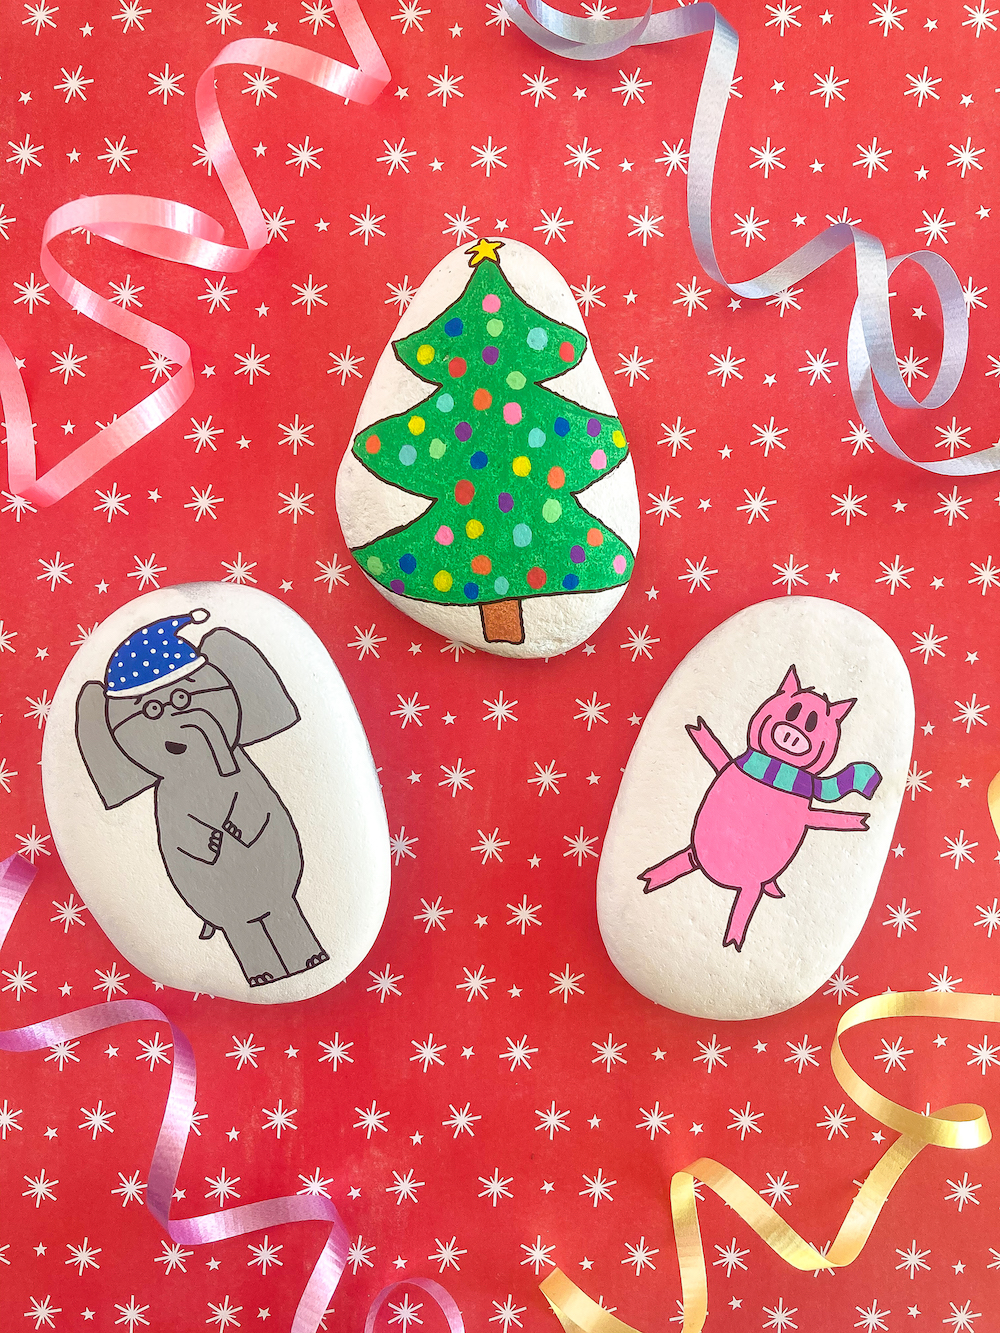
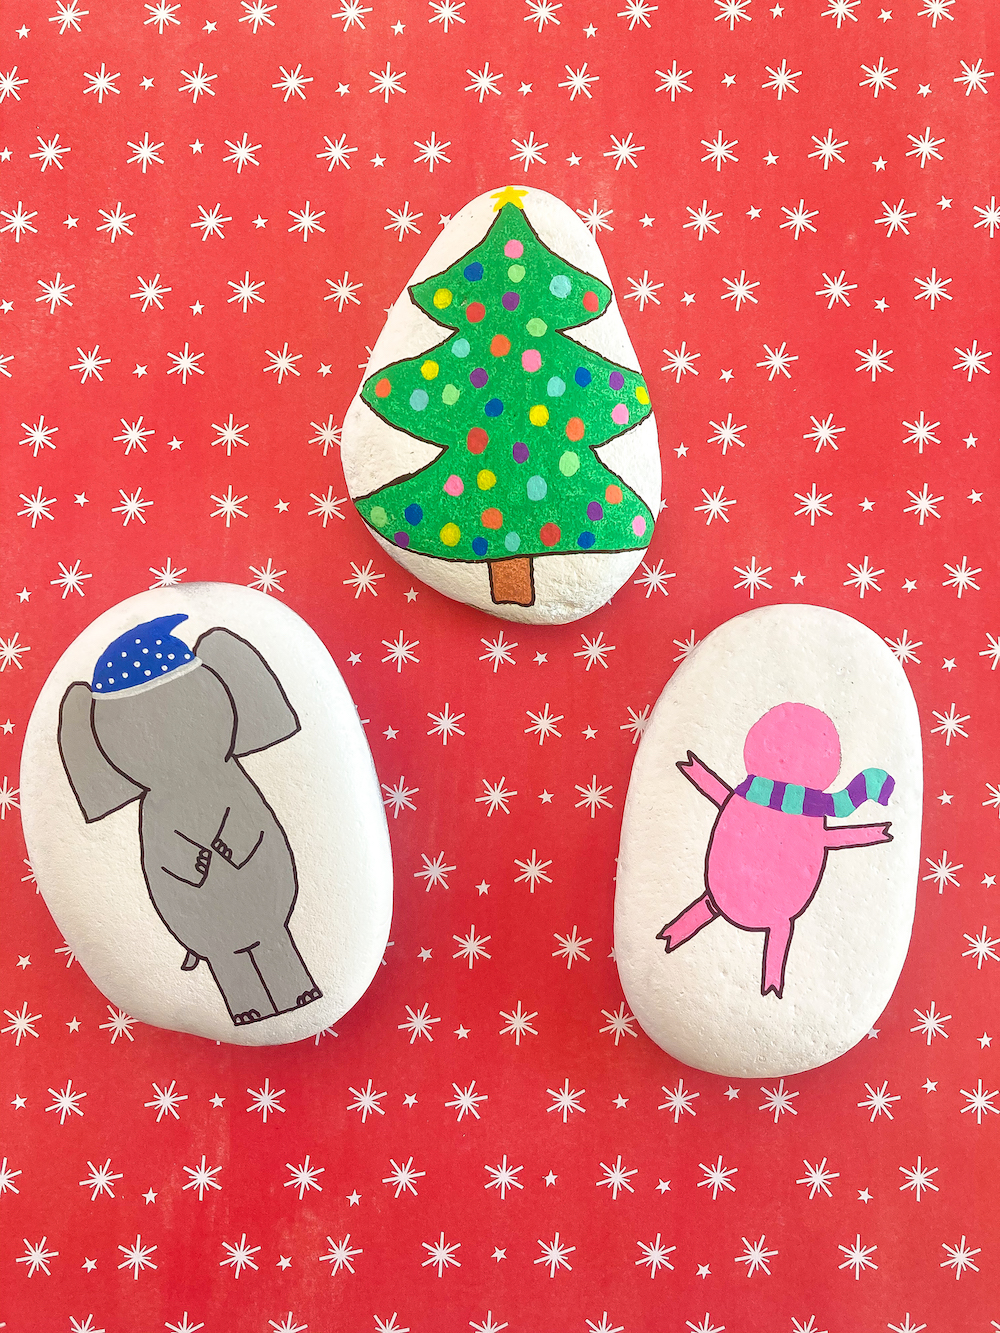
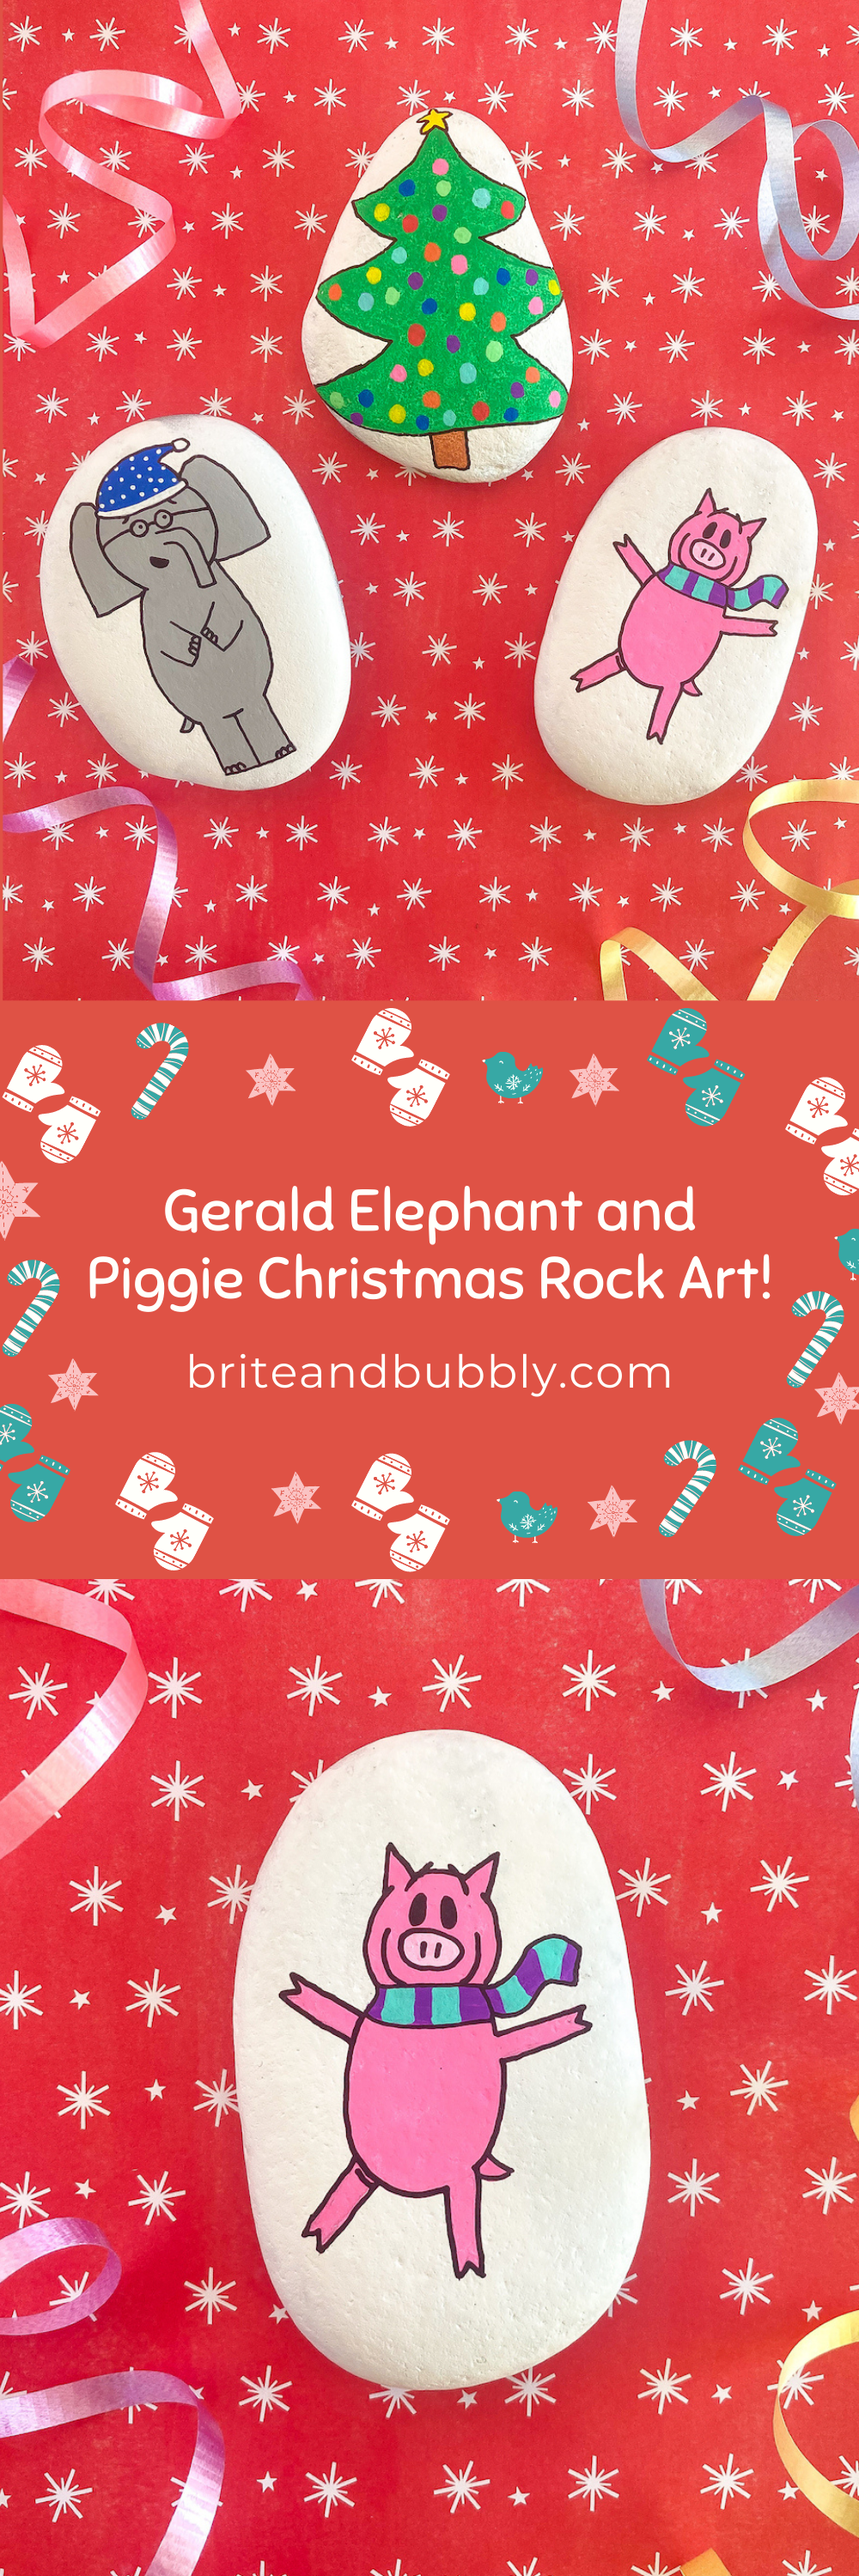
If you love Mo Willems Books and his Elephant and Piggie characters, then you’ll definitely want to check out these DIY Gerald Elephant and Piggie Christmas Rock Art!
Hey All!
If you love Mo Willems Books and his Elephant and Piggie characters, I have a fun holiday DIY for you today! I’ve shared my love of Mo Willems and his Elephant and Piggie characters many many times on this site. Since it’s the holidays, I wanted to make a little holiday decoration featuring these characters. Rock art is very popular right now, so I figured it would work perfectly with this DIY. You can make these with your kids and place them around your home as a fun little holiday decoration. The kids can do the painting but leave the sealant and priming for the adults.
Here is how to make them!
- Paint Markers
- Pencil
- Clean Rocks
- Primer
- Mod Podge or Spray Sealant
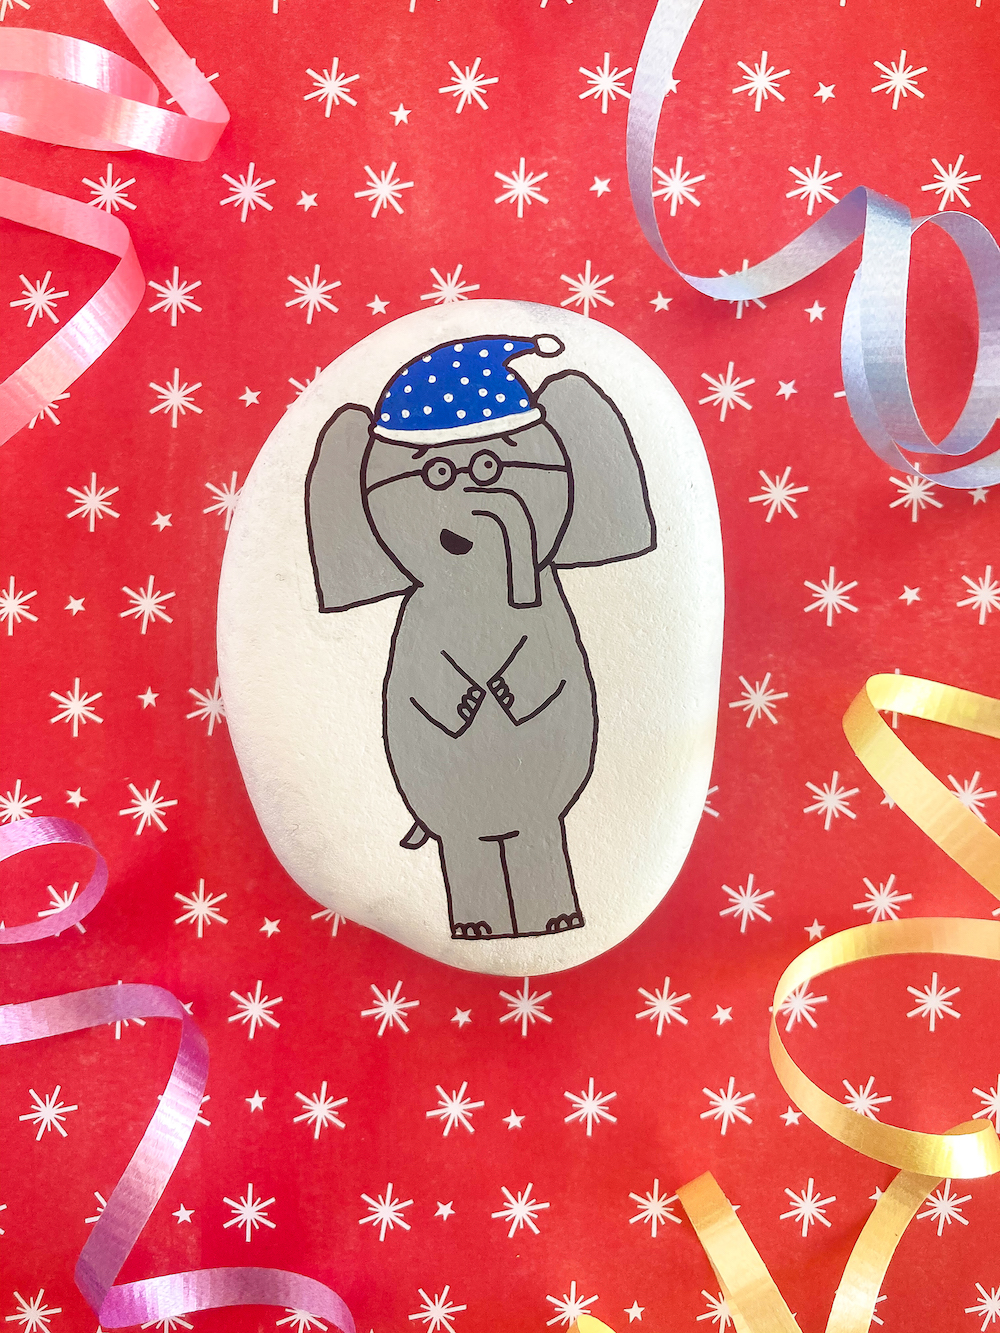
To Make Gerald The Elephant:
Make sure your rock is clean and free of debris.
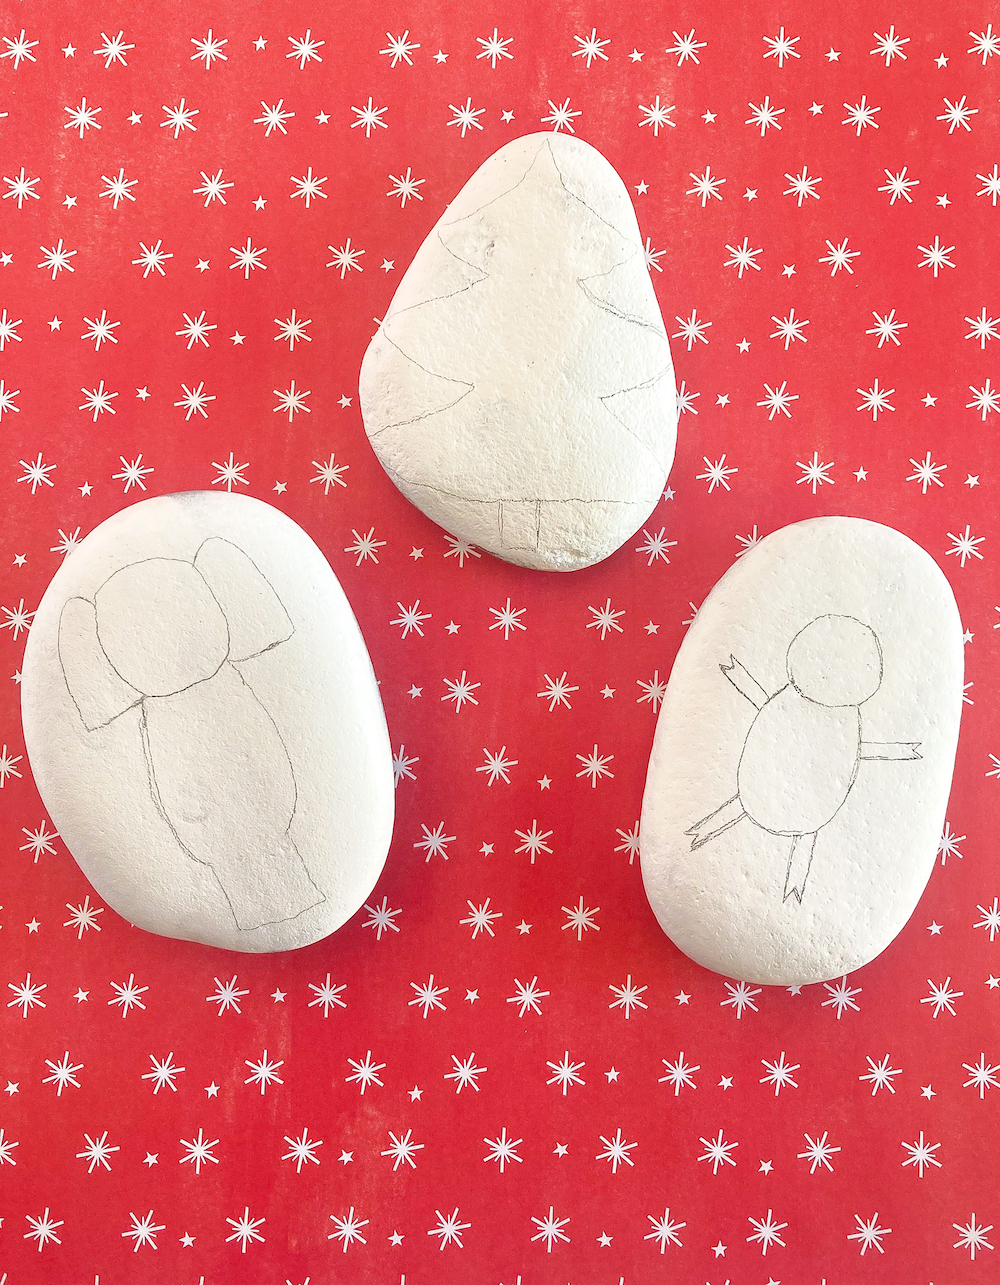
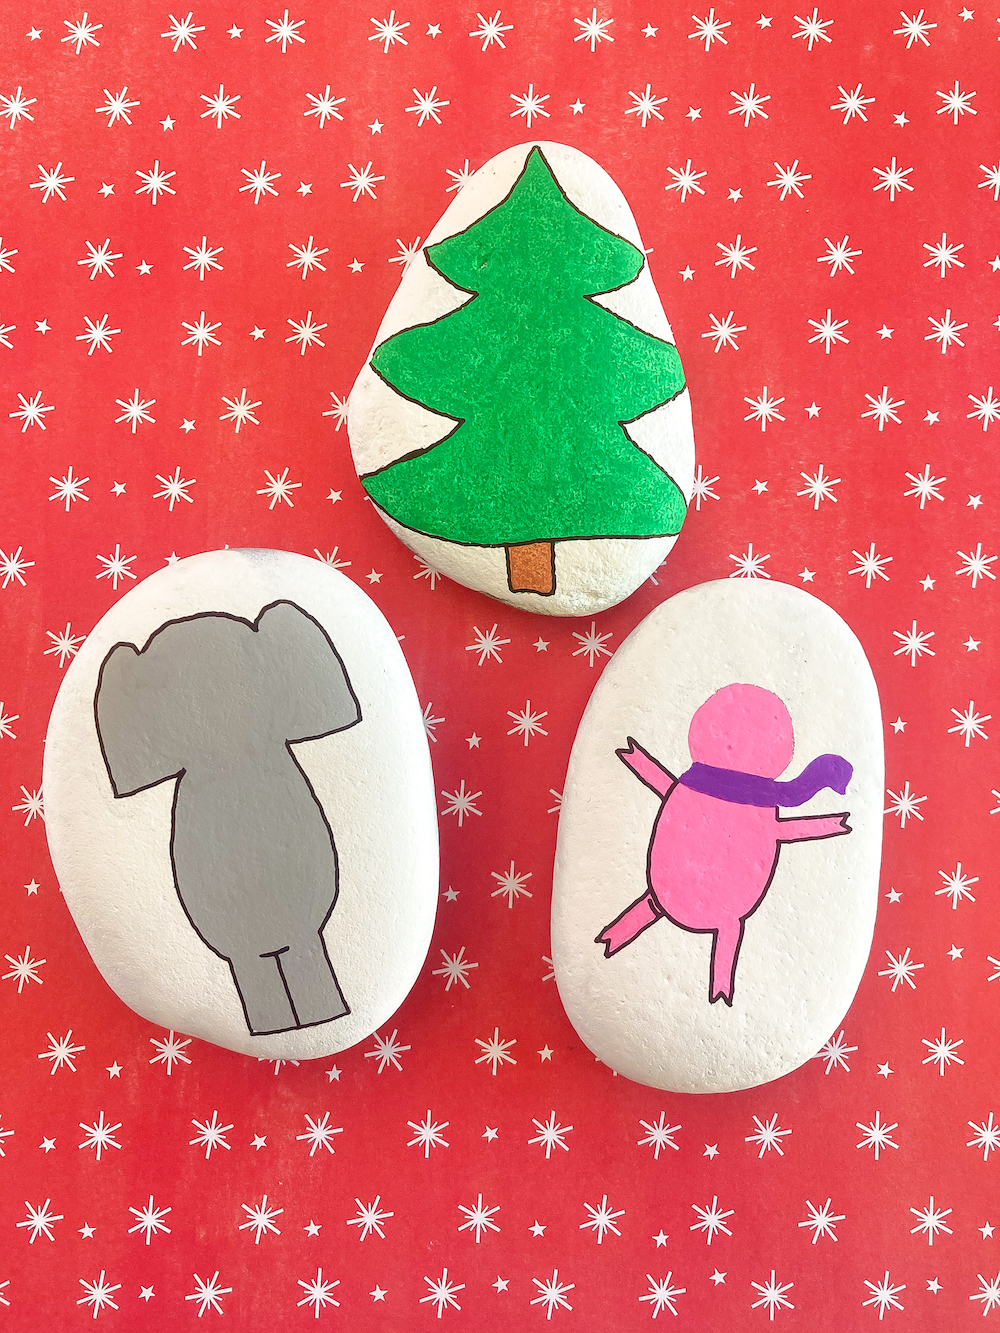
If you prefer, you can spray your rocks with a paint primer. We chose white. Wait for the rocks to dry completely. With a pencil, trace out the shape of Gerald’s body. Include his head and elephant ears, too.
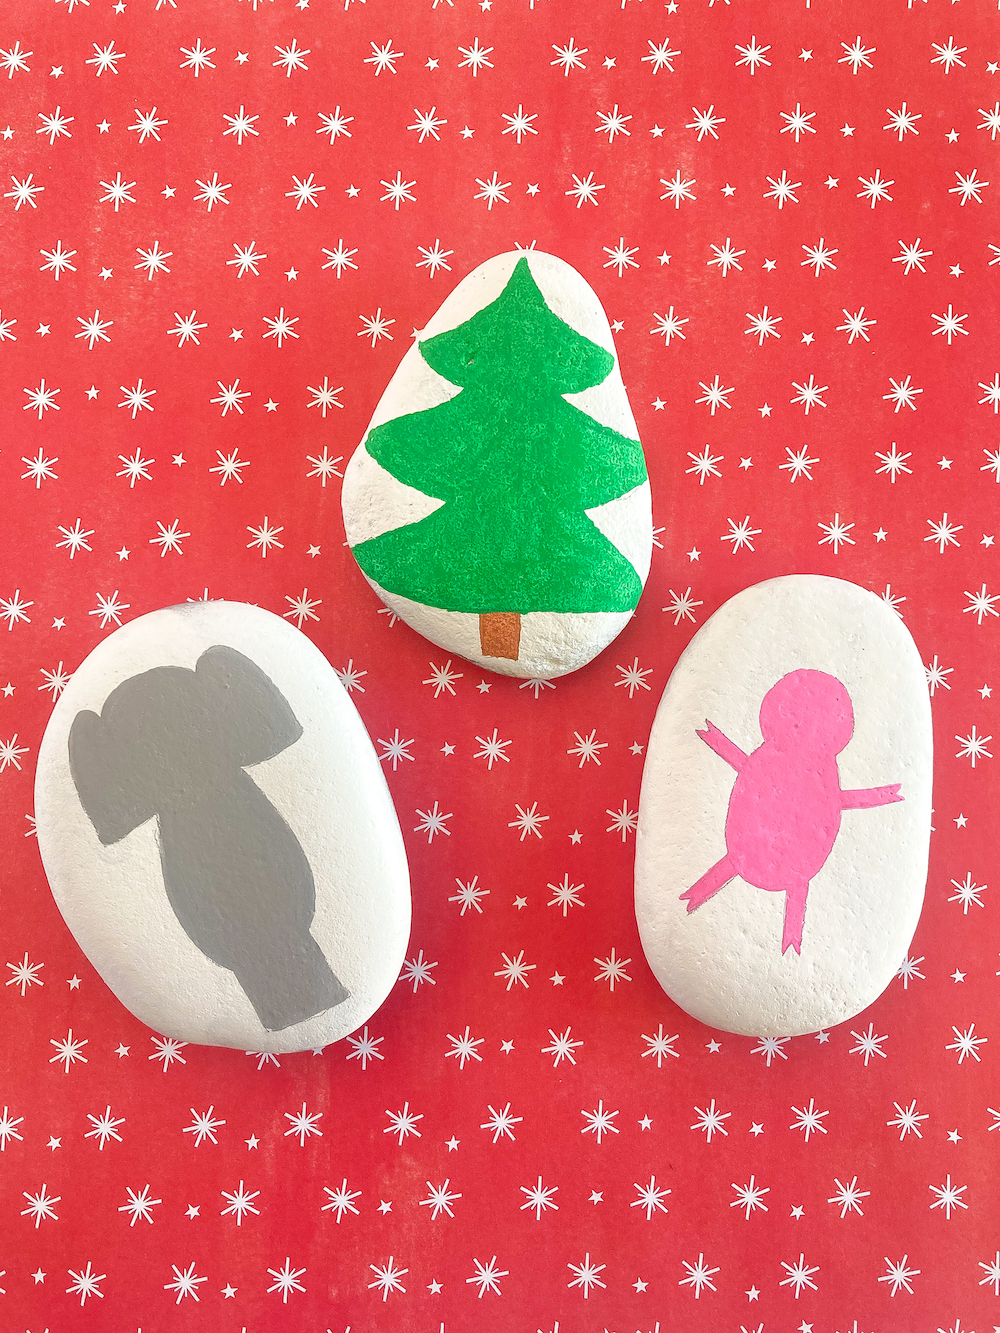
Color in the entire body with gray. Outline the body in black. Add two arms and a tail. Draw the details of his elephant toes. Color a blue hat on top of his head. Add white dots and a white brim.
Outline the hat in black and add a white hat topper. Draw his eyes, glasses, and eyebrows in black. Draw a big long trunk and add his cute little smile. Spray the rock with sealant to complete it.
To Make Piggie:
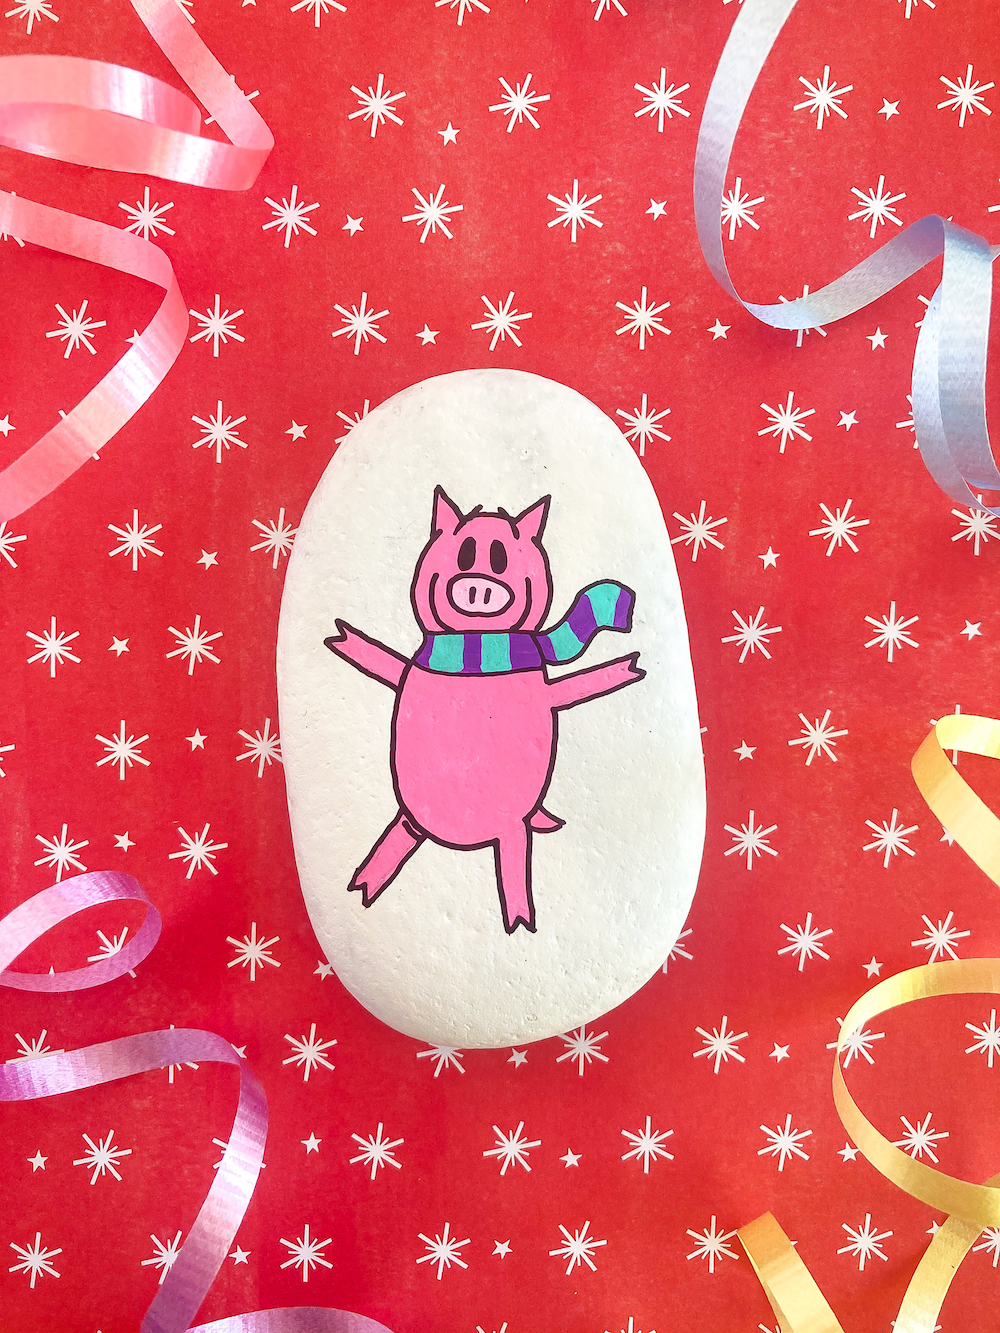
Make sure your rock is clean and free of debris. If you prefer, you can spray your rock with paint primer. We chose white. Wait for the rocks to dry completely. With a pencil, trace out the shape of Piggie’s body. Include her head and legs, too.
Color in the entire body with pink. Add a purple scarf around her neck. Outline the lower half of her body in black. Add blue squares to the scarf. Draw two pink ears on top of her head and add a little pink tail. Outline the tail and her head in black.
Color in her nose with a light pink color. Using black, draw two nostrils, a big smile, her eyes, and two eyebrows. Spray the rock with sealant to complete it.
To make the Christmas tree:
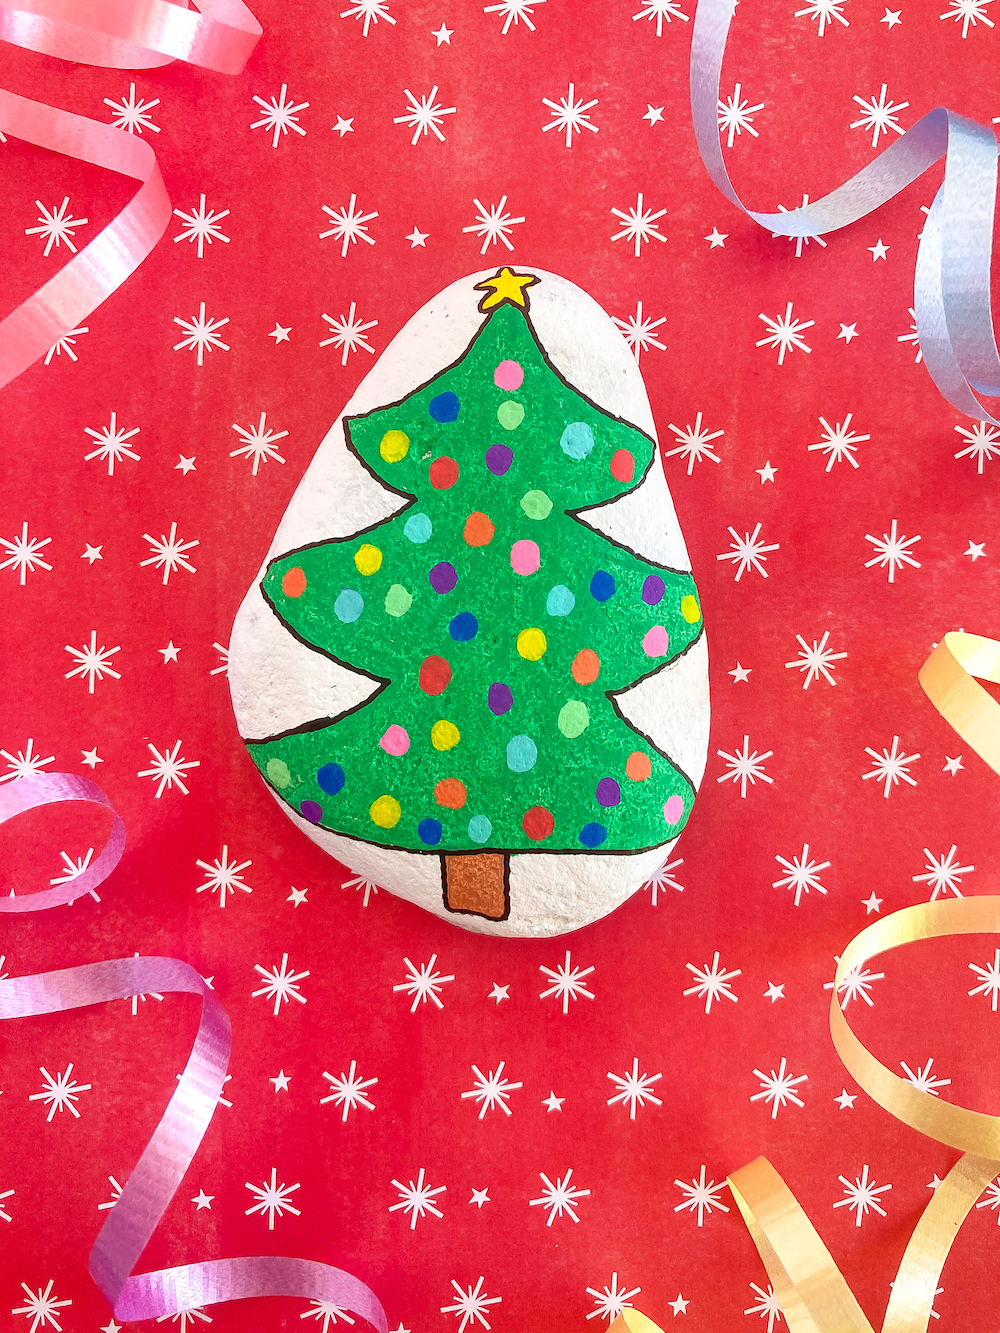
Make sure your rock is clean and free of debris. If you prefer, you can spray your rock with paint primer. We chose white. Wait for the rocks to dry completely. With a pencil, trace out the shape of the Christmas tree. Add a small trunk, too. Color the tree with green and the trunk with brown. Outline the tree with black.
With lots of bright colors, add lots of different ornaments to your tree. On top of the tree, add a yellow star and outline it in black. Spray the rock with sealant to complete it.
That’s all you have to do to make these fun Elephant and Piggie DIY holiday decorations!
I hope you enjoy this fun and easy Holiday DIY as much as I do!
You can find more Holiday DIY’s and recipes HERE!
**This post contains affiliate links. If you click some of the links here and make a purchase, I get a small commission at no additional cost to you! This helps support this site and my family. I only recommend and link to products I love and/or have tried myself. Thank you for supporting us!**





















Comments