Hey All!
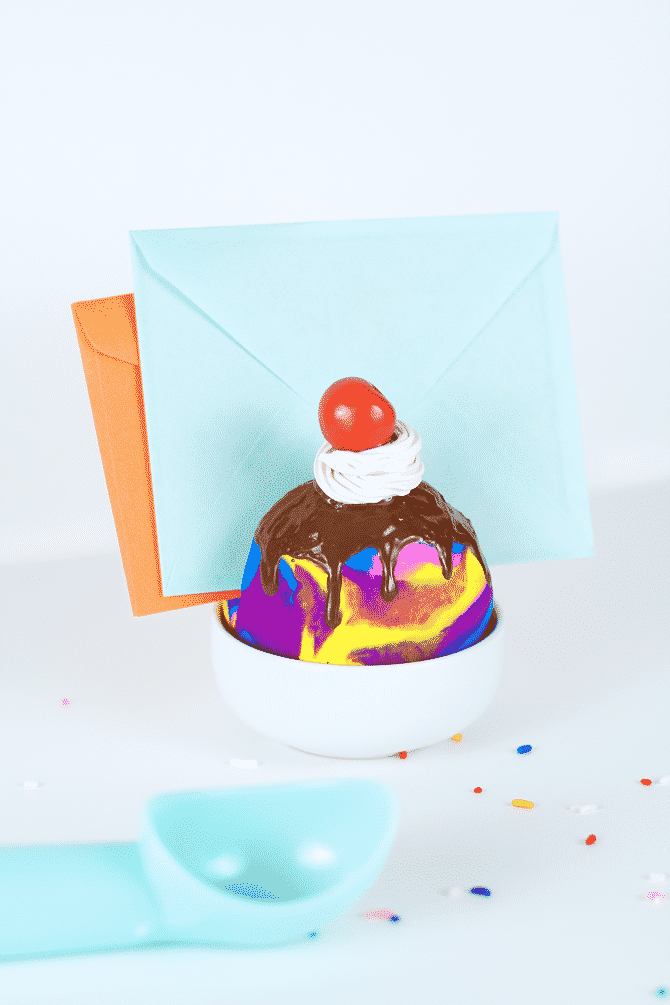
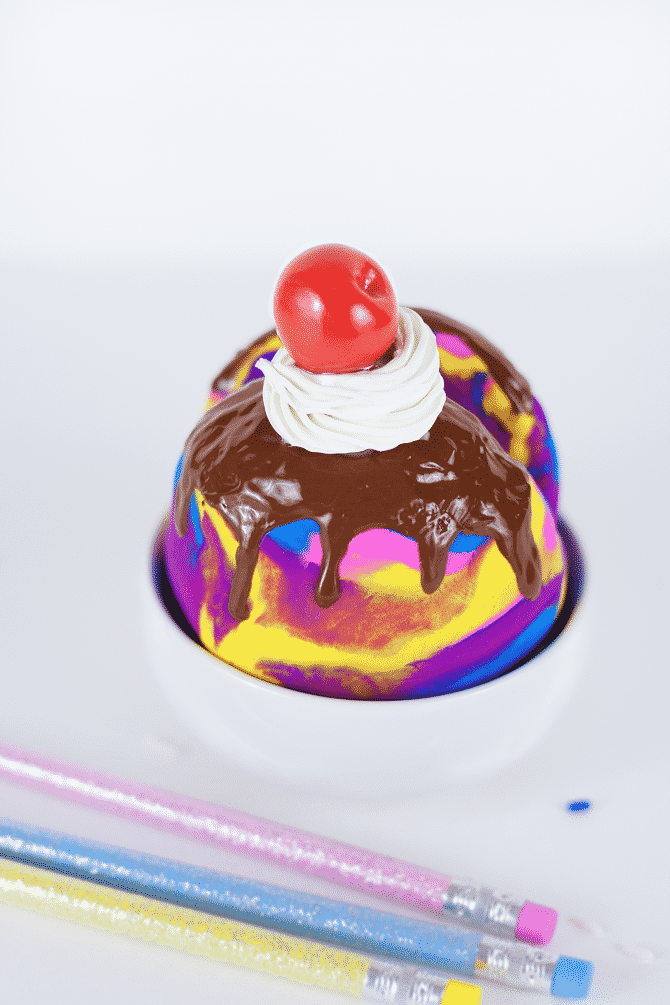
We have another fun #BBubblyIceCreamMonth post from another one of our contributors Amy from The Glitter in My Tea. She’s helping us out with this fun post while we’re away at San Diego Comic Con today! Check out this super cute DIY Ice Cream Sundae Letter Holder! It’s so colorful and the perfect 24-7 reminder of our favorite frozen tasty treat.
Hey! It’s Amy from The Glitter in My Tea, again! I’m excited to be writing again for another major (and yummy) holiday – Ice Cream Month! Ice cream just might be in my top 3 favorite desserts, and comfort food! Had a bad day? No problem! Just eat some ice cream. Spent all day adulting and you’re feeling sorry for yourself? Just eat some ice cream!
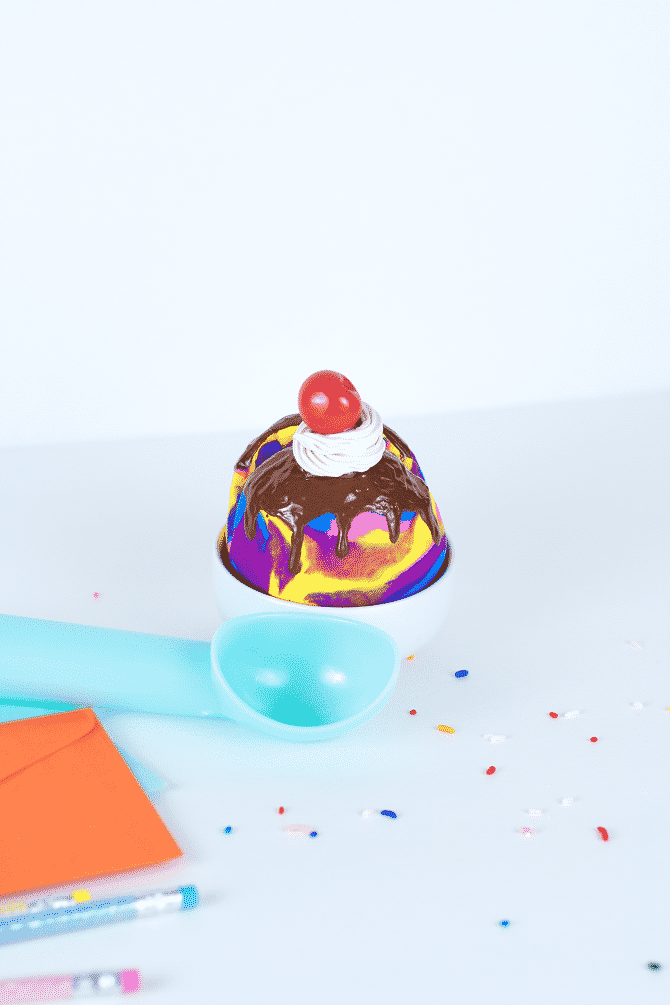
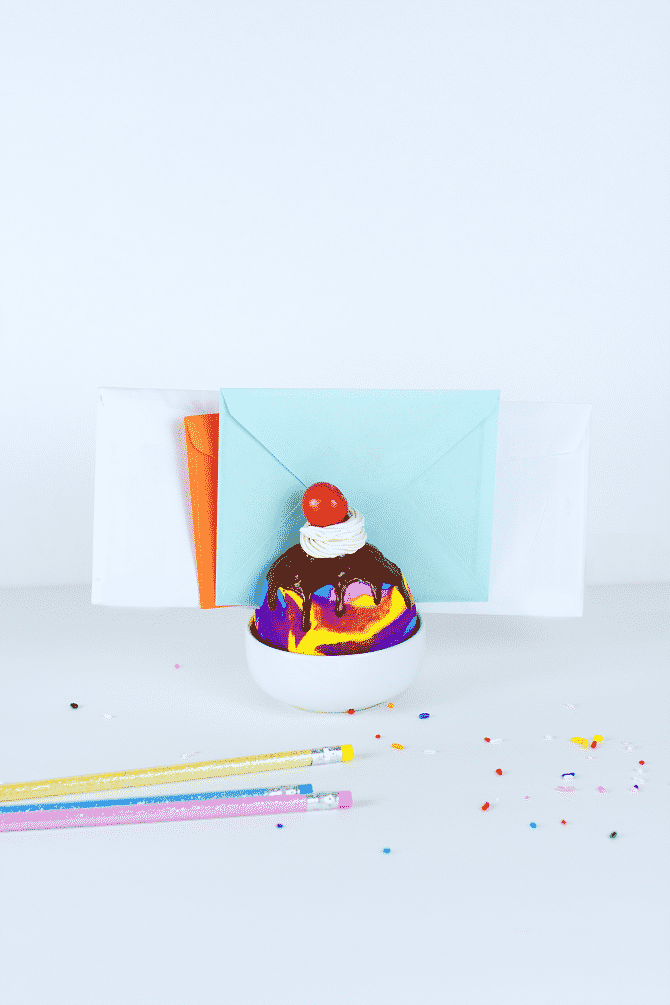
And this ice cream sundae letter holder is perfect to brighten up your desk and make mail – shredding junk mail and the most unpopular, paying bills – a little more fun!
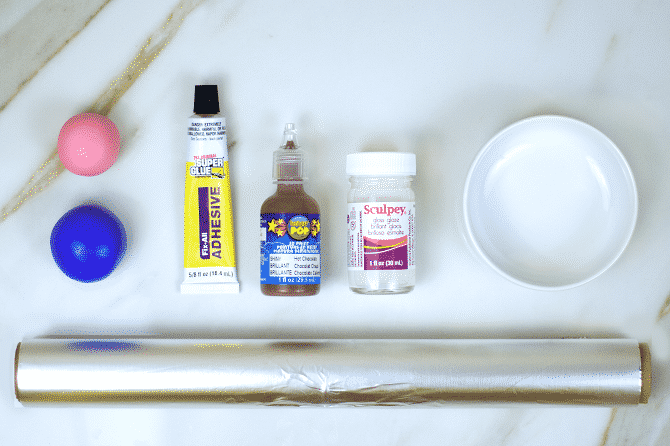
• Oven-bake polymer clay in assorted colors (For the ice cream: yellow, pink, bright purple, and bright blue) (For the cherry & whipped cream: red, and white)
• Aluminum foil
• Clay glaze
• Brown puff paint
• Epoxy glue
• Small dish
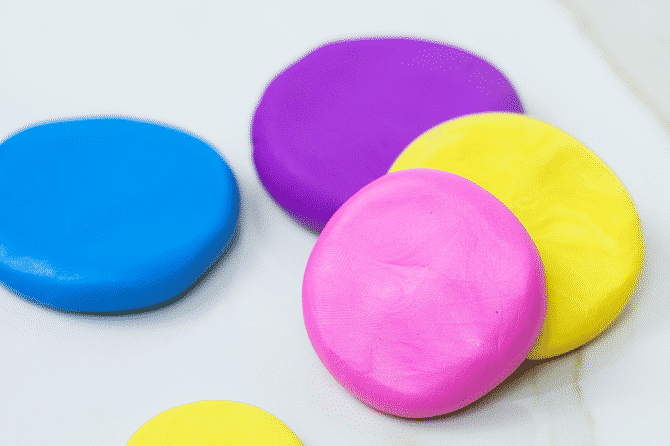
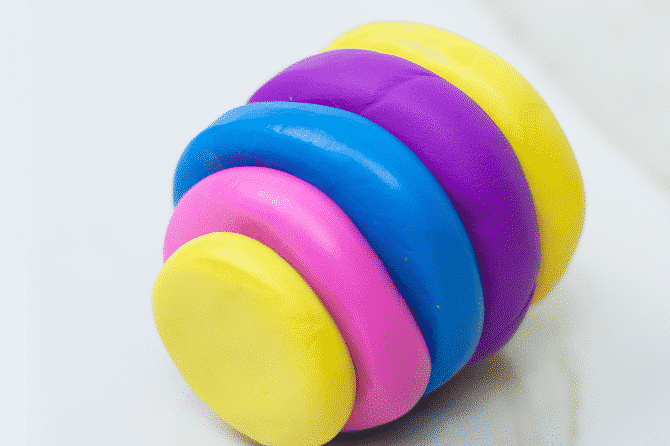
1. Break off pieces of clay in various colors, roll them into balls, and then flatten them into discs.
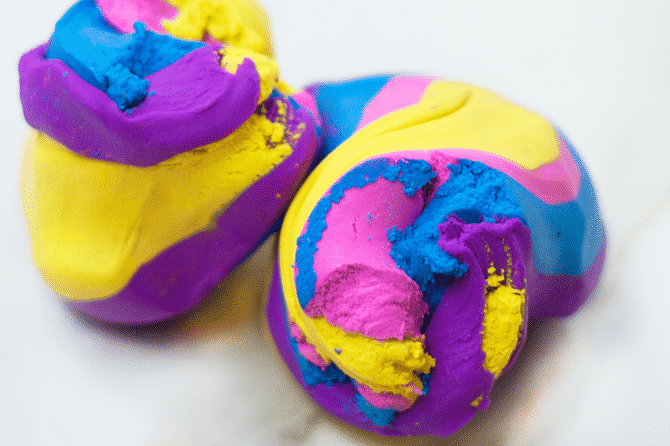
2. Line up all the discs, then start rolling it in a large ball.
3. Once you’ve rolled it into a ball, twist the ball in half into two pieces. Now flatten the two pieces, preparatory to covering the foil ball you’re going to be making in the next step.
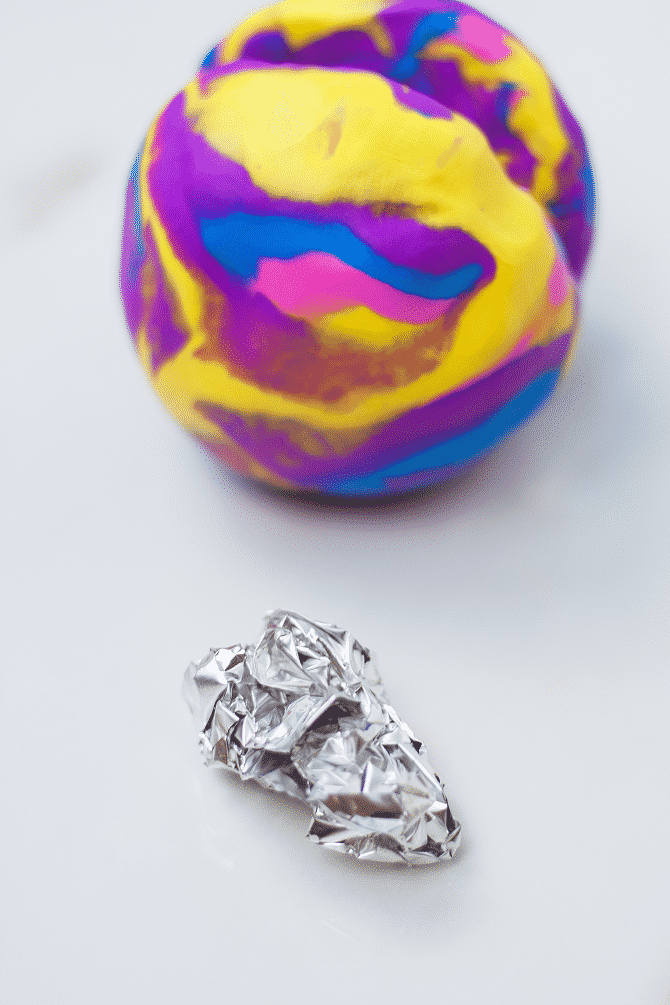
4. Rip off a large piece of foil, and roll it loosely into a ball, roughly the same size you want your letter holder to be. Then using a knife, cut the foil in half, but not completely in half. (This is where you’ll be putting the letters.)
5. Cover the foil ball using the flattened pieces of clay. Remember to cover the inside of the foil ball where you cut into it.
6. To make the cherry, break off a piece of red clay, and roll it into a ball. Gently pinch one side, and then use the tip of a knife to make a little hole (where the stem normally is).
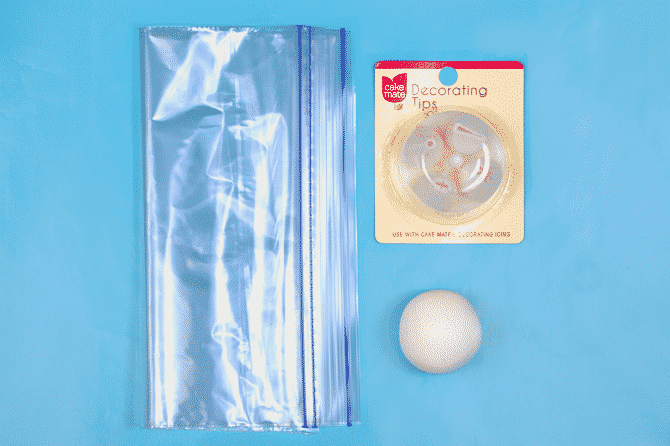
To make the whipped cream you’ll need a Ziplock bag, white polymer clay, frosting decorating tips (the star-shaped one). Pop a piece of white polymer clay into the microwave for 5 seconds to make it soft enough to squish through the decorating tip. Use the Ziplock bag as a make-shift glove (polymer clay can get sticky, and messy when it’s warm), and push a bit of white clay through the decorating tip. Keep adding bits of clay, and pushing it through the tip, until you have a piece long enough to coil into a circle.
8. Bake your “ice cream,” cherry, and whipped cream according to the baking directions on the clay wrapping.
NOTE: Using foil with polymer clay is safe.
9. After everything has completely baked and cooled, it’s time to do the “chocolate fudge!” Use the brown puff paint to draw the shape of the hot fudge, and then fill it in. Le the paint dry overnight.
10. And finally, use some epoxy clay to glue the cherry to the whipped cream, and the whipped cream to the ice cream (on whichever side of the ice cream you decide is the “front”), and the bottom of the ice cream in the small, white dish. Let the glue dry overnight.
That’s it! You’re done!
You’ll never forget to mail out that letter to your bestie with this fun letter holder!
Thanks to Amy for this super cute addition to our National Ice Cream Month Celebration!
Stay tuned for more ice cream month posts until the end of the month!
You can find all our ice cream posts HERE!














Comments