Hey All!
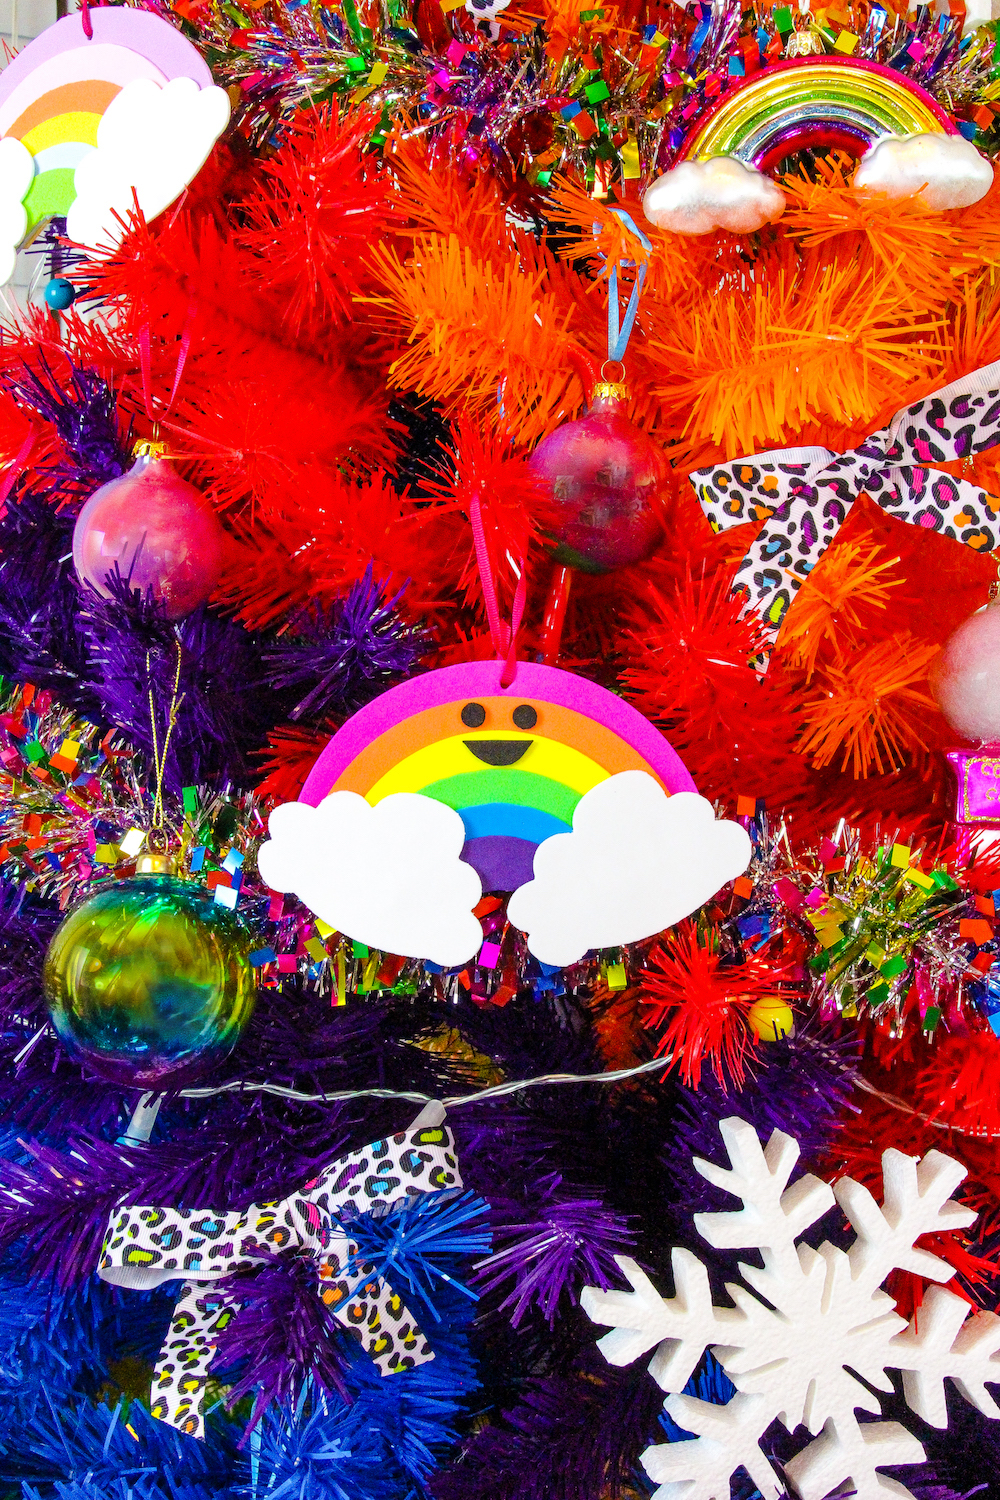
Yesterday we shared how to put together our amazing rainbow tree and today I’m showing how to make these DIY Cute Rainbow Ornaments! They are beyond adorable and they are also very Kawaii cute in my opinion! They are so fun and easy to make as well. You can make these with your favorite gal pals or with your family and have a little holiday ornament crafting party. I love making our ornaments each year and I look forward to it every holiday season. Since we’re all about the rainbows this year, I just knew it had to be a rainbow ornament this year.
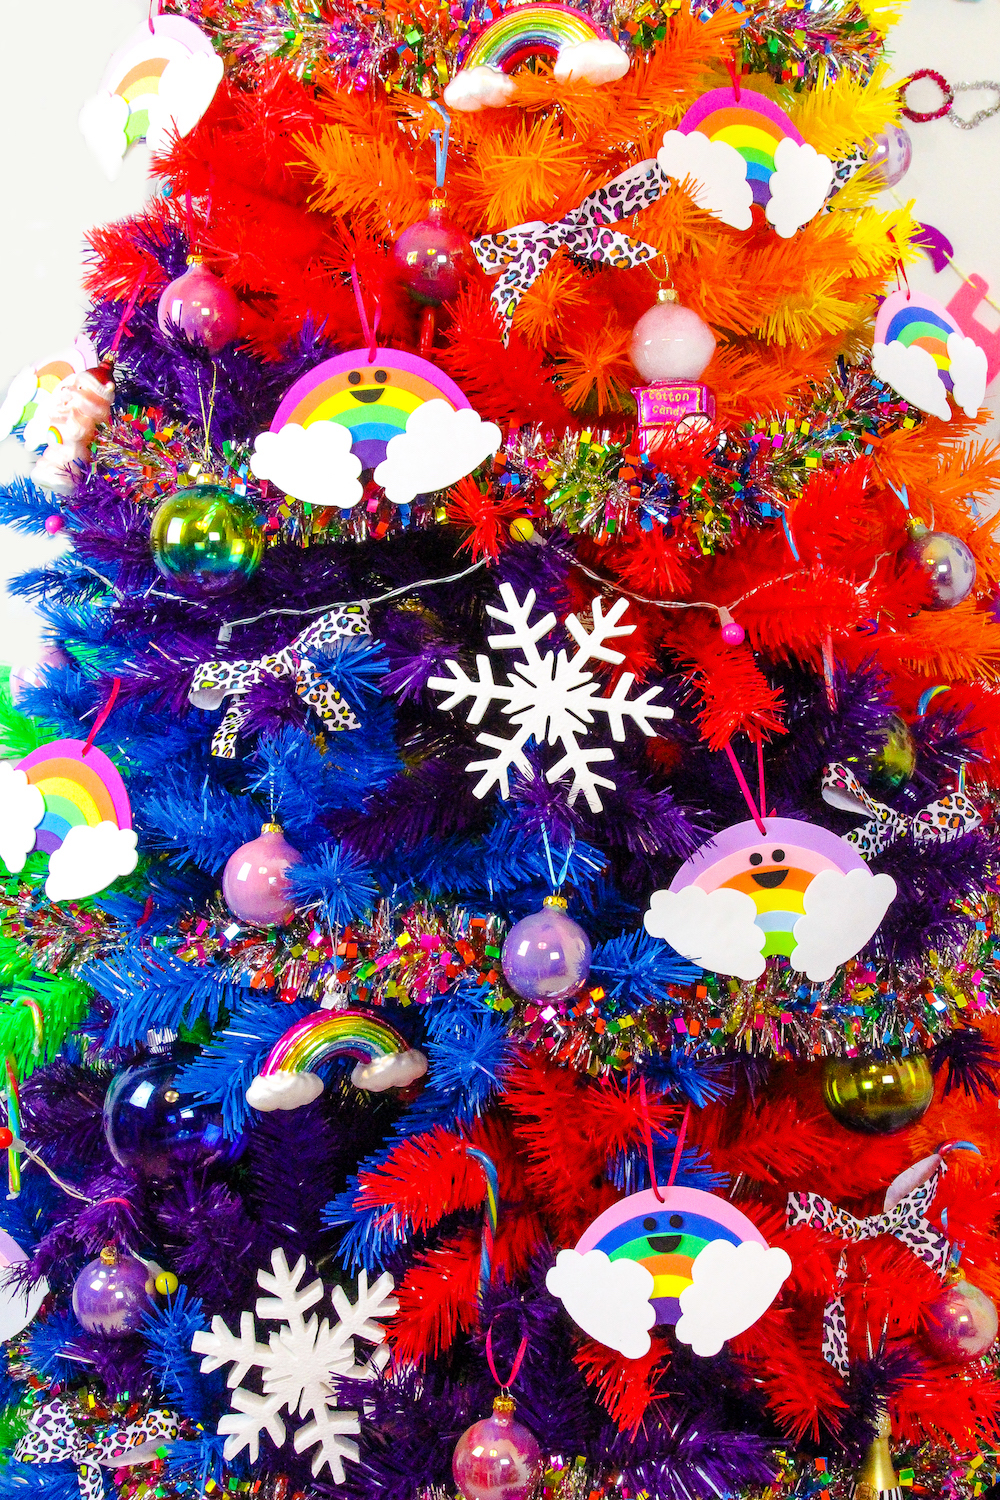
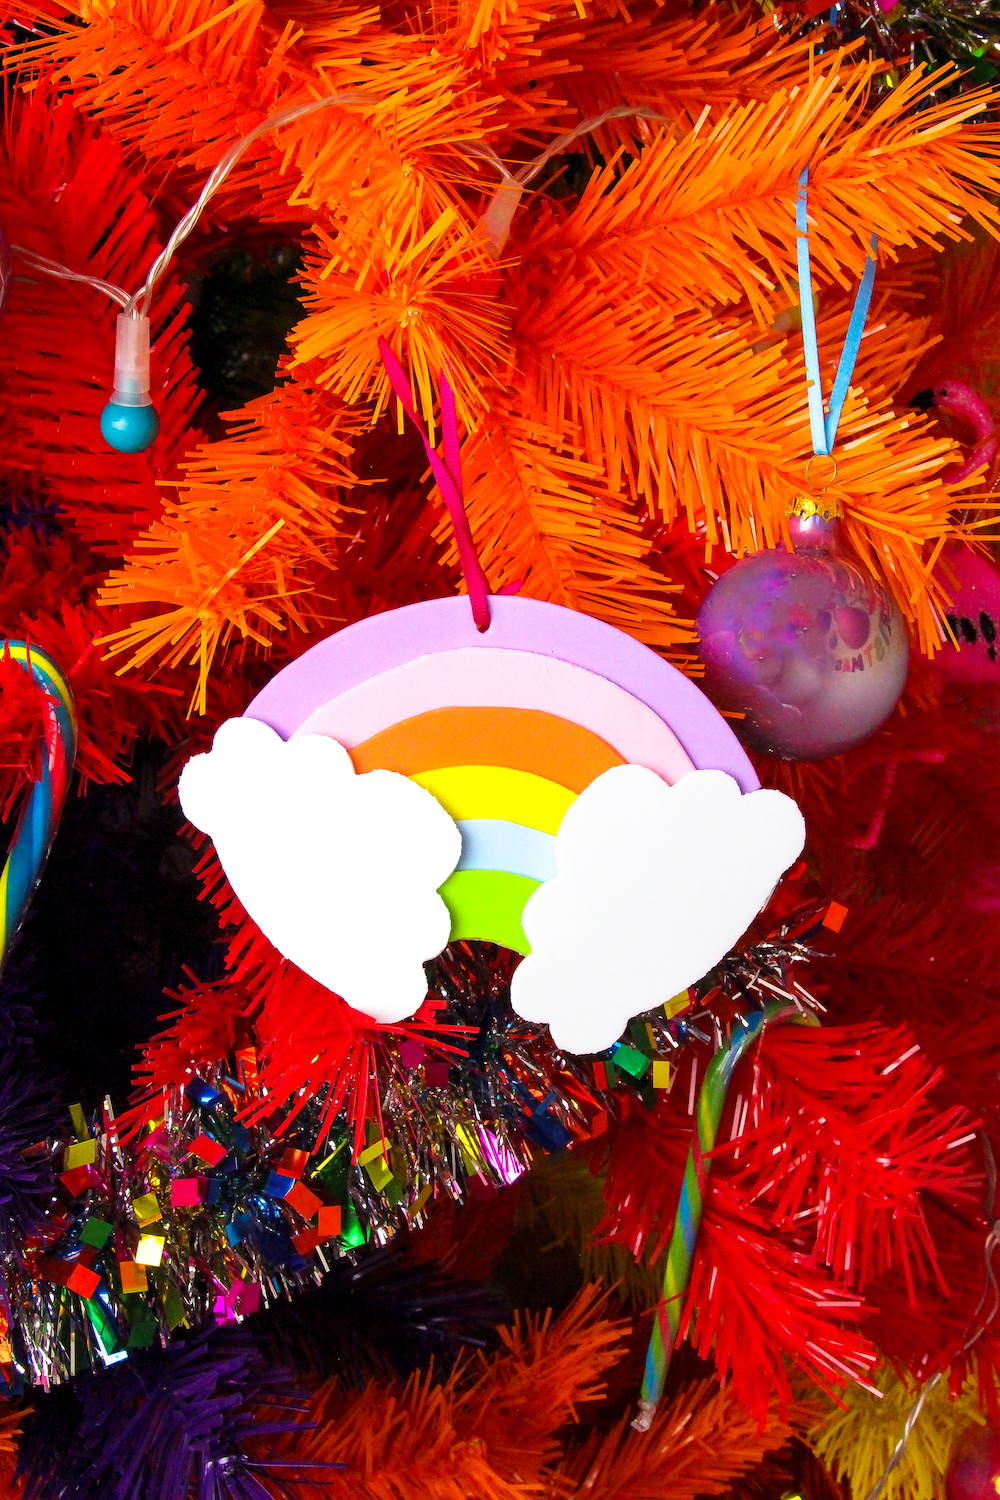
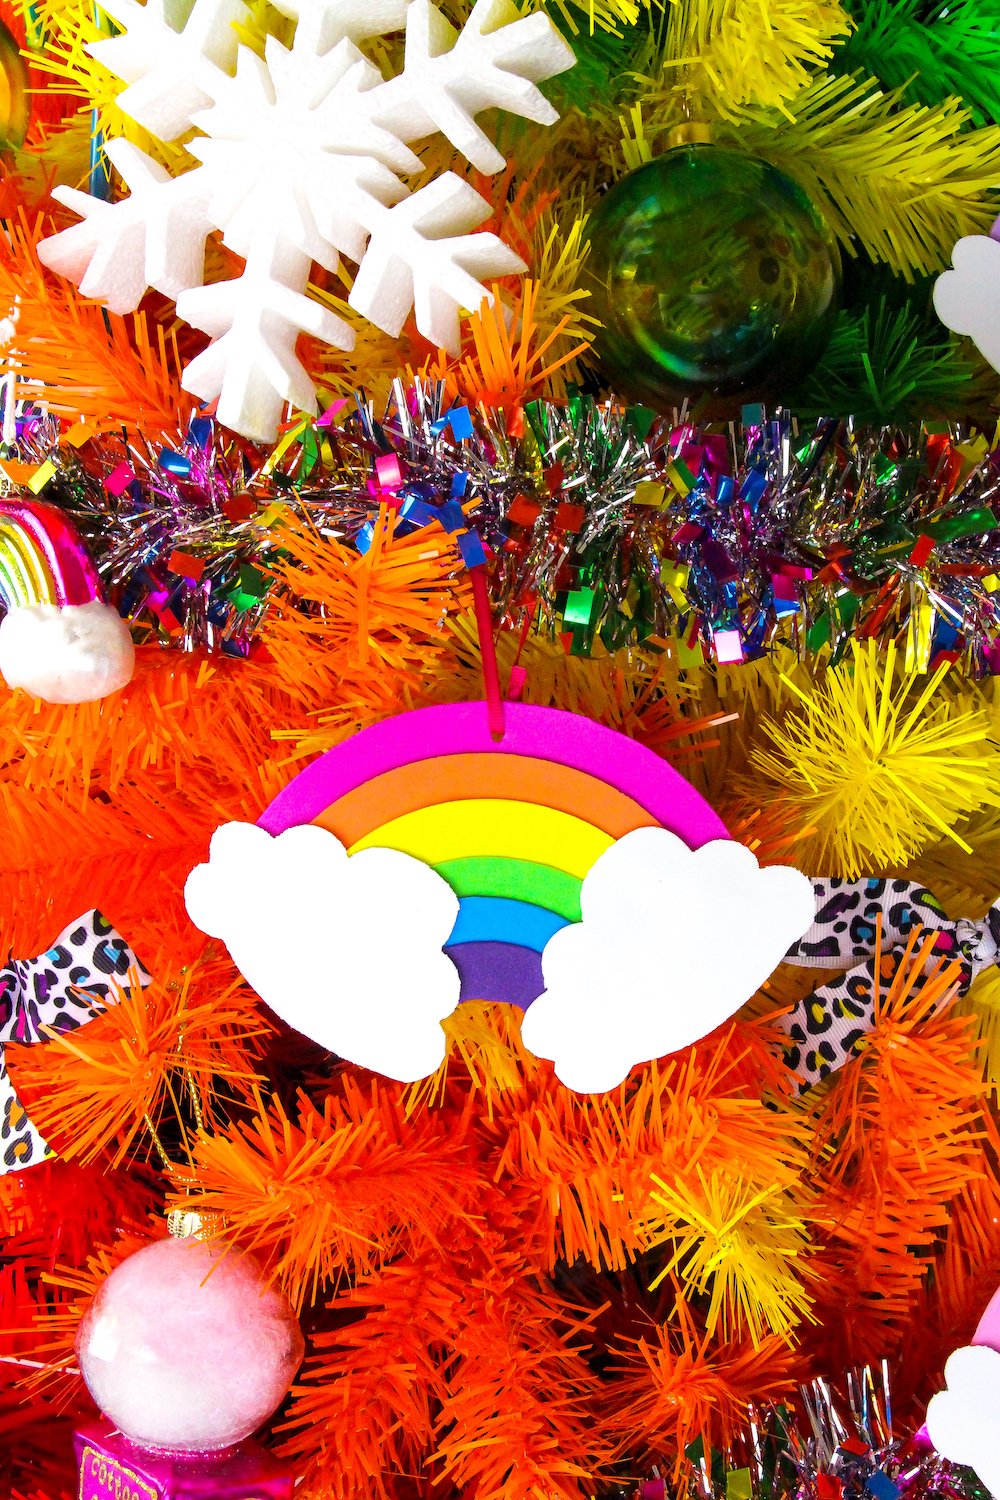
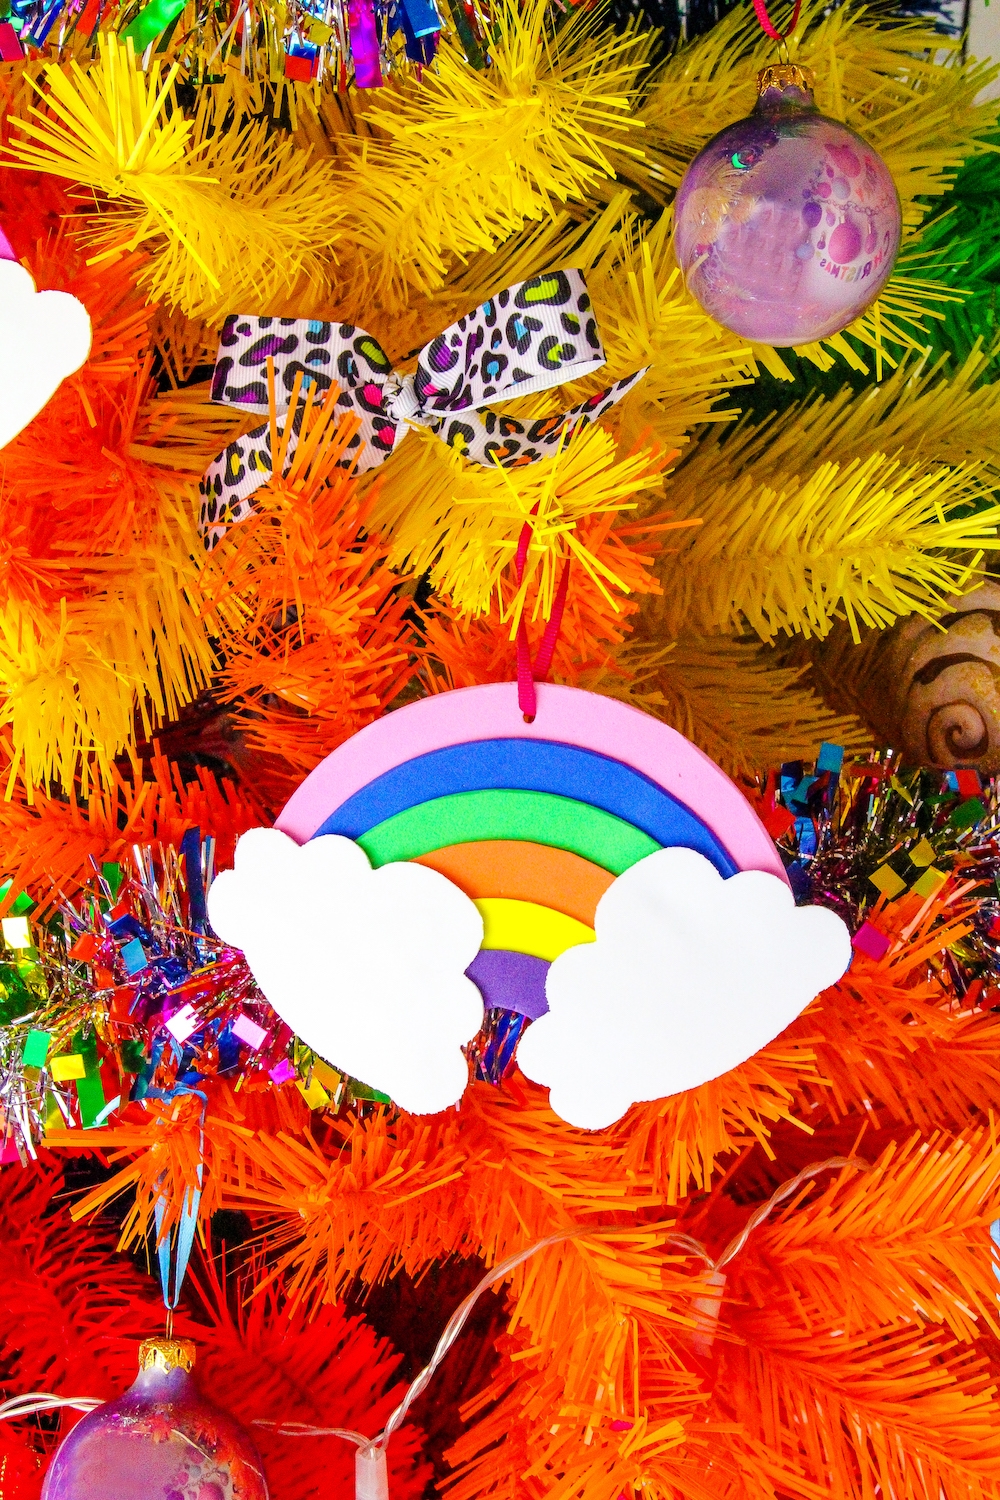
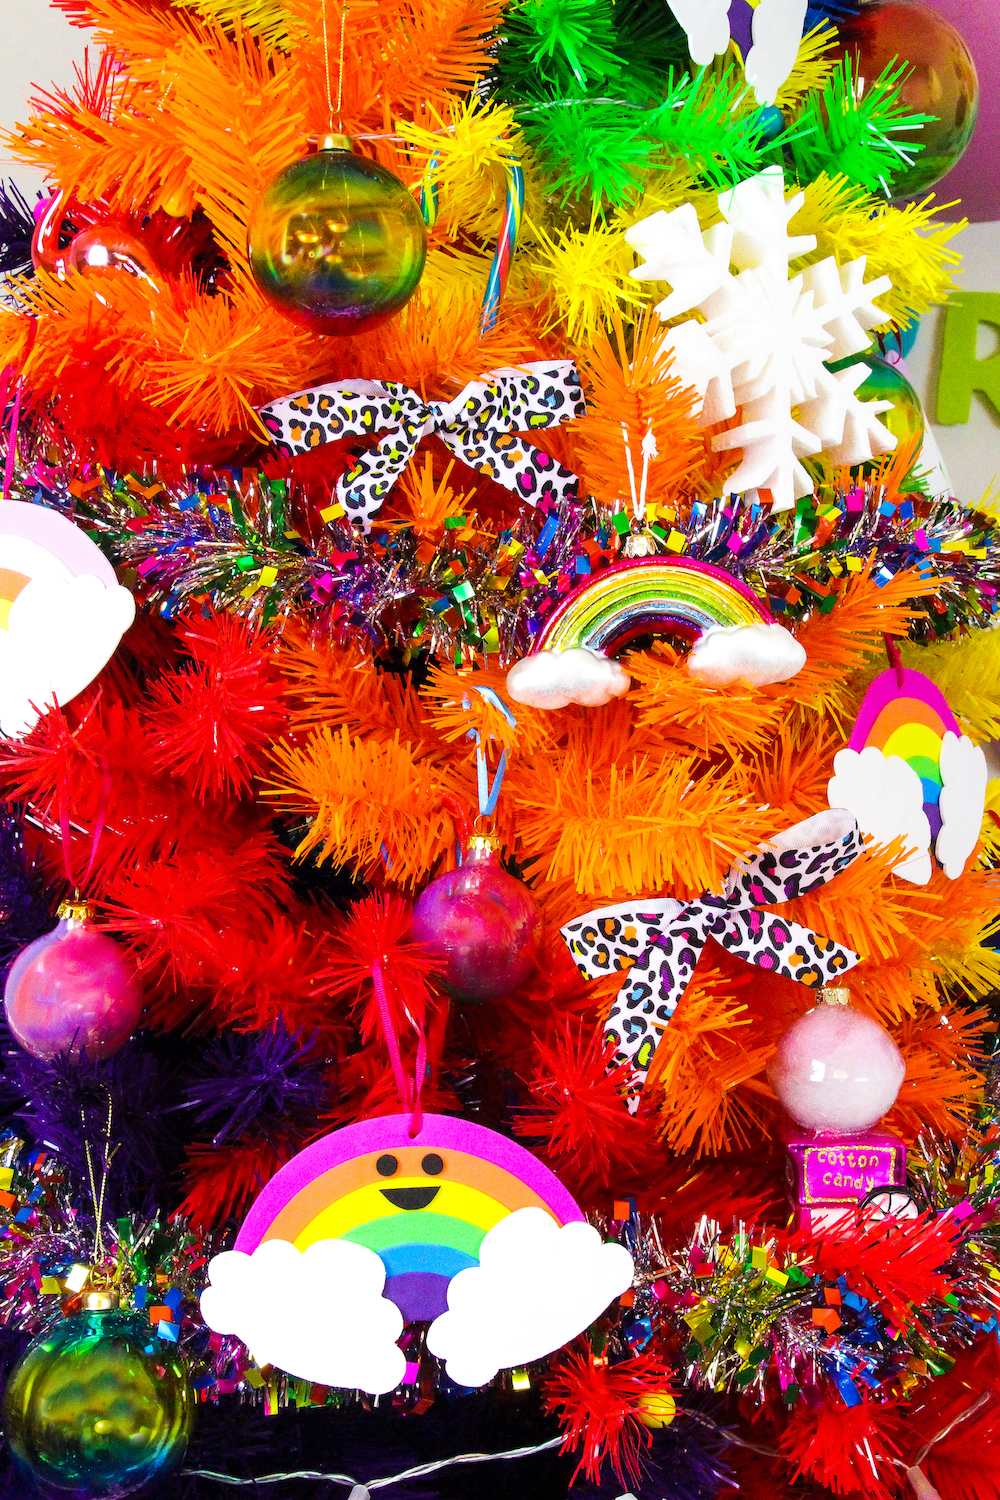
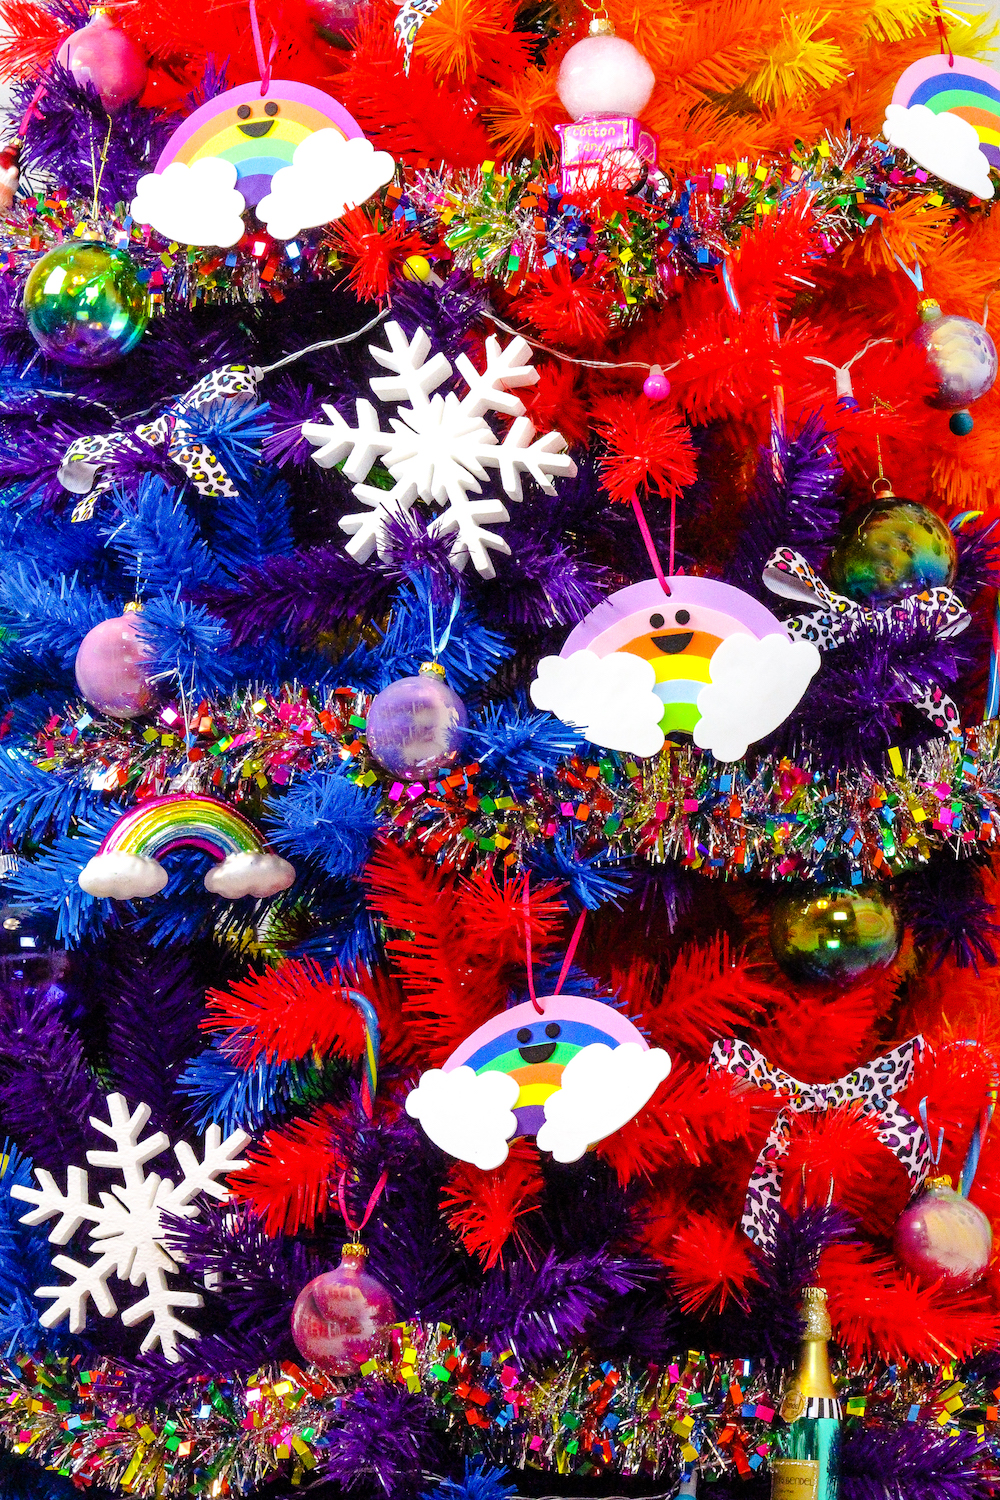
They are perfect for our rainbow Lisa Frank inspired tree!
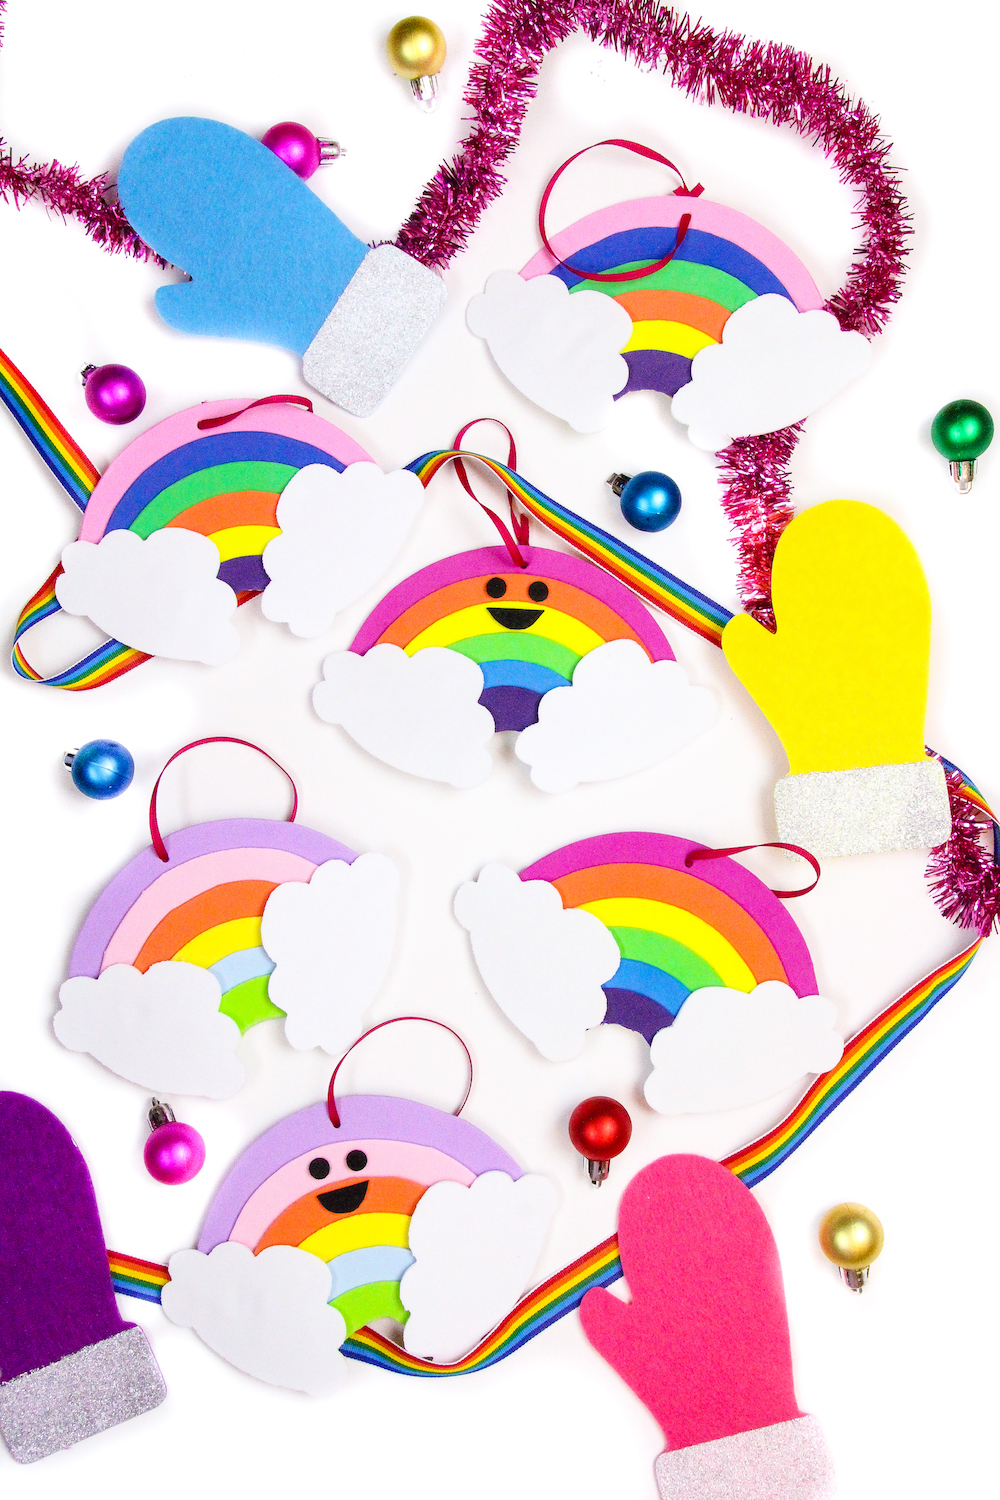
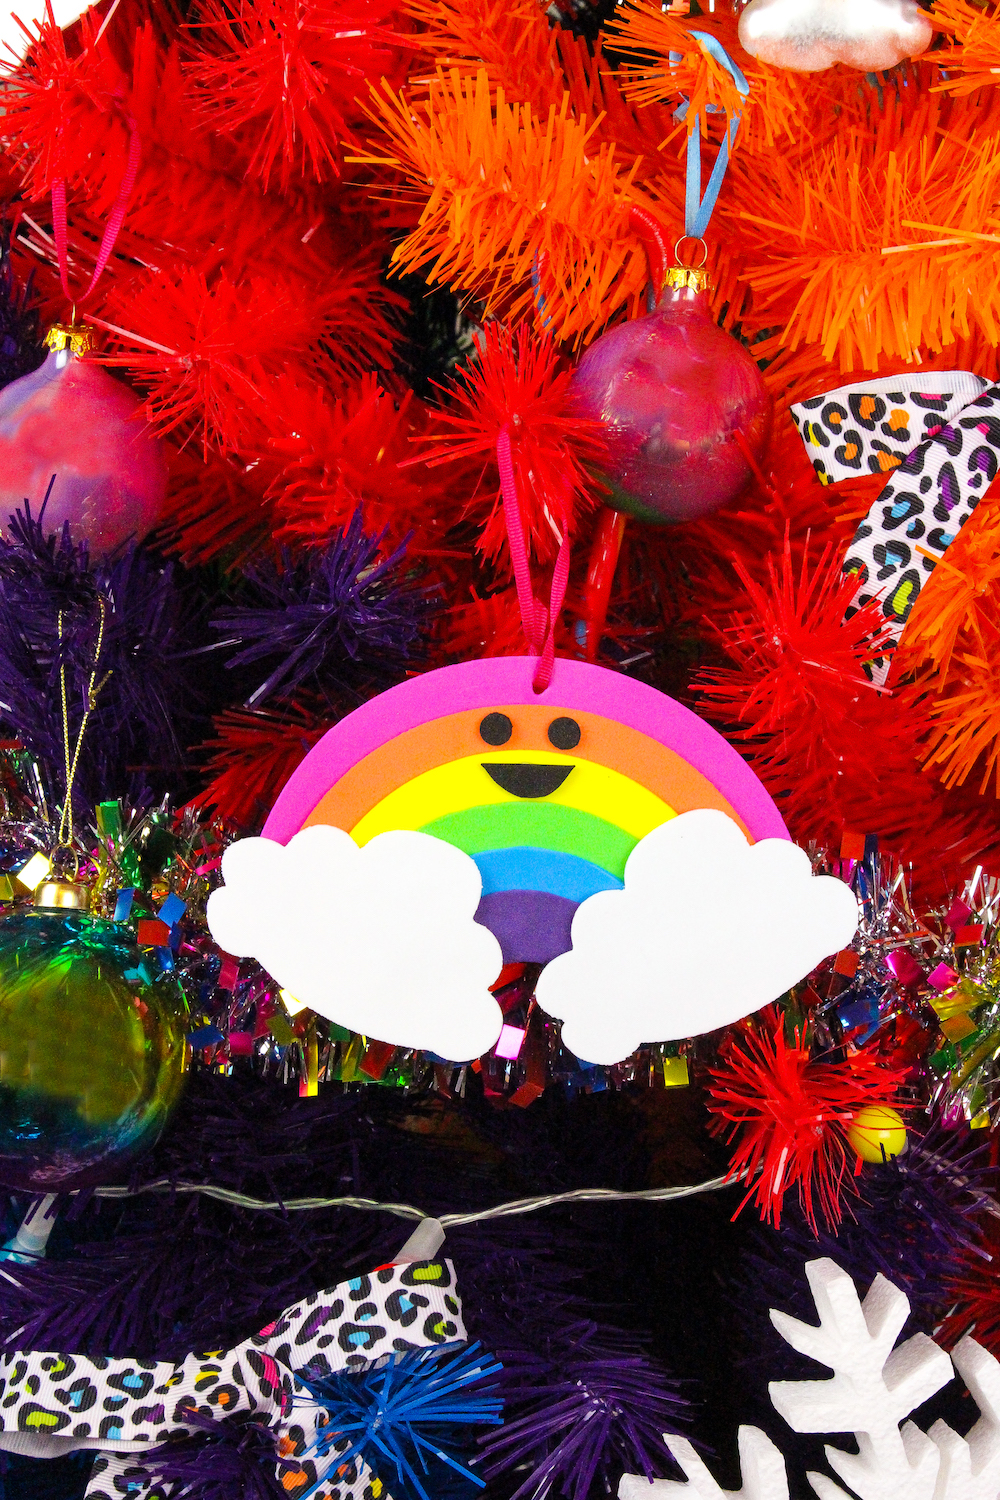
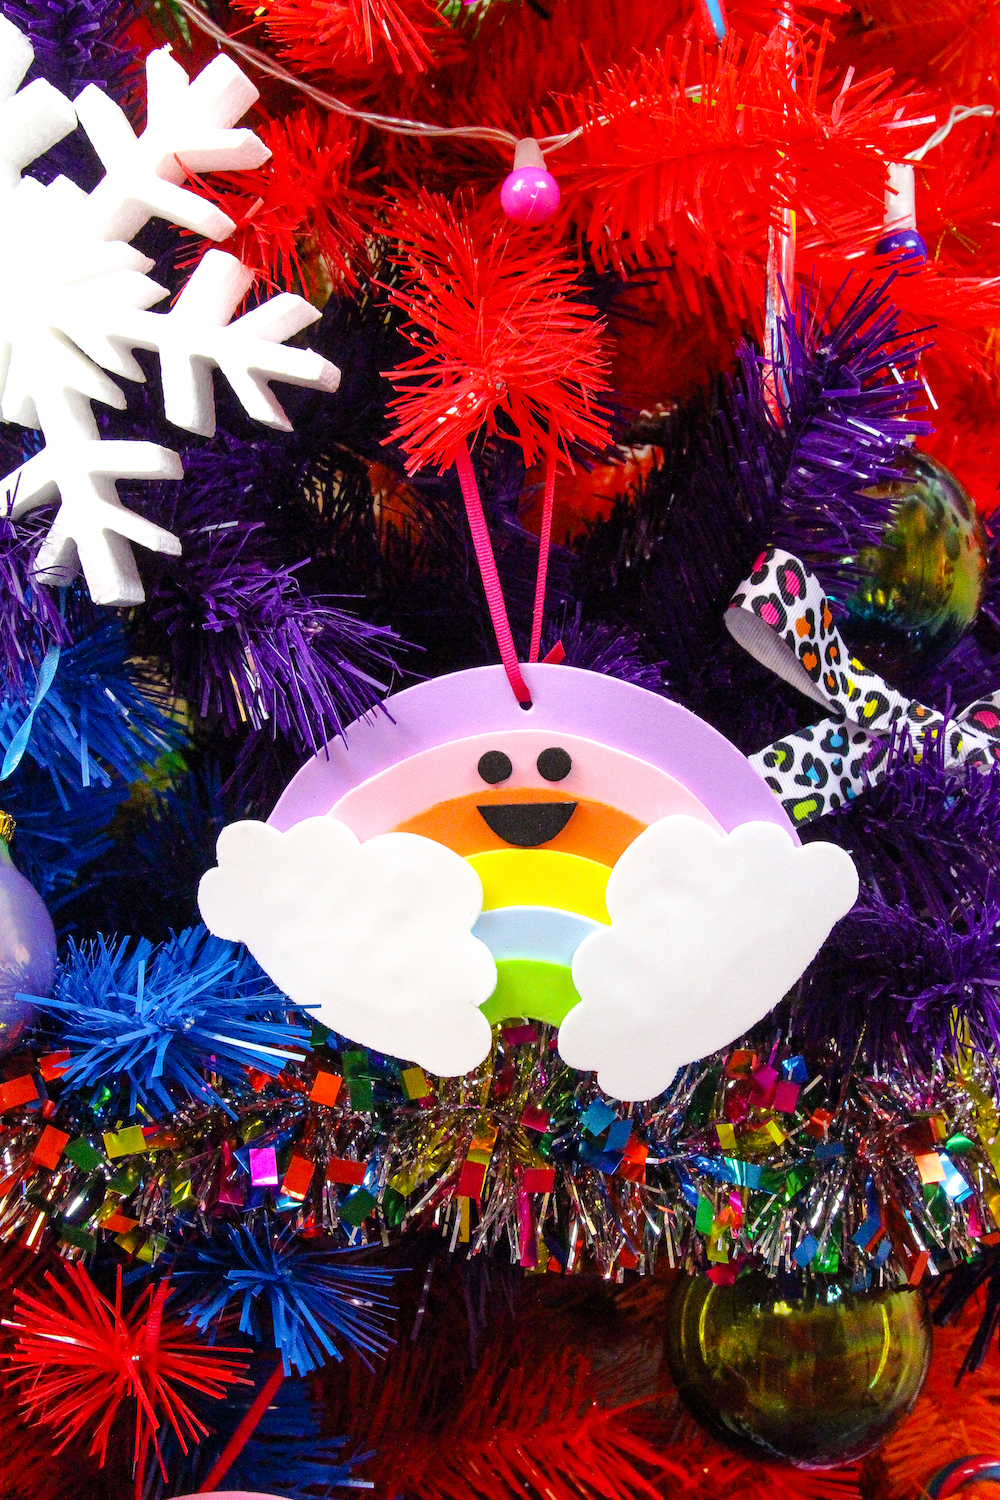
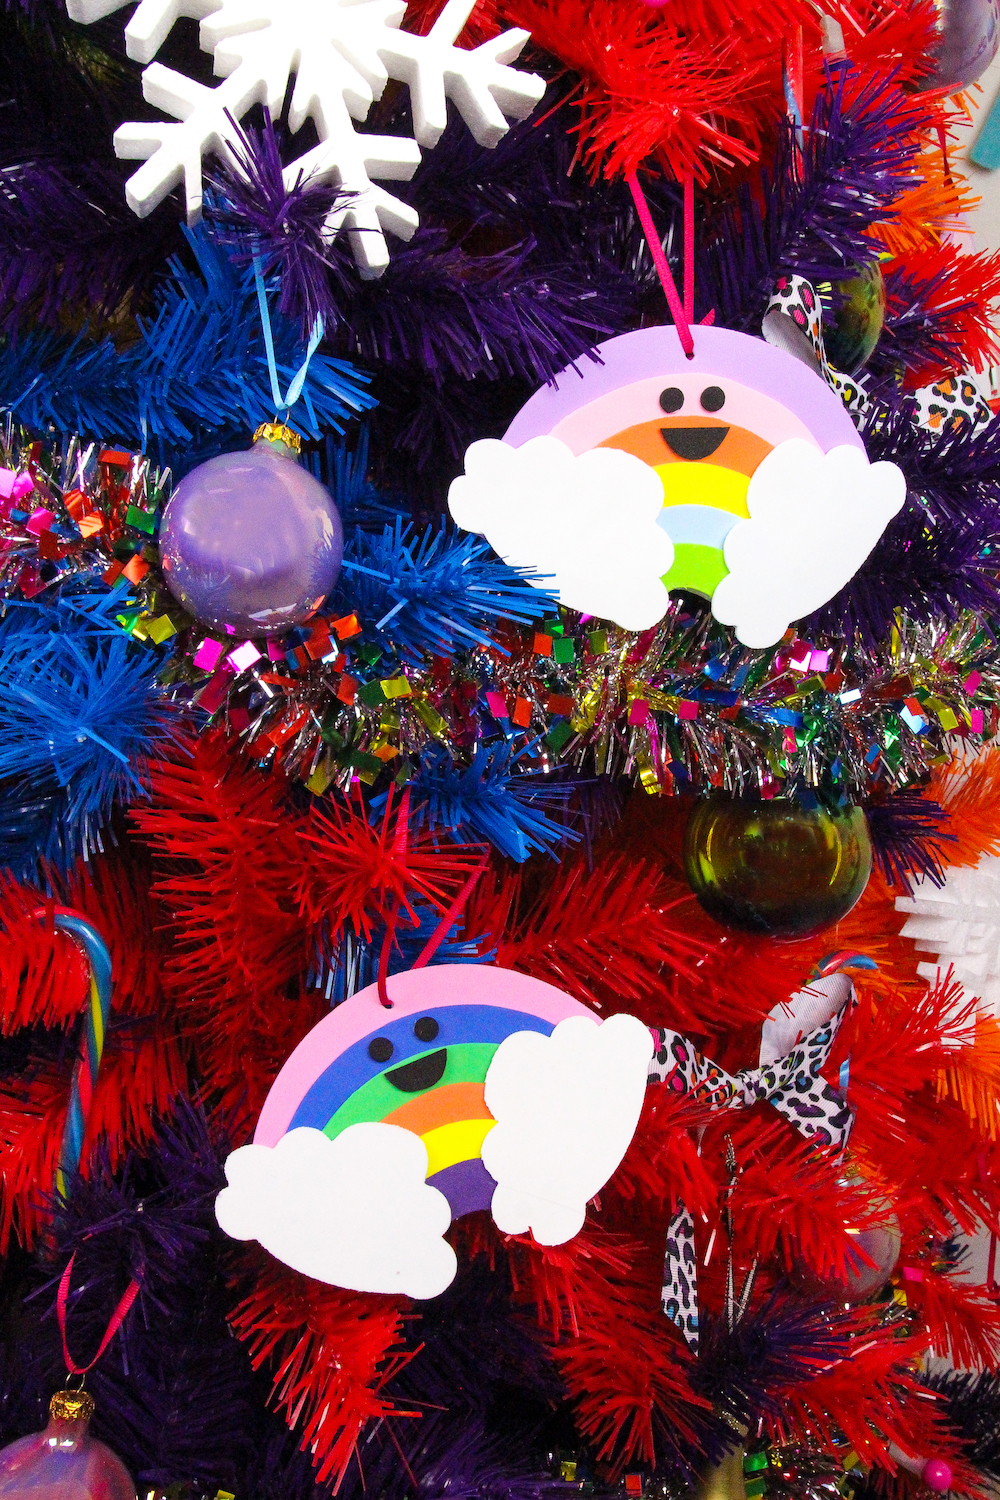
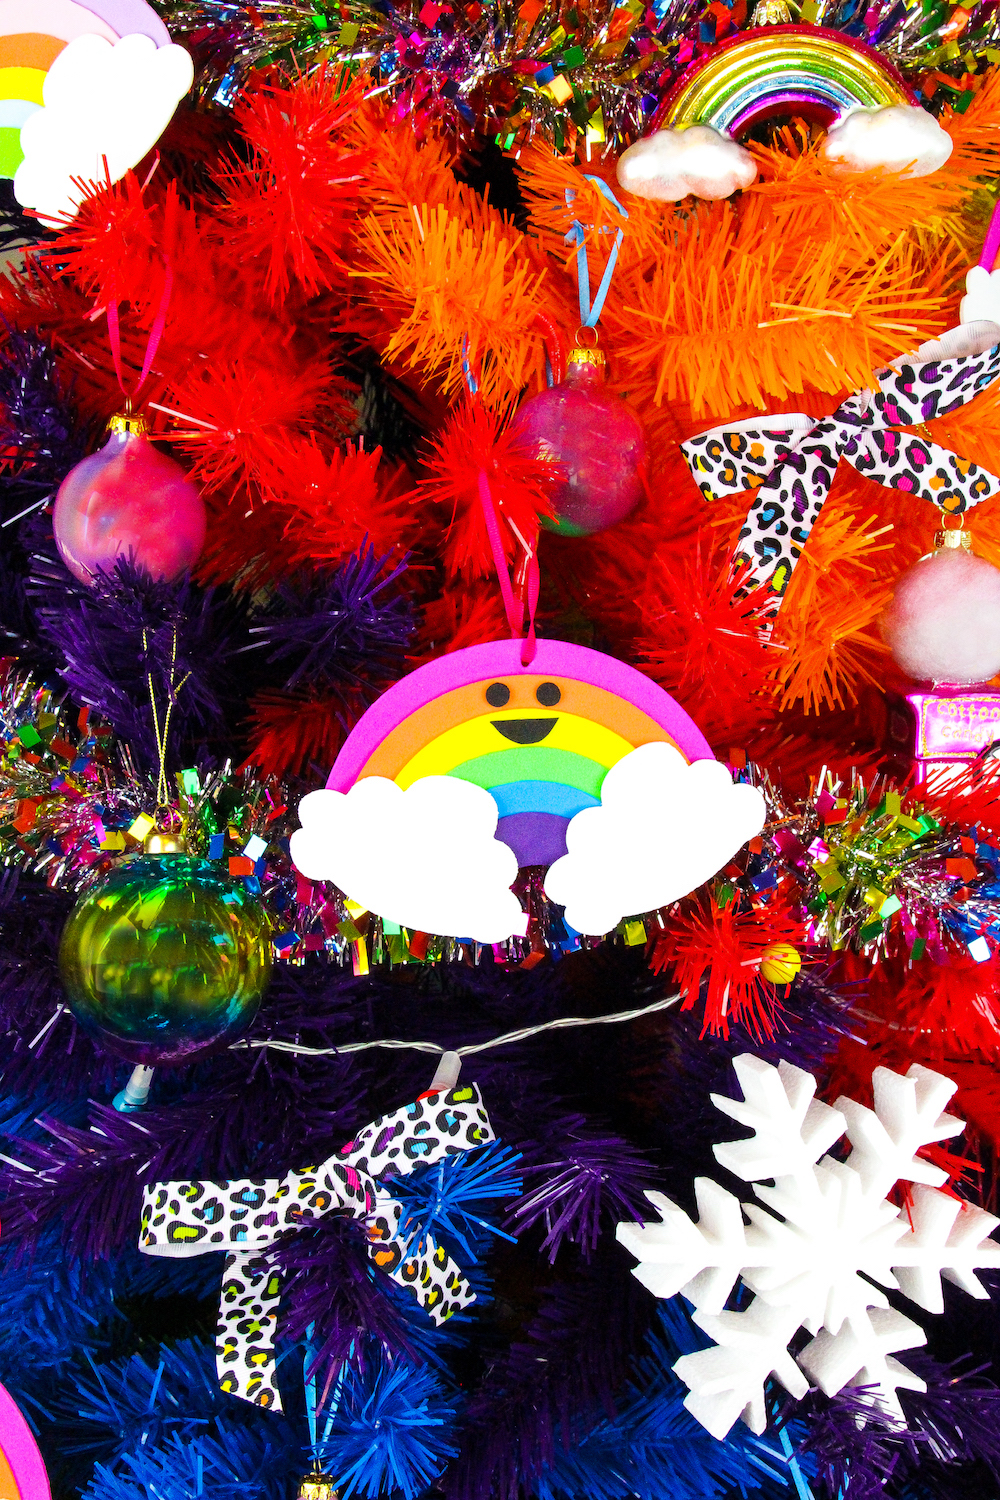
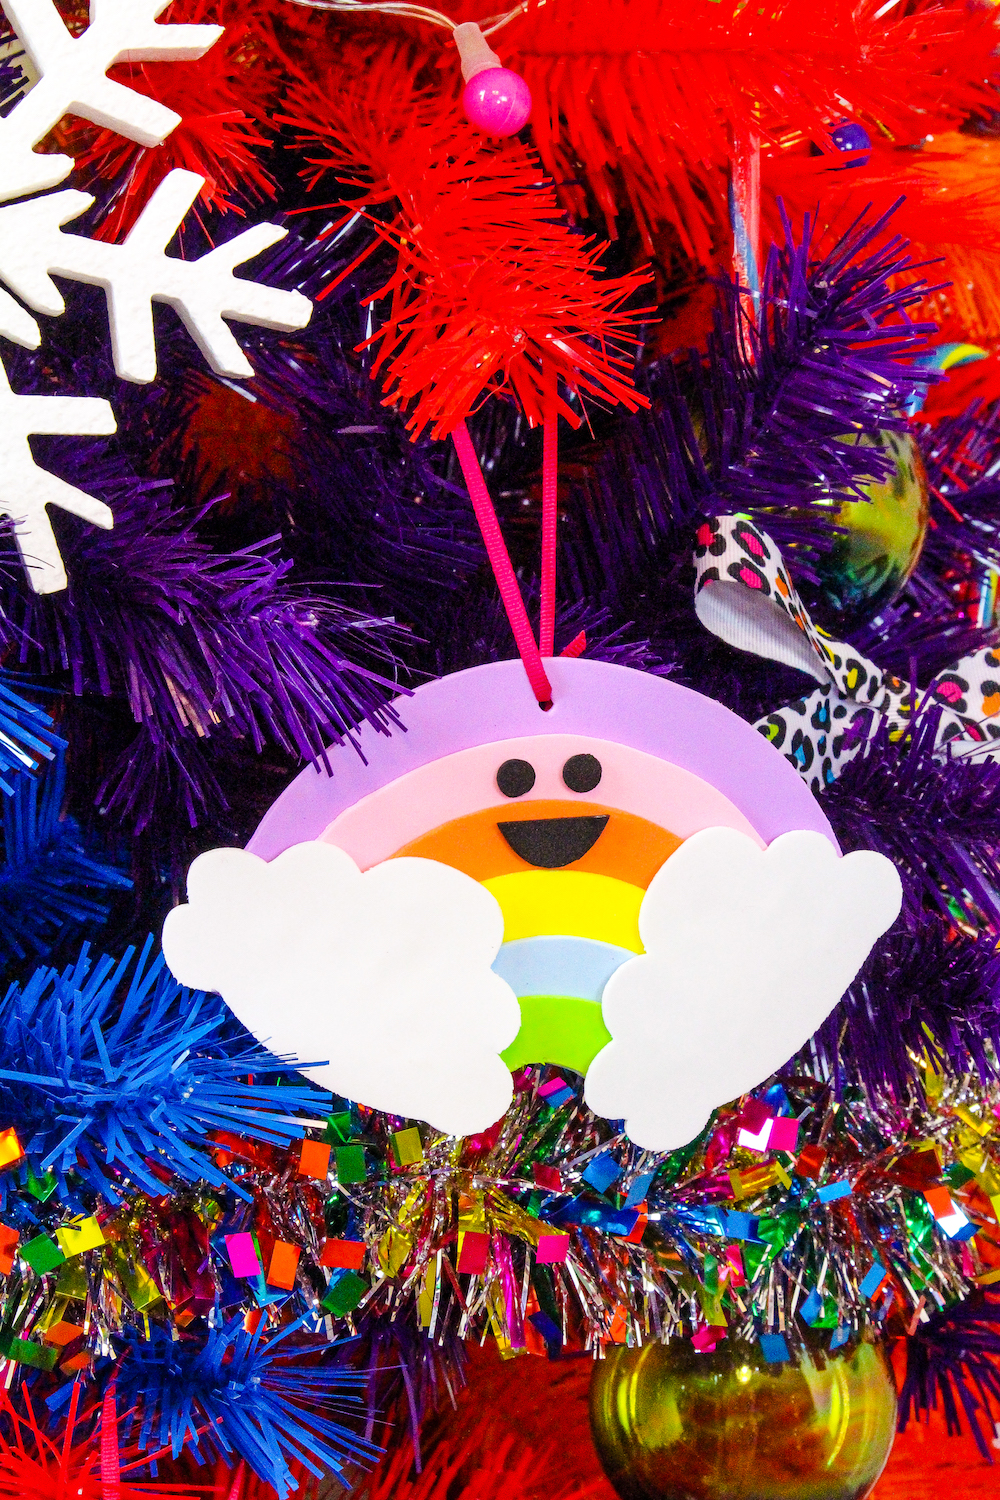
We made some with happy faces…
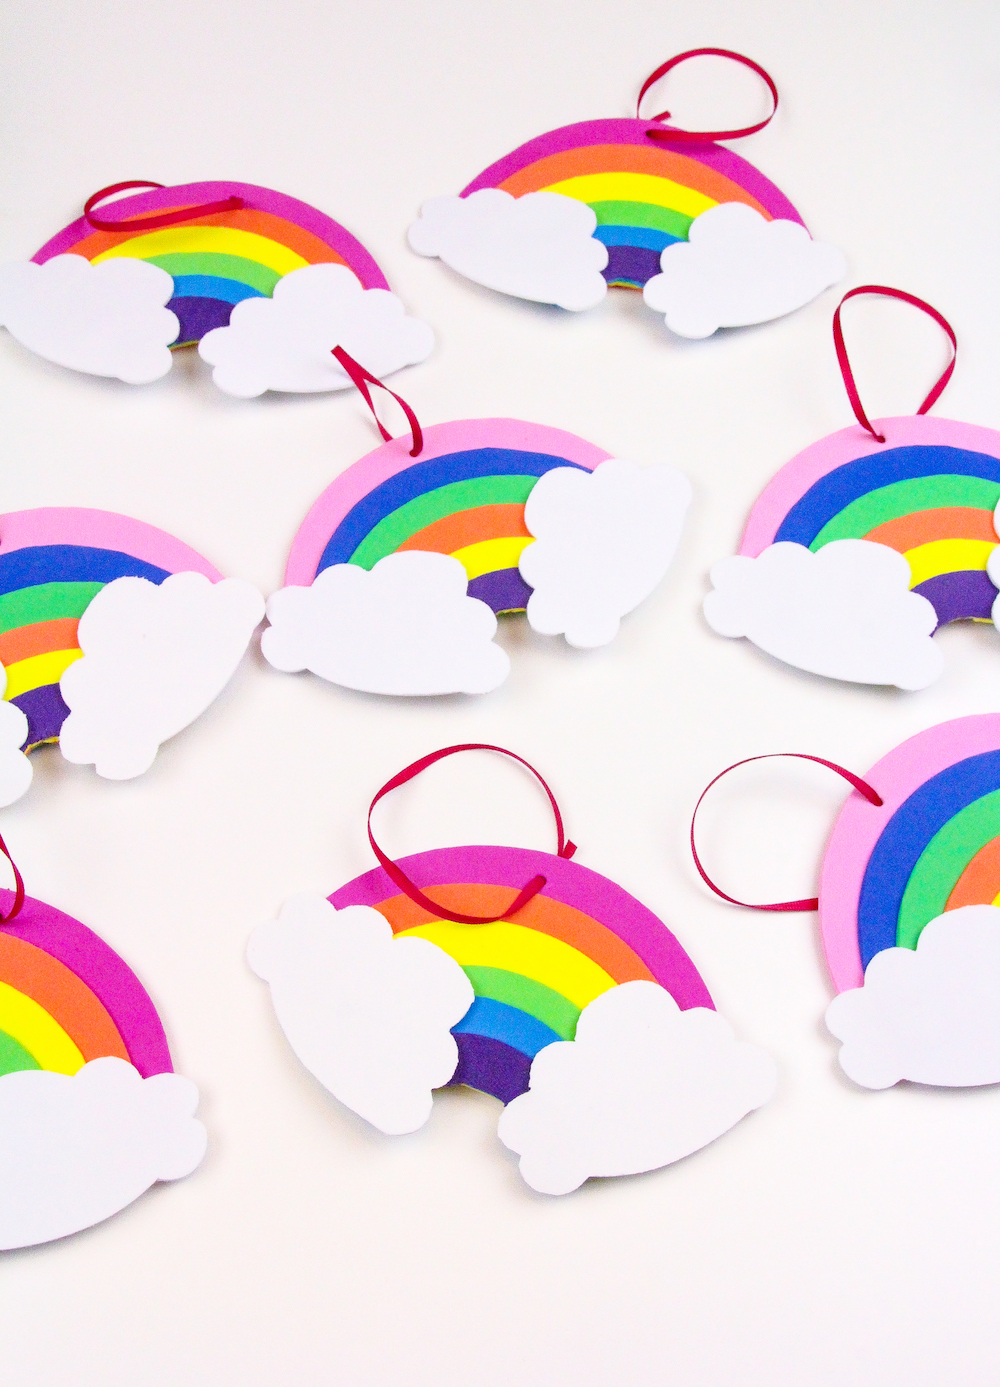
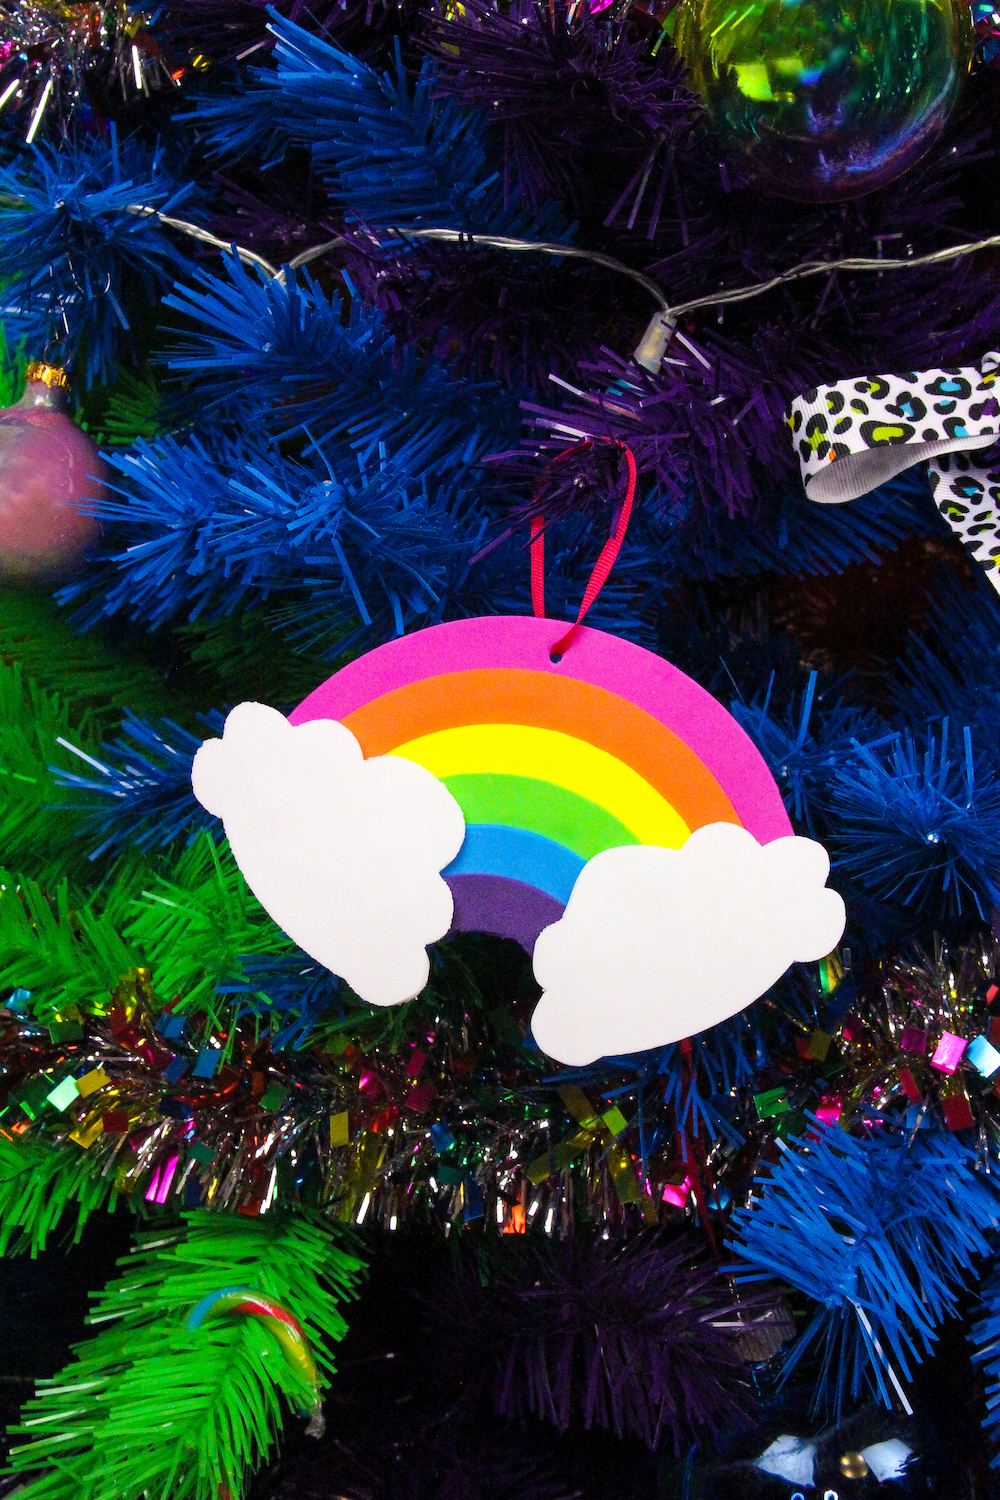
And some with out!
You can decide how you’d like to make them for yourself.
Here is how to make them!
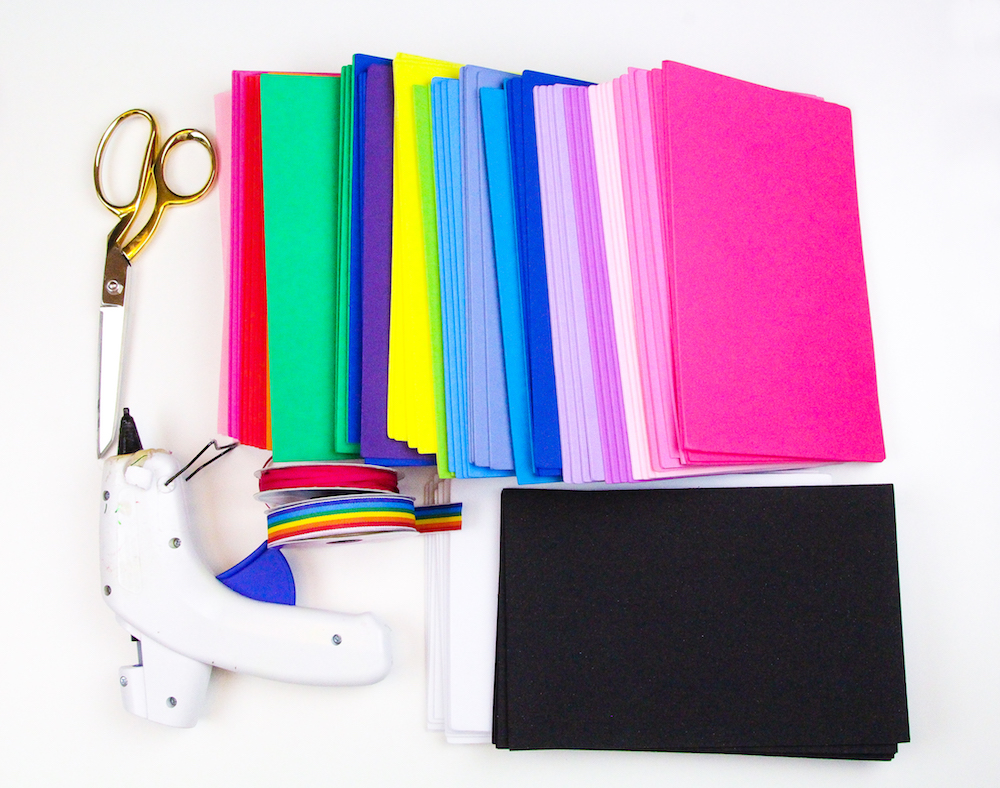
- Various Colored Craft Foam (You can get vibrant colors or pastel colored craft foam. I did a variety of all!)
- White Craft Foam
- Black Craft Foam
- Hot Glue Gun
- Ribbon
- Tiny Hole Punch. (I used the middle and large sized hole punch from this kit.)
- Scissors
- Optional Cricut Craft Cutting Machine
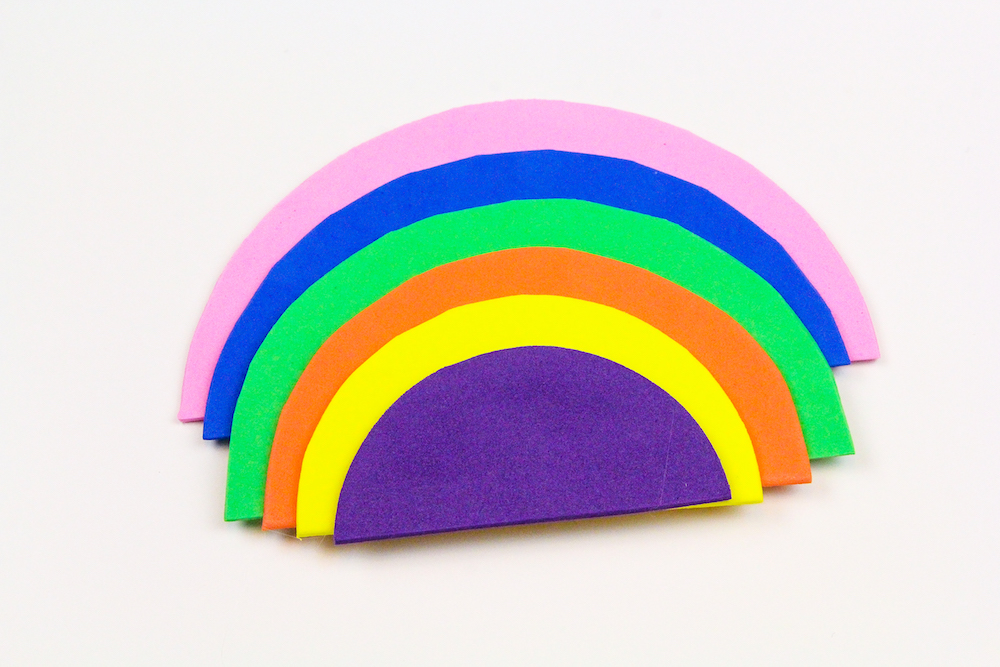
First you cut out 6 different sized circles from your various colored craft foam, starting with the largest and going down half an inch for each circle until you make the smallest circle. You can do this with your scissors or you can do a bunch at a time with your Cricut Craft Cutting machine. That’s what I did! I cut my circle with a cricut.
I then used my scissors to cute each in half. Essentially one circle makes 2 ornaments.
I then glued with my hot glue gun my half circle pieces in the descending color order I liked.
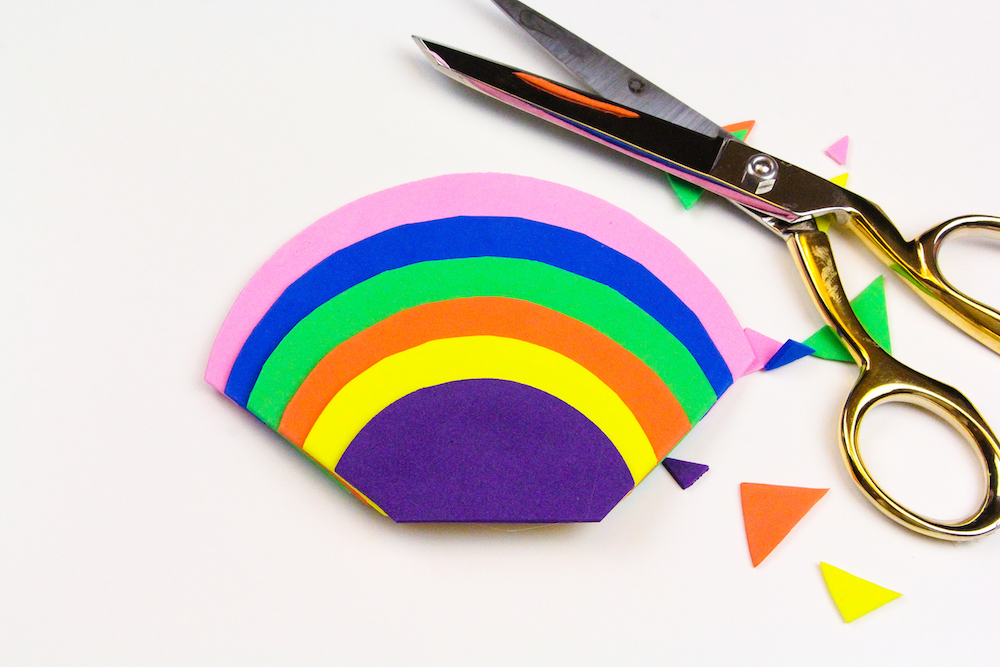
I cut off the edges to make it more rainbow shaped!
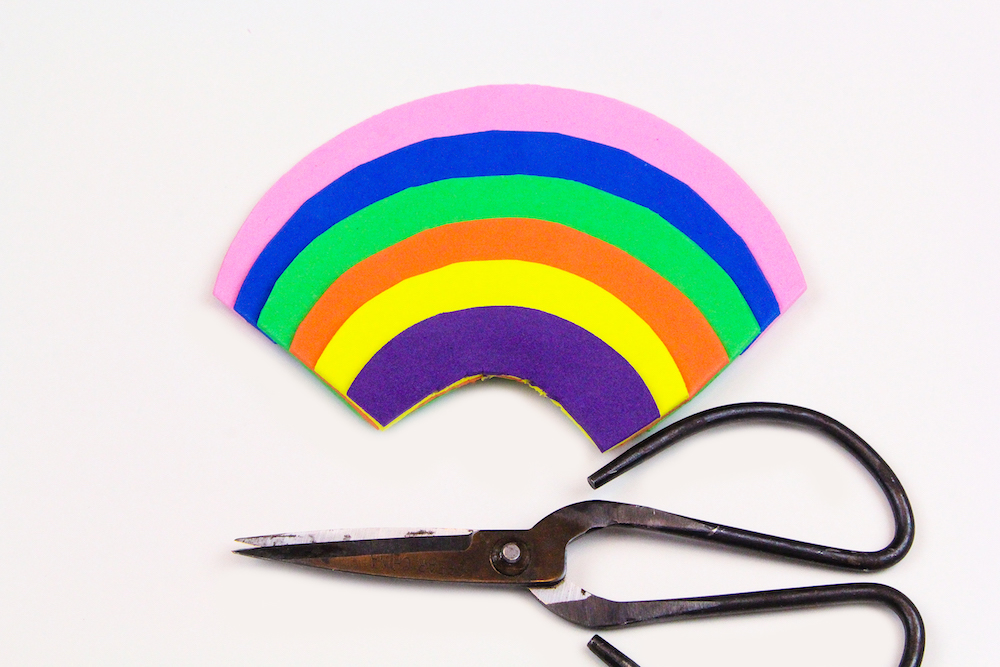
I then cut out a curve from the bottom so it really has that rainbow shape.
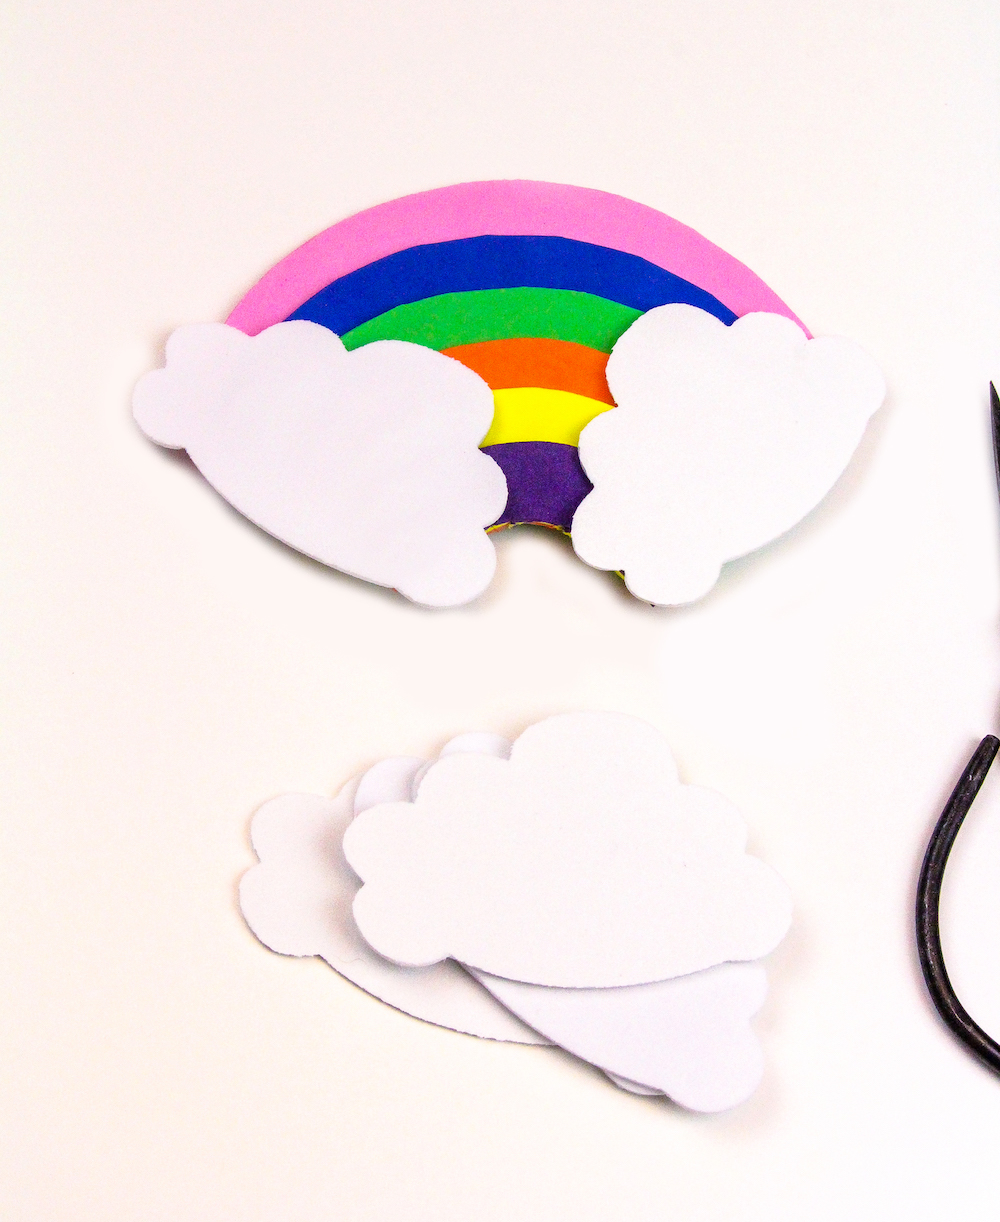
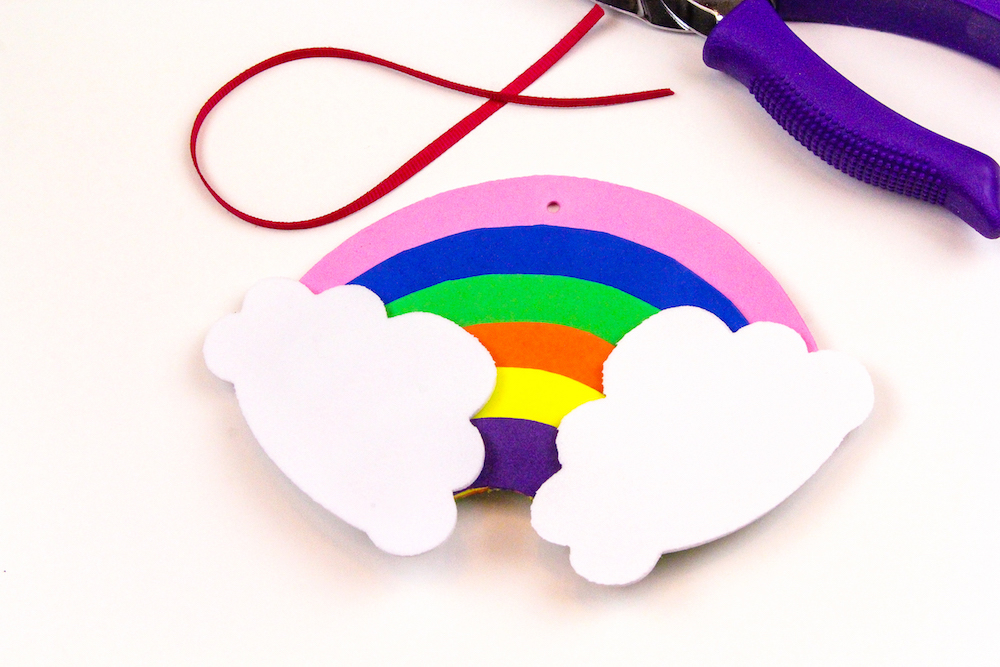
I then cut out some cloud shapes, 2 for each rainbow. Again you can use your Cricut Craft Cutting Machine or scissors to cut out the clouds.
I then glued the clouds to each side of the rainbow.
Lastly I punched a hole with my hole punch at the top of the rainbow in the center.
I cut out a little piece of ribbon, pulled it through the whole and tied the ends together.
You’re done if you don’t want to make the faces on the rainbow.
You can just hang them and enjoy! But… If you’d like the faces, you simply use the largest hole punch from that set I mentioned above and punch out two tiny circles from the black craft foam for each rainbow for the eyes.
I then used my scissors to cut out the little mouths from the black craft foam.
You then carefully glue the eyes and mouth onto the rainbow with you hot glue gun. Be careful with the hot glue, as it is hot!
Hang them on your tree and enjoy!
They look adorable either way!
With or with out the happy face is fine in my book. You can also do like I did and do a mix.
I love how they came out!
I think they are the perfect little ornament for our rainbow tree!
I hope you love them as much as I do!
Have fun making your rainbow ornaments folks!
I hope you are as obsessed with them as I am! And don’t forget to check out how they look on our Lisa Frank Inspired Rainbow Christmas Tree!
You can find more fun Christmas DIY’s and Recipes HERE!

































Comments